
Installing bathroom floor tile is a job for the pros. You can tile a small bathroom floor with some work and planning. Retiling the bathroom isn't a project for novice DIYers. Different bathroom floors require different ways to retile.
Putting tiles in a small bathroom takes at least 15-20 hours of work. Don't believe anyone who says it takes a few hours, especially if it's your first time...
Tile is popular for updating or renovating bathrooms. It is easy to clean and water resistant, so your walls, floors, and tub surround will last longer.
You can only benefit from bathroom tile if it's installed properly. In time, tiles may break or grout may erode. Whether you're installing new tiles or replacing old ones, this guide will help you improve the space's function and style.
Looking for the best tiling renovations? Look no further! Hitch Property Constructions has you covered.
What to consider before tiling your bathroom
What are some of the trends you see in bathroom tiles?
It seems that 600-millimeter-by-600-millimeter floor tiles are the current standard for installation in places like bathrooms. Customized cutting makes the larger tiles more fragile, making them more difficult to work with. Despite their ability to give the illusion of more room, this is the case. In addition to the initial investment, this can become pricey work if you have to throw away any surplus tile pieces.
How much will it cost to instal floor-to-ceiling tiles?
Tiling a wall from the floor to the ceiling will always be more expensive than just tiling part of the wall. Remember that floors and ceilings are rarely perfectly flat, so you'll always have to make adjustments by cutting extra pieces to fit.
Can you do your own tiling, or are professionals the best choice?
It's crucial to remember a few things before beginning tile installation. Unlike painting, if you mess up a tile job, you'll have to start from scratch and destroy all of your hard work before you can move the tiles. It's important to get the workspace ready for the unique tile dimensions you'll be working with before you start the project. Specialized tools, such as an angle grinder and a diamond blade, are needed for tiling. The only way to ensure one's safety when handling such equipment is to have prior experience doing so.
Making sure the tiles are properly grouted and adding silicone between them are the most crucial final touches. To get the best results, I suggest checking out builderscrack.co.NZ, where you can read testimonials from previously satisfied customers, and then posting a job describing your tiling needs so that qualified professionals in your area can bid on it.
Is it better to purchase your own tiles or have your tiler supply them?
Tiling professionals typically advise clients on where to shop and who to buy materials from. Because there is such a wide variety of tile available, the customer can easily choose the tile that best suits his or her tastes in terms of style, colour, size, and surface texture.
Tile installers typically advise clients on warning signs to keep an eye out for when browsing for tiles. Some types of tiles are better suited for use in bathrooms than others due to the frequent foot traffic and constant presence of moisture. You should avoid using textured tiles in bathrooms because they collect dirt and grime more quickly.
How should bathroom tiles and grout be maintained to avoid the growth of mold?
For this, you need only a sealer. This is something that can be easily done after the tiler is done and doesn't take a lot of time or energy. To keep tiles from getting stained, cracked, and moldy, simply apply a thin layer of silicone that is resistant to mold. A new layer of silicone applied after extensive wear and tear could improve performance.
You should brush away all the dirt and moisture buildup with a stiff bristled brush before applying a new layer of silicone to the grout, as this will ensure a strong bond between the two.
What are some of the main do's and don'ts when it comes to tiling in the bathroom?
Always use the proper floor drain when setting up a shower or shower tray. An experienced tiler shouldn't have any trouble with the proper installation of drains. Unprofessional installation can cause broken tiles and dripping showers. You can avoid issues with spacing and size if you measure the space between tiles carefully and leave a gap for grout. When tiling a wall, it is recommended to start at the top and work your way down to the bottom, using the tiles that have already been cut as anchors.
What are some potential issues with bathroom tile installation?
Cracking tiles is a common problem that can arise when installing a tiled bathroom floor or wall. You can avoid this by tiling over a solid, clean, and level surface. Tiles that have become loose or cracked after a bathroom renovation are the last thing on anyone's mind.
Sanding the floors and walls of the bathroom beforehand will ensure that they are strong enough to support the tiles and can withstand the daily use that the bathroom sees.
What benefits and drawbacks do black tiles have?
They are practical, and can be stunning if put in place correctly. The best porcelain tiles to choose are those that are jet black all the way through; this makes it nearly impossible to spot any chips.
Flip Your Bathroom from the Floor Up
You wish your bathroom had the ambience of a luxury spa, but the worn out flooring is keeping you from relaxing.
Bathroom flooring made of peeling linoleum or dated vinyl can be easily updated for a modern look and feel. In addition to impressing visitors, this makeover could boost your home's resale price by as much as 3 percent.
Flooring materials for a standard bathroom can run anywhere from $100 to $500, with the final price depending heavily on personal preference. If you're an intermediate or expert DIYer, you can save money by installing this yourself rather than hiring a professional. A threefold increase in cost is possible here.
How to Prepare Your Bathroom
To make more room in the bathroom, you'll need to remove more than just the usual suspects like towels, toothbrushes, and decorative items. Clean up your bathroom by getting rid of these items:
- Do you want a spa-like bathroom, but your old flooring is making you feel claustrophobic?
- Replace your bathroom floor, whether it's peeling linoleum or out-of-date vinyl, to instantly update your space. This two- to three-day renovation will not only impress visitors, but it will also increase the value of your home.
- Depending on your choices, flooring materials for a bathroom can range from $100 to $500. Hiring a professional to complete the installation can easily double or triple your costs, making this a cost-effective project for the intermediate to advanced DIYer.
Check out our range of tiling renovations Melbourne at Hitch Property Constructions.
Types of Bathroom Tile Projects
A major benefit of this material is its versatility. Tile can enhance your bathroom in a variety of ways.
Floor Tiling
The floor of your bathroom is the most logical location for installing tiles, so you should start there. Putting in new tile flooring not only improves the functionality of the space but also contributes to its aesthetic appeal. You have the option of going with a single colour or adding patterns that contribute to the overall look and feel of the design. However, you should make sure to use tiles that are non-slip so that no one gets hurt. This article will show you how to finish this project in just one weekend using various techniques.
Shower Tiling
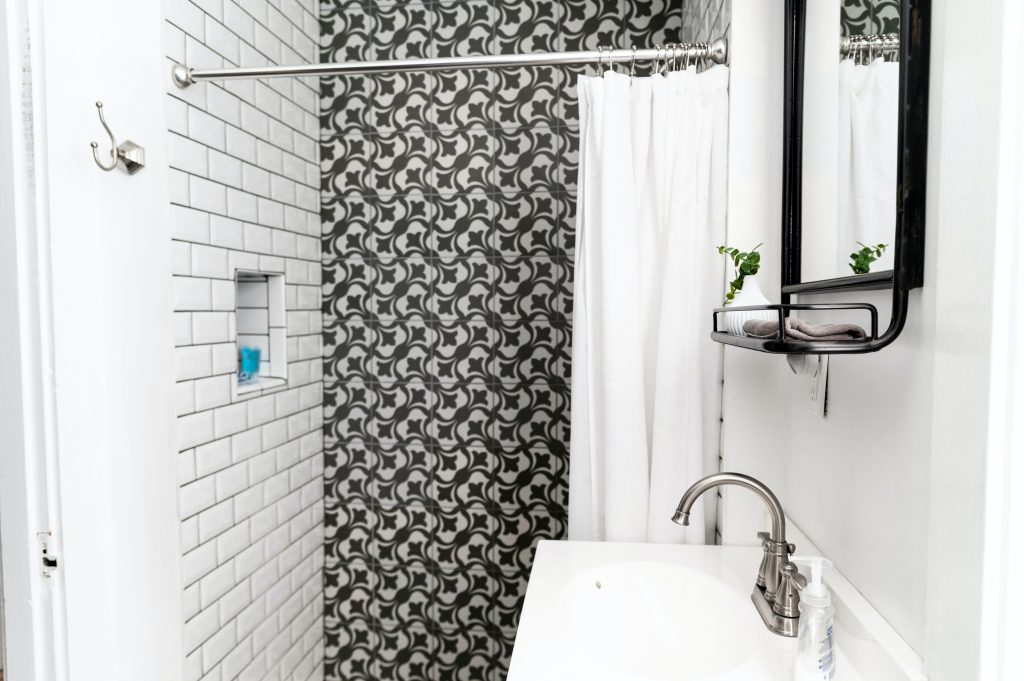
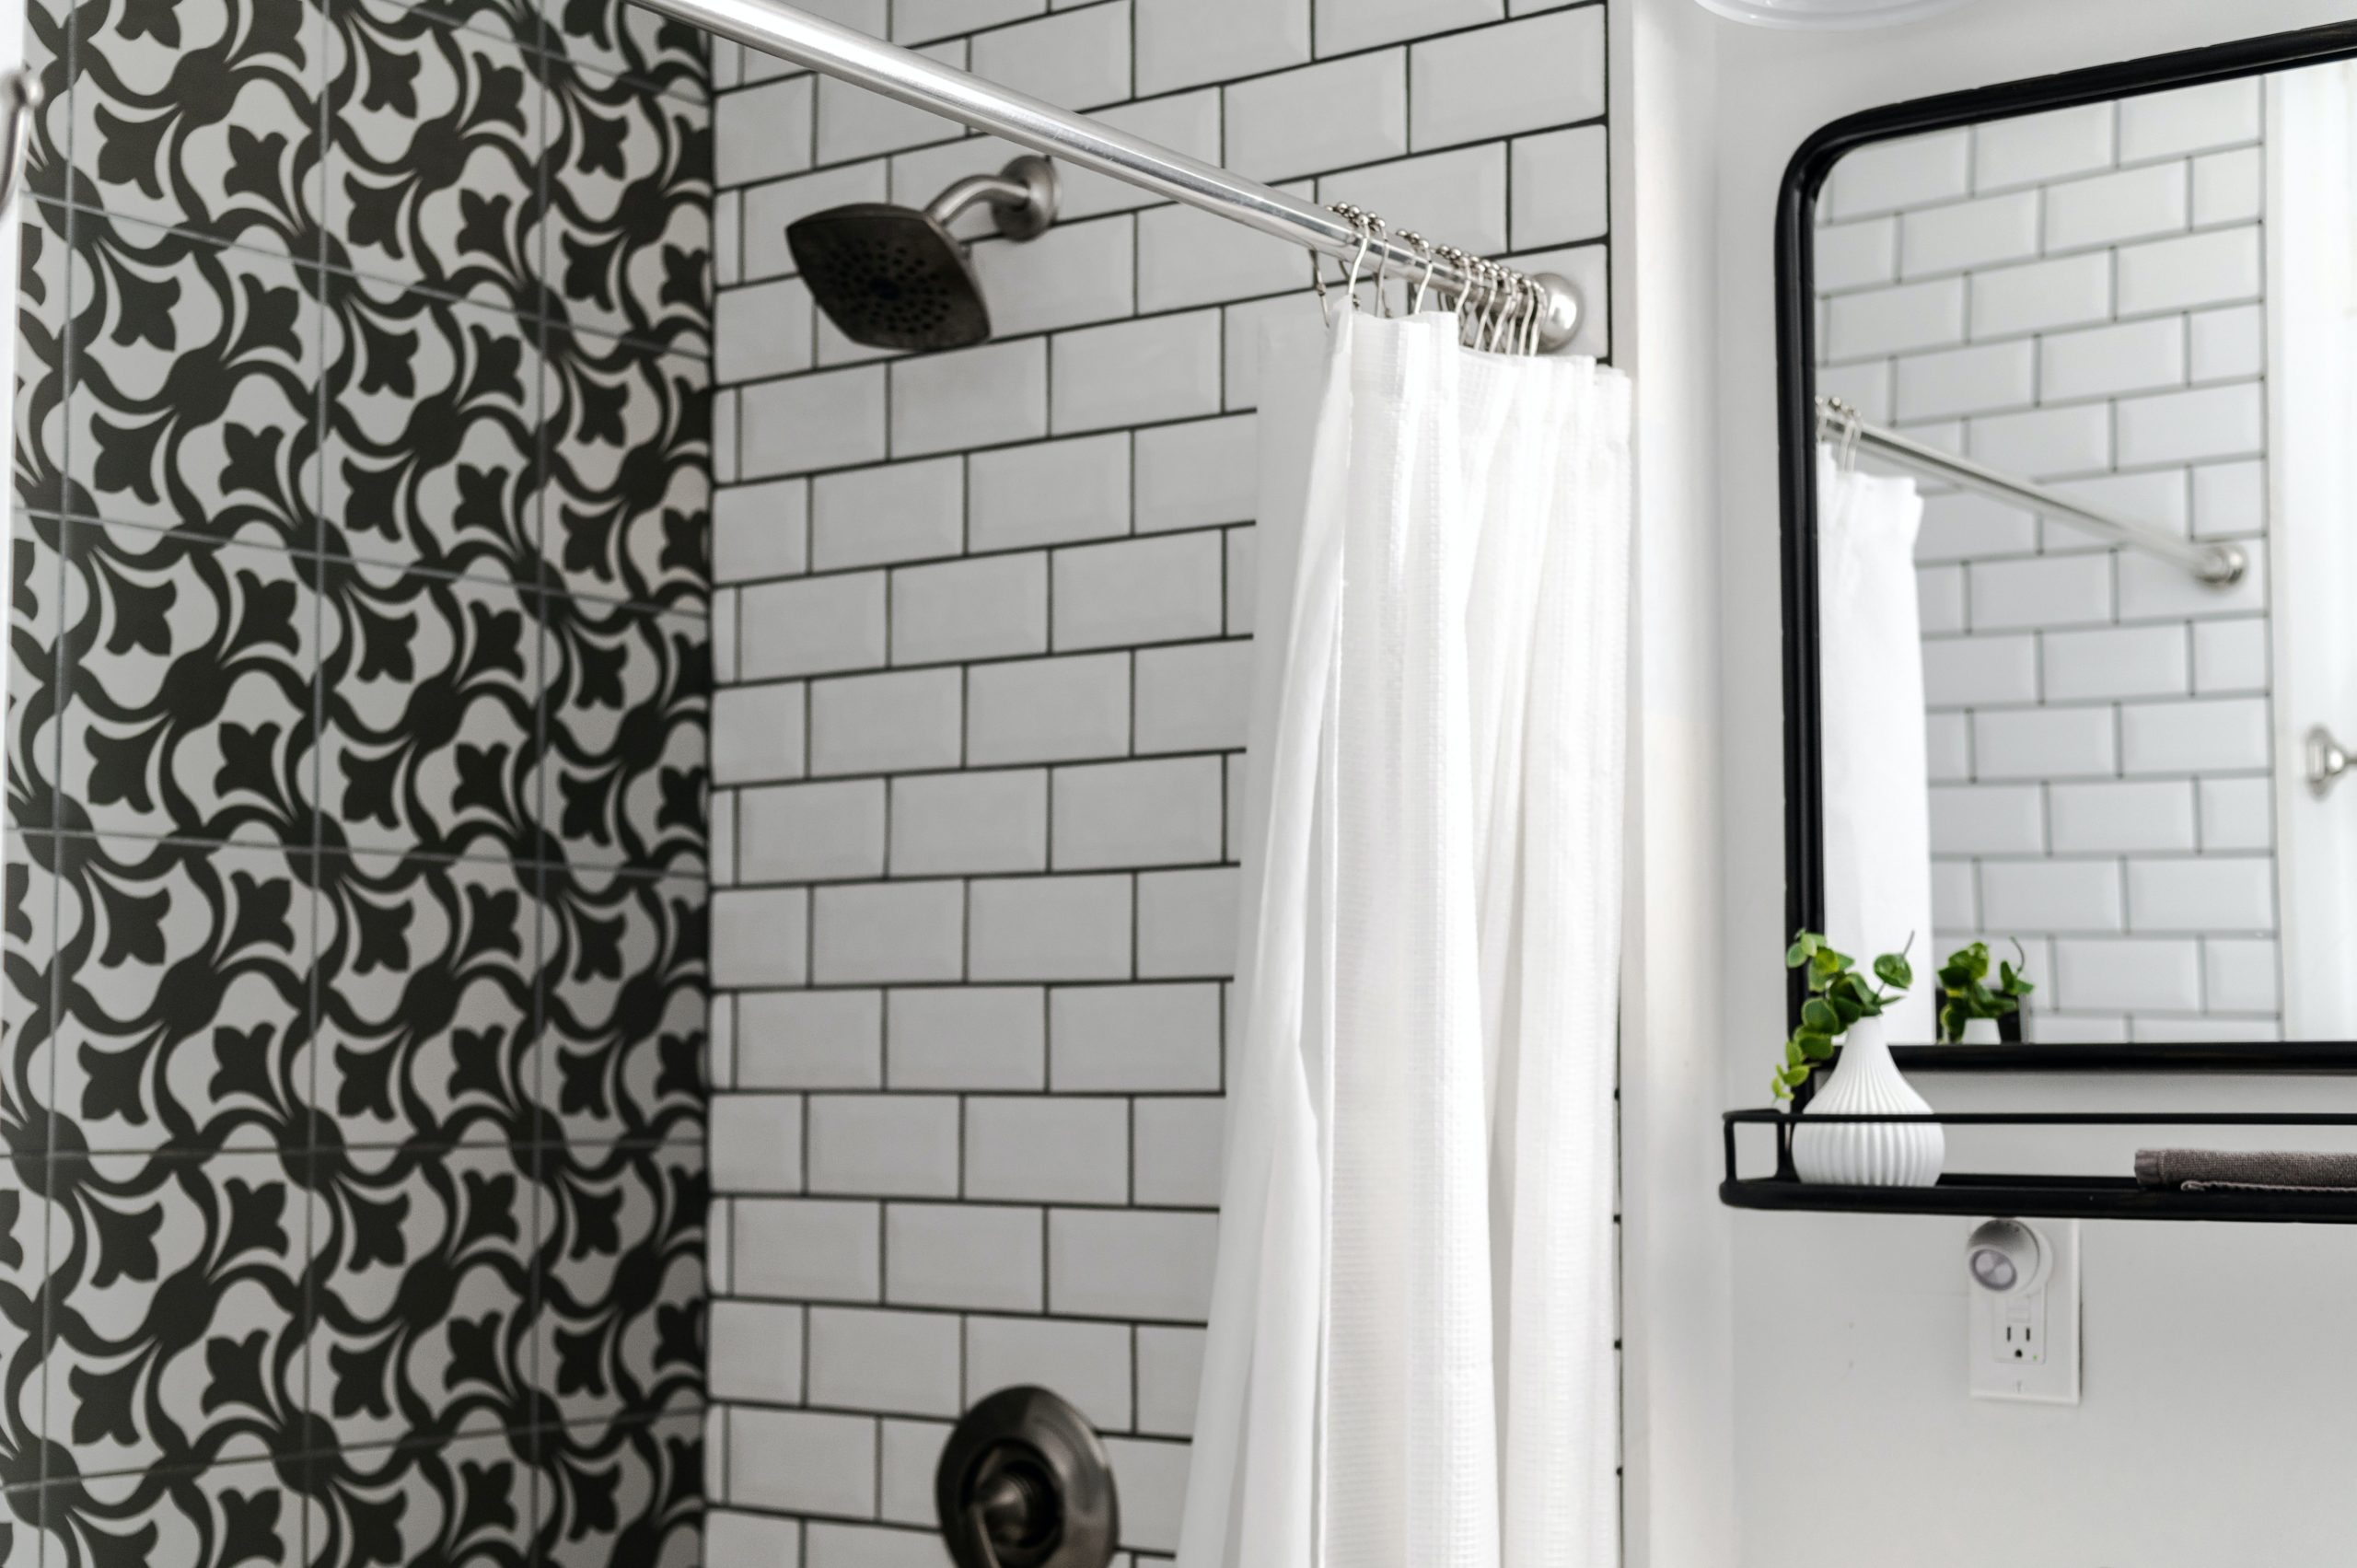
Another common place to instal tiles is in the shower, which not only helps improve the look of the space but also keeps the actual walls from getting damaged by water. The patterns and aesthetic of your floor can be carried over to the walls of your shower if you have tile installed there. This is where some of the most significant benefits of the material come into play, including its resistance to water and its ease of cleaning.
Tiling a Wall
Another common place to instal tiles is in the shower, which not only helps improve the look of the space but also keeps the actual walls from getting damaged by water. The patterns and aesthetic of your floor can be carried over to the walls of your shower if you have tile installed there. This is where some of the most significant benefits of the material come into play, including its resistance to water and its ease of cleaning.
Bathtub Tiling
There isn't a more seamless way to incorporate a bathtub into a space than by tiling the area around it. The option of tiling the area around your bathtub is very similar to the one we suggested for the shower earlier. You can protect your walls from water damage while simultaneously adding a style element that other tub surround options are unable to provide for you.
Types of Bathroom Tile
After deciding which tiling project you want to take on, the next step is to select the materials that are the most appropriate for your requirements. You have a wide variety of options to choose from, but the following are the most common kinds of bathroom tiles and the best uses for each one:
Ceramic
Due to the fact that it is both affordable and adaptable, this is the kind of bathroom tile that is most frequently found in homes. Because of their high level of resistance to water and their ease of cleaning, ceramic tiles are an excellent material to use for the surrounds of showers and bathtubs.
Glass
It is recommended that glass tiles be used only in low-traffic areas such as shower areas or mosaic feature walls. Glass tiles can be used to create a beautiful single-colored shower area. It is best to keep them away from areas where they could be damaged or scratched easily.
Natural Stone
It has a stunning appearance, but its resistance to water might not be up to par with the other choices you have. If you just can't say no to the style, at least keep it out of the bathroom's wet areas like the shower and tub.
Granite
Although the weight of this material might make it unsuitable for some wall applications, it works wonderfully as a flooring material. It is also possible to use it to connect the floors of your bathroom to the countertops of your vanity.
Marble
Marble is a time-honored material for the floors and walls of bathrooms because it is resistant to all types of water and adds a beautiful design element. The fact that it is so expensive, however, is a deal breaker that will force you to base your decision on how much money you have available.
Your choice of tile will ultimately be determined by a combination of personal preference and financial considerations. You will be able to make a decision that is better informed if you consult with an installation specialist or your neighbourhood home improvement store.
How To Tile A Bathroom Floor Yourself
Remove the old tile.
If you have decided to tile the floor of the bathroom by yourself, you should at the very least make an effort to have someone else nearby who can assist you. When you have someone at home who is willing to help out with the little things, the task at hand is always going to be simpler. To get started, rip up any old tile that is in the bathroom, as well as any carpet that is there.
Taking the time to remove the door from the bathroom will make the rest of the process go more smoothly once you've moved on to the next step. The condition of the floor will determine whether or not the old floor beneath the tile surface needs to be redone.
Getting the new tiles Right
When you are tiling your bathroom without the assistance of an expert, this is most likely going to be one of the simpler parts of the project. Choose a tile pattern for the new floor in the bathroom that you really like. Keep in mind that there are literally hundreds of different materials and colours available, and that the one you choose will depend not only on the size of the room but also on the overall aesthetic of your home.
The following is a fantastic guide that will further assist you in selecting the appropriate tile. From colourful tiles that offer a playful vibe to intricate designs that accentuate the look of the bathroom, this guide will help you choose the tile that is best for you.
Creating the right template
After you have finished removing the old tiles and bathroom fixtures and have prepared the floor for the laying of the new tiles, the next step is to determine the correct pattern and placement of the tiles. Do not rush through this step because it will determine the overall appearance of your bathroom, down to the placement of the tiles and the way they are arranged. Make a plan for the arrangement of the tiles by drawing lines with chalk. You should now have a reasonably accurate picture of what the look of the completed bathroom will be.
Make a template that includes the grout lines so that you will have a clear idea of how much room you have left in the corners and how you will need to cut the tiles to fit in these spaces. When you tile the floor of a small bathroom, placing the tiles diagonally will give the impression that the room is larger than it actually is.
Laying down the cement
It is time to start preparing the floor for the tiles once you have reached a point where you are satisfied with where the tiles will go (recheck this step if you are not one hundred percent certain about where the tiles will go; once you begin, there is no turning back). You should invest in high-quality cement that possesses outstanding adhesive qualities in order to make your work significantly less difficult.
It is not necessary to thoroughly combine all of the adhesive cement at once. Because you are inexperienced with the activity, carefully positioning each tile will take a considerable amount of time. If you mix the cement in large quantities, it is sure to become dry even before it is put to use.
Lay the tile with precision
When it comes to installing tiles in the bathroom, a notched trowel is an absolute necessity, so make sure to pick one up at your neighbourhood hardware store. It ensures that the tiles are all placed at the same height and that the adhesive adheres to the entire lower surface of the tile. Additionally, it ensures that the tiles are all placed at the same height.
After carefully positioning the tiles where you want them, pound them into position using a lightweight wooden block and a hammer. To guarantee that the grout lines will be perfectly straight, you should never begin in a room's corner but rather in the room's centre.
Grout and Sealing
When installing tiles in their bathrooms, many homeowners make the common mistake of ignoring the colour of the grout. However, this seemingly insignificant aspect can have a significant impact on the overall allure of the bathroom. Choose a grout colour that is an attractive contrast to the dominant hue of the bathroom.
Both dark-colored and light-colored grouts have benefits and drawbacks associated with them. Consequently, it is useful to select a colour that works well with the theme of your bathroom. After you have applied the grout evenly with a grout float, sponge the tile surfaces with a damp sponge to finish.
Washing away the mess
To remove all of the grout from the tile surface, clean it off with some water that is lukewarm and a sponge. You will never have another chance to get those grout lines perfectly straight than right now. Create straight lines by drawing them out with the edge of the sponge, and then shape the lines so that they are clear. You will not be able to redo this portion of the work after the grout has had a chance to set.
Make sure that it is completely symmetrical by devoting a little bit of extra time to the task. Before you wash the floor clean again, you should refrain from using the bathroom for another 24 to 48 hours and stay off the surface.
Do not box yourself into a corner!
Even though this seems like it should be a no-brainer, the vast majority of us have a bad habit of putting unnecessary restrictions on ourselves at some point. Make sure that you plan out the arrangement of the tiles ahead of time, as well as the sequence in which you will be placing them. The removal of the old tiles and installation of the new ones is a much more difficult task than grouting and cleaning.
We have a wide range of Melbourne tiling renovations to help you choose in creating a new design for your house.
Smart and Beautiful Finish
Sealing the bathroom floor helps it last longer. It prevents infestation, makes your bathroom floor more steam- and water-resistant, and makes it shinier. Bathroom floor tiling has many benefits. Saving money is the biggest perk. DIY bathroom tiling can cut costs by 60%. It's not for those who don't like housework.
When redoing a small bathroom's floor, have the tiles cut for the edges. Gloves and knee pads can help. If you get stuck, call for help and be proud of the work you've done. The project will save you money and give you the confidence to tackle future floor issues.
New or replacement bathroom tile can elevate the space and improve its function. You must do it correctly or hire experts to reap its benefits.
Conclusion
If you want to tile a small bathroom, plan on spending at least 15 to 20 hours on the project. There has been a rise in the use of tile in bathroom makeovers and renovations. Your walls, floors, and tub surround will remain in pristine condition for a longer period of time due to its water resistance and ease of cleaning. Bathroom tiling is a challenging DIY project that is best left to professionals. The most important finishing touches are proper grouting and silicone between the tiles.
Simply applying a thin layer of mold-resistant silicone to tiles will protect them from becoming stained, cracked, and mouldy. When installing a shower or shower tray, be sure to connect it to the correct floor drain. If you sand the bathroom's floors and walls before tiling, you can rest assured that they will be sturdy enough. When laid artfully, black tiles can be as functional as they are beautiful. Tiles made of porcelain should ideally be pitch black all the way through.
The installation of new tile flooring enhances the home's aesthetics while also enhancing its practicality. The methods detailed in this article will allow you to complete the task in a single weekend. Bathroom tiles come in a wide variety of styles and materials, each of which has its own set of advantages and disadvantages. The walls of a shower or bathtub can benefit greatly from being tiled with ceramic. The use of glass tiles in a shower allows for an attractive monochromatic design.
Due to its durability in moist environments, marble has long been used to adorn bathroom floors and walls. It will depend on the state of the floor to see if the original floor underneath the tile surface needs to be redone. This guide will help you select the tile that is ideal for you, whether you're looking for vibrant tiles that provide a joyful atmosphere or sophisticated tiles that elevate the design of your bathroom. You should spend your money on cement that sticks exceptionally well. You should definitely stop by the local hardware store and pick up a notched trowel.
You should pick a grout colour that stands out nicely against the main colour in the bathroom. To save money, consider tiling your bathroom yourself. Those who despise domestic duties should look elsewhere. Don't be ashamed to ask for assistance, and remember how far you've come no matter what happens. You'll end up saving money and feeling more prepared to deal with future problems thanks to this project.
Content Summary
- Installing bathroom floor tile is a job for the pros.
- You can tile a small bathroom floor with some work and planning.
- Always use the proper floor drain when setting up a shower or shower tray.
- Cracking tiles is a common problem that can arise when installing a tiled bathroom floor or wall.
- Sanding the floors and walls of the bathroom beforehand will ensure that they are strong enough to support the tiles and can withstand the daily use that the bathroom sees.
- Clean up your bathroom by getting rid of these items:Do you want a spa-like bathroom, but your old flooring is making you feel claustrophobic?
- Replace your bathroom floor, whether it's peeling linoleum or out-of-date vinyl, to instantly update your space.
- Hiring a professional to complete the installation can easily double or triple your costs, making this a cost-effective project for the intermediate to advanced DIYer.
- The floor of your bathroom is the most logical location for installing tiles, so you should start there.
- Putting in new tile flooring not only improves the functionality of the space but also contributes to its aesthetic appeal.
- The option of tiling the area around your bathtub is very similar to the one we suggested for the shower earlier.
- After deciding which tiling project you want to take on, the next step is to select the materials that are the most appropriate for your requirements.
- Your choice of tile will ultimately be determined by a combination of personal preference and financial considerations.
- If you have decided to tile the floor of the bathroom by yourself, you should at the very least make an effort to have someone else nearby who can assist you.
- Choose a tile pattern for the new floor in the bathroom that you really like.
- Creating the right templateAfter you have finished removing the old tiles and bathroom fixtures and have prepared the floor for the laying of the new tiles, the next step is to determine the correct pattern and placement of the tiles.
- Make a plan for the arrangement of the tiles by drawing lines with chalk.
- When it comes to installing tiles in the bathroom, a notched trowel is an absolute necessity, so make sure to pick one up at your neighbourhood hardware store.
- After carefully positioning the tiles where you want them, pound them into position using a lightweight wooden block and a hammer.
- Choose a grout colour that is an attractive contrast to the dominant hue of the bathroom.
- To remove all of the grout from the tile surface, clean it off with some water that is lukewarm and a sponge.
- Sealing the bathroom floor helps it last longer.
- Bathroom floor tiling has many benefits.
- DIY bathroom tiling can cut costs by 60%.
- New or replacement bathroom tile can elevate the space and improve its function.
FAQs About Bathroom Renovation
It's best to start from the middle of the wall and work outwards. When marking the wall with your tape measure and pencil, make sure you use your spirit level to ensure all of the markings are level. At the end of this, you should have the position of all your tiles marked out on your bathroom wall.
The bathroom fitters are unanimous—if you're looking for a high quality finish, with a better seal against water damage, then always tile the floor first.
How to prepare a wall for tiling
- Removing any screws/photo hooks/nails or other fittings.
- Remove any loose plaster.
- Remove old wallpaper.
- Fill any large cracks/holes in the wall.
- Ensure the wall is level and sand if required.
- Remove any dust with a vacuum and wipe clean the walls.
Before tiling, certain wall and floor backgrounds must be primed for a number of reasons including; to reduce porosity (absorbency) of backgrounds or bases (preventing the formation of air bubbles), to minimise risk of chemical reaction with cement-based adhesives and to add surface strength to friable (weak) surfaces.
You should waterproof all the shower walls before tiling. A tile backer or cement board is typically not waterproof, albeit many are water-resistant. The most effective and reliable solution is a separate waterproofing membrane on primed shower walls before tiling.