
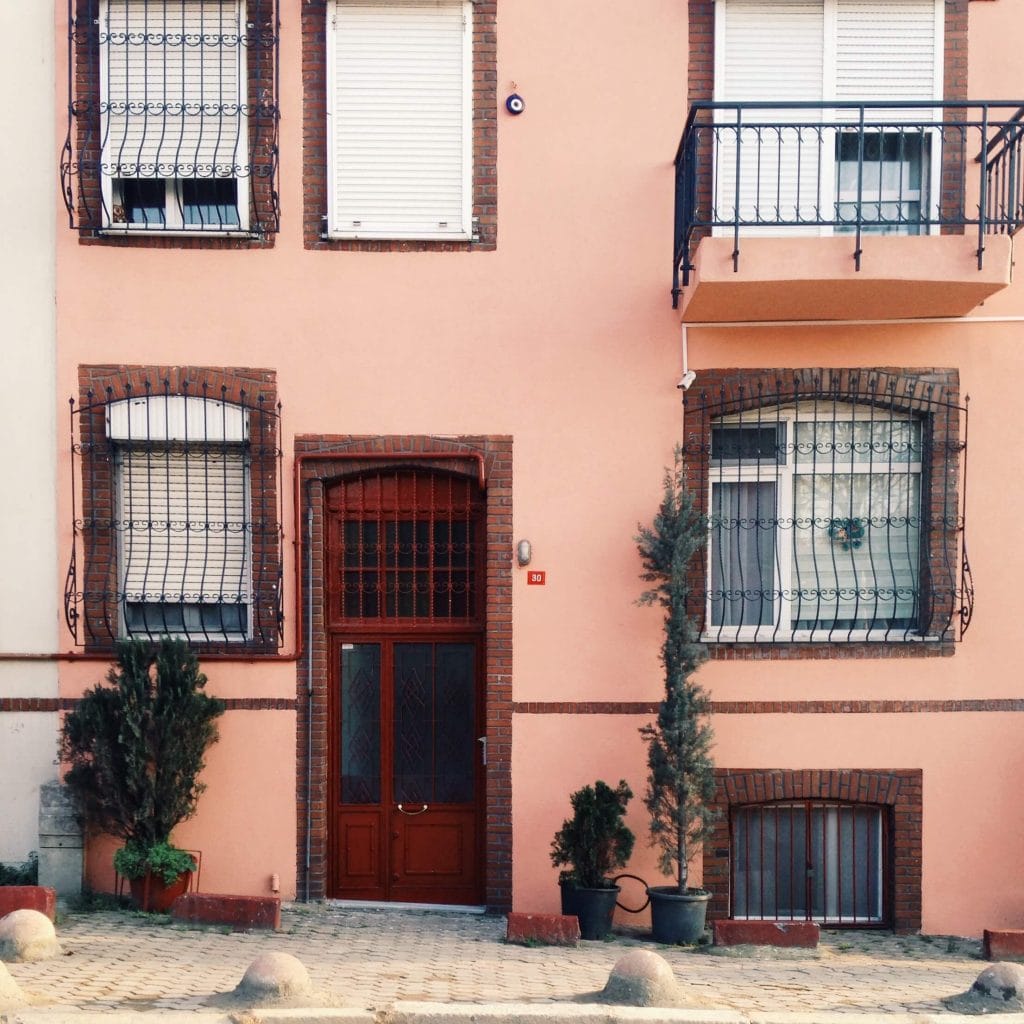
Whether you're building or renovating a house, you should waterproof the walls.
This is especially important for those who live in areas with a lot of rainfall or extreme humidity, as these conditions can cause walls to stay damp for a long time and cause moisture to travel through the paint and affect the internal structure. It can cause structural damage, mould infestation, and an unsightly appearance. This threatens your home's foundation.
If you don't want to spend money and time fixing your home, waterproof your walls. There are several ways to waterproof a wall, but it's best to hire a pro rather than risk a costly and time-consuming DIY disaster.
Monsoon season may bring relief to many, but homeowners must prepare for water leakage. Your exterior walls get wet during this season. When exterior walls are exposed to rainwater or high humidity, water and moisture can affect interior walls. Your walls may stay damp for a long time. So, mould and mildew grow on your wall, causing damage and water leakage. If you waterproof your house before heavy rain, you can keep it safe and enjoy the rain. Here are some tips to prevent wall dampness.
At Hitch Property Constructions, we offer the best range waterproofing services to rectify your water issues.
Why do we get leaks?
Most modern buildings have reinforced concrete vertical columns and top ring beams for strength. Between columns and beams, light concrete blocks or soft local red bricks are infilled with hard concrete. Reinforced concrete often has cracks and cavities, and infill is like blotting paper (sorry you might not remember that, like a sponge).
This sort of structure is very rigid, and the regular earthquakes we get in Bali (yes, we get lots, usually so small we don't even notice them but sometimes one that will wake you up in the night) result in cracks in structures, usually through building walls.
It's rare to find a tradesman who will logically identify a problem's cause rather than treating the first thing he sees.
How to Waterproof Your Walls – A Step-by-step Guide
Check for any cracks in the walls and seal them.
Walls can crack over time, usually at the weakest point. Builders add wall framing to instal doors and windows. These areas are weaker than the rest of the wall, so cracks begin there. Cracks allow moisture into your structure, causing damp walls. Cracks must be filled with putty. Before monsoon, do this to prevent leaks.
Exterior Paint
There are two main purposes for exterior paint. First, your paint should make your home look good. Exterior paint also provides a protective barrier for your home. The right paint protects wood, vinyl, metal, and stone from water. Use the right paint and undercoat to waterproof your home.
Caulking
Around windows, draughts can enter or warm air can escape. Old windows lose seals in the window and around the frame. Re-caulk the frame if you can't buy new windows. Quality caulking with professional installation lasts 5-7 years, so don't skimp. Bathroom caulking can also help. Check the sink, shower, and tub. Caulk seals most home fixtures.
Waterproofing During Construction
In-construction waterproofing is best. High-quality liquid waterproofing compound can be used with cement and sand. Waterproof your exterior walls before painting to prevent leaks. Hydroshield Dampproof by Nippon Paint is a fibre-reinforced waterproof coating that forms a thick elastic film that blocks water.
How to Waterproof Basement Walls: Dos and Don'ts
DO identify the water's source.
Wet streaks show where water is entering porous concrete. The best places to look for stains are along crevices, around pipe entry and exit points, in cement breaks, at window ledges, and in mortar clefts (for cement block walls).
If the walls are completely saturated, look into it more. One way to determine if condensation is present is to wipe off a small patch of wall with a dry rag and then attach a square of aluminium foil to it using tape. The foil's back side must be examined after one day. If there's moisture, then water is seeping in from elsewhere. If the basement is dry, a shower is likely the cause of the moisture; instal an exhaust fan to vent the steam outside.
DON'T repair walls if the basement is flooded.
During the rainy season, even the slightest cracks can allow a couple inches of water to leak into a basement. Before mending the fissure, the floor must be drained. Electrocution is more likely in flooded basements. Shut off the basement's electricity and use a pump to remove the water (using extension cables). A garden hose can be used to receive water from the pump. The walls should be inspected, fixed, and waterproofed after the basement has dried out.
DO use a hydraulic cement to fill cracks.
Basement wall cracks are also common. Footing, the flat, concrete-and-steel base upon which a building will rest, is poured before the foundation's walls. Standard construction method, but the point where the wall meets the footing is susceptible to cracking as a result of soil pressure, temperature changes, and expansion and contraction.
You can fill up the cracks with hydraulic cement, such the QUIKRETE Hydraulic Water-Stop Cement that is sold at Home Depot. Putty made from hydraulic cement and water is applied to cracks with a putty knife or gloved fingers in accordance with the manufacturer's recommendations. Hydrostatic cement is a type of cement that expands to fill in holes. You can only utilise what you can mix in three minutes.
DON’T forget to fix the leaking windows and wells.
If the house wasn't built with a drainage system, window wells can cause basement walls to leak. This can cause water to pool and eventually leak through a window in the basement.
It's not easy to retrofit a window well with a drainage system, but you can prevent rainwater from pooling by excavating down two feet and filling the well with gravel. The next step is to caulk the window using GE's Door and Window Caulk, which can be purchased from Home Depot and is comprised entirely of silicone. Installing a window well cover with a downward slant, like the Universal Fit Polycarbonate Window Well Cover from Shape Product, will help keep water out of the well.
Best waterproofing company? Done! You're covered by Hitch Property Constructions.
DO waterproof bare basement walls.
You should use DRYLOK White Extreme Waterproofer to caulk the inside of your basement walls if a foil test revealed water seepage (available from Home Depot). Premixed sealant applies like paint. Before applying a second layer to waterproof basement walls, the first layer must be applied thickly enough to plug all surface holes. The sealant creates a waterproof bond when it dries to stop leaks. One gallon covers 500 square feet.
Seal efflorescence or painted walls.
Since sealing only adheres to bare stone, you would need to remove any paint that you or the previous owner may have applied to the basement walls. Contractors who specialise in sandblasting must often remove numerous layers of paint from older homes. Another laborious yet affordable option is wire brushing.
Before applying sealer, use muriatic acid to eliminate efflorescence as suggested by the manufacturer.
DO prevent basement flooding.
It's not hard to repair walls that have been damaged by water in a basement. If you have plants, such as shrubs or flowerbeds, planted near your home's foundation, removing them can allow water to enter your basement. Water should be diverted away from your house, so make sure the gutters and downspouts are in good working order. It is also suggested that the ground be slanted at a rate of two percent away from the base.
You could want to put in a drain tile system outside. We're talking about a $10,000 or further last-ditch attempt here. A punctured drain must be installed at the basement footing level, which requires excavation. The basement wall is often coated with a waterproof membrane, and a subsurface sump pump is required. A moist basement should be fixed by a foundation specialist.
DO consider interior drainage.
The walls can be dried by installing a drainage canal beneath the basement floor. A comparable function is served by a drain system installed within the basement's masonry walls as that of outside drain tile. As a result of the new walls being built inside the drain, the original basement walls can no longer be seen. Costing around $6,000, this project requires the services of a foundation specialist. At the conclusion of the process, the walls will be completely dry and look brand new.
How can we prevent water from sinking into walls?
What to do about water beyond the wall?
First things first, let's get ourselves checked into a sobering up facility so we can put an end to these DTs and red-rimmed eyes.
Examine an ashram. Transcendental meditation enables us to accept problems with water in our life and to love all living things, including cats.
Self-massage and shaving.
We can now return home, give apologies to the cat, bury the gin, and design our wall.
Find the leak first.
Since water moves downward, we begin at the highest place.
Wall's top exposed to the elements or a roof that overhangs? In the absence of an overhanging roof, check the top of the wall for cracks. The top is water resistant. A parapet wall or a concrete roof? Possible entry points for water are the parapet wall and the seam between the roof slab and the wall.
Roof leaks caused by cracked concrete gutters
Concrete gutter leaks are a very typical issue in Bali. Locals generally consider it poor manners to let roof water drain onto neighbouring property or the street. Many buildings are constructed right up against the property line, in which case a concrete gutter is typically erected along the top of the wall to collect rainwater and channel it away. There are two main issues with these concrete gutters:
- Cracks in the gutter caused by ground movement frequently let water seep into the wall. Small cracks may be quite simple to repair. For optimal results, it's best to treat the entire gutter at once after a thorough cleaning, but internal waterproofing requires a clean gutter first.
- To prevent water from flooding your home if the gutters are ever full, they are often installed at a higher elevation on the exterior of the building than the interior. Roof gutters in Australia are composed of aluminium or plastic and are designed to overflow outward if they become full. To begin resolving this issue, confirm that the gutter's drain pipe is sizable enough to accommodate the roof area that it must drain and that low points have been carved into the gutter's outer edge to serve as overflow sites. Naturally, they need to be set at a lower level than the gutter's inner edge. In order to prevent water from backing up in the pipe, downpipes should have a space between the ground and the gutter.
Check the wall's surfaces.
After checking the wall's top, check its surface. Check it thoroughly. Is it outdoors? In windier locations, rain may be hurled at an angle against a wall. Structures with enough roof overhangs prevent water from running down the walls. Room temperatures are maintained by a roof's overhang in the summer.
Rain-exposed walls can be waterproofed to prevent water infiltration. The issue of wall crevices will be addressed shortly.
A wall must breathe so water can evaporate if it gets in. Walls shouldn't be waterproofed inside and out. In that case, it's possible that your walls are moist.
Rising moisture
Finally, humidity is on the rise. This is a typical problem in Bali due to the lack of damp-proof courses, but it may be rectified. Not even an experienced cook should be trusted with something as delicate as poaching an egg. Make a horizontal cut along the length and bottom of the wall. Caution is needed, as you can't do this in one sitting. The crack is sealed with a strong cement. Water cannot penetrate the wall and rise thanks to this sloof. Although injecting silicone solutions is a common practise in Britain, it is not available in the United States. They wouldn't work due to the porous batako walls.
We have a huge range of waterproofing services Melbourne at Hitch Property Constructions that offers stress-free services for any water problem you got!
Fixing the laps
We've located the root of the problem; what now? I would advise against using a thin layer of thick waterproofing mortar. Waterproofing film has a vulnerability to cracking. Excessive heat from the sun will cause the concrete skim to crack and separate from the underlying wall, allowing water to seep in.
My prefered treatment is brush-applied polymer paint. It's colourful. Local versions are cheaper, but I doubt they're as good. We must take extra precautions around cracks since they may shift. Raintite has a bandage-like membrane. Before soaking the bandage, paint the crack on both sides with Raintite polymer. If the fracture shifts, the bandage can be stretched to keep the waterproof layer in place. Polymers hate water.
In waterproofing, stop water from getting in, not out. Even experienced builders sometimes try to seal leaks from the inside. Water can travel far through a structure or saturate it, making finding the source difficult.
Conclusion
Monsoon season brings relief to many, but homeowners must prepare for water leakage. Dry walls can cause moisture to travel through the paint and affect the internal structure. There are several ways to waterproof a wall, but it's best to hire a pro rather than risk a costly and time-consuming DIY disaster. Exterior paint protects wood, vinyl, metal, and stone from water. Use the right paint and undercoat to waterproof your home.
In-construction waterproofing is best; high-quality liquid waterproofing compound can be used with cement and sand. You can fill cracks with hydraulic cement or putty made from water and putty. Window wells can cause basement walls to leak, so fix them with a well cover. Do waterproof bare basement walls? Use DRYLOK White Extreme Waterproofer to caulk inside of your basement walls.
A moist basement should be fixed by a foundation specialist. A punctured drain must be installed at the basement footing level, which requires excavation. Walls can be dried by installing a drainage canal beneath the basement floor. Costing around $6,000, this project requires the services of a foundation specialist. Many buildings are constructed right up against the property line.
A concrete gutter is typically erected along the top of the wall to collect rainwater. Cracks in the gutter can allow water to seep into the wall, and internal waterproofing requires a clean gutter first. Injecting silicone solutions is not available in the U.S. as they wouldn't work due to the porous batako walls. Excessive heat from the sun will cause the concrete skim to crack and separate from the underlying wall, allowing water to seep in.
Content Summary
- Whether you're building or renovating a house, you should waterproof the walls.
- If you waterproof your house before heavy rain, you can keep it safe and enjoy the rain.
- Use the right paint and undercoat to waterproof your home.
- Waterproof your exterior walls before painting to prevent leaks.
- If the house wasn't built with a drainage system, window wells can cause basement walls to leak.
- It's not hard to repair walls that have been damaged by water in a basement.
- Many buildings are constructed right up against the property line, in which case a concrete gutter is typically erected along the top of the wall to collect rainwater and channel it away.
- To prevent water from flooding your home if the gutters are ever full, they are often installed at a higher elevation on the exterior of the building than the interior.
- Water cannot penetrate the wall and rise thanks to this sloof.
- Although injecting silicone solutions is a common practise in Britain, it is not available in the United States.
- We have a huge range of waterproofing services Melbourne at Hitch Property Constructions that offers stress-free services for any water problem you got!
- I would advise against using a thin layer of thick waterproofing mortar.
- Waterproofing film has a vulnerability to cracking.
- Before soaking the bandage, paint the crack on both sides with Raintite polymer.
FAQs About Wall Waterproofing
Waterproofing is best done at the time of construction. Using high-quality liquid waterproofing compound in the starting stage with cement and sand can be effective. Otherwise, use a waterproof coating before painting your exterior walls to prevent water leakage.
Check walls for faults: Waterproofing external walls is the best solution only if the walls become damp as a result of rainwater or moisture. Before shopping around for waterproofing products, it's important to eliminate any other causes of structural dampness.
Epoxy paint
Epoxy paint is a common waterproof paint for concrete as it is tougher than some of the other options, provides good adhesion to porous substrates, and is highly water resistant. It is important to use a breathable paint for cellar walls.
Waterproof admixtures are used to create waterproof concrete. The admixtures reduce the chance of water ingress by reducing the permeability and drying shrinkage of concrete.
The most common way to waterproof concrete is to use a liquid waterproofing product specifically designed for that purpose. Liquid waterproofing gel is a thick substance that turns into a rubber-like coating once applied to the outside of a concrete wall.