

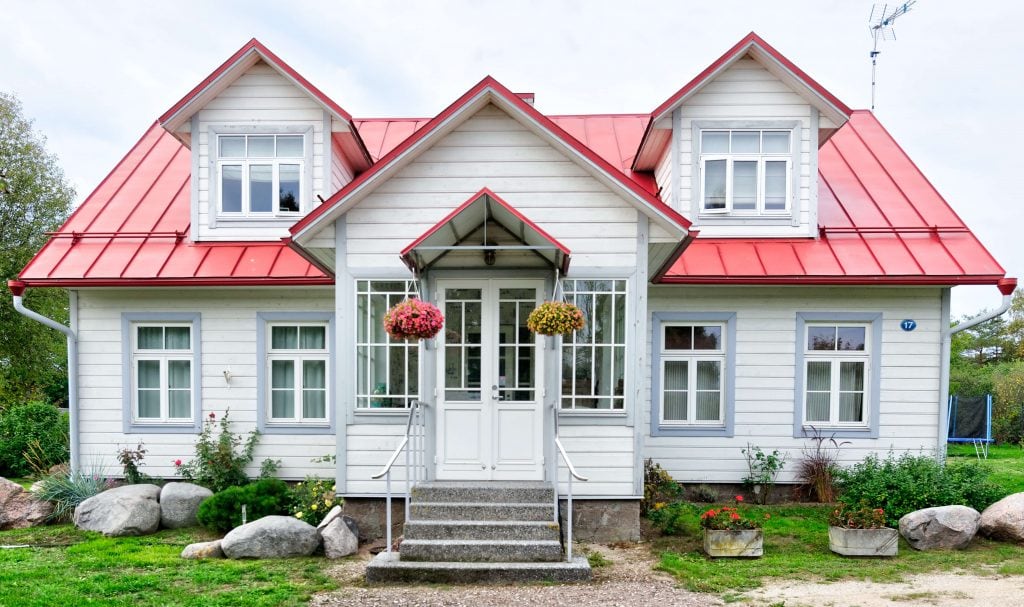
It is important to waterproof your property whether it is brand new or centuries old.
When water enters a home, it can ruin not just the structure but also the contents and reduce their resale value. Paint and finishes may be harmed by it.
Large waterproofing works, especially on your roof, may be costly, so it's important to keep an eye on all the vulnerable spots in your home and fix them before water damage becomes severe.
Blooming flowers, warm days, and baseball are just a few of the joys that springtime provides. It typically ushers in wet conditions. If you don't take precautions, all that water might ruin your property and reduce its worth. Your house will be better prepared to withstand the spring showers and summer storms if you perform some routine maintenance. In order to help you seal your home during the weekend, here are some pointers.
At Hitch Property Constructions, we offer the best range waterproofing services to rectify your water issues.
How to Waterproof an Outside Wall in Easy Steps

Check Wall Damage
If the exterior walls ever become wet from rain or other sources of moisture, they need to be waterproofed. If the walls aren't damp already, this won't work. If there are other potential sources of moisture in the structure, they must be fixed before waterproofing materials may be sought. It's possible that a pipe burst or that the bricks in your wall are crumbling. This has limitless possibilities. Following the resolution of the issue at hand, the application of a waterproofer as a preventative measure is the next step.
Remove Debris from Gutters!
If your gutters are clogged, water will overflow and run down your walls, and it will also gather and be absorbed by the fascia or wood boards on your roof, leading to leaks, rot, and mould. If your gutters are clogged, rainwater will pool and eventually drip down your walls. By just cleaning your gutters twice yearly, you may prevent all of these issues and keep your home in good health.
Look for a Reliable Water Repellent
There are several options available to homeowners today for exterior waterproofing materials to ensure their homes remain dry throughout the year.
- Concrete waterproofing coating, a cement-like material, can be sprayed to any surface, even newly painted walls, to create a permanent seal against water and the environment.
- This silicate-based concrete sealer reacts with masonry and concrete to create a waterproof covering, but it can only be used on bare, unpainted walls.
- Waterproofing paint looks and feels very similar to standard acrylic wall paint; the primary difference is its ability to repel water. The formulation you choose should actively encourage air circulation and the evaporation of moisture from the walls. You can apply this over an existing coat of paint without any issues.
Add a Waterproofing Agent to Your Plaster
Building walls that have been plastered look better, are stronger, and are more resistant to water damage. Even though most exterior plasters already have qualities that make them waterproof, applying a waterproofing additive to the plaster can remove water penetration difficulties and prevent them from occuring in the future.
Get the Walls Ready for Waterproofing
The outer walls of a structure need to be fixed and brought up to a reasonable standard before any substance can be applied to waterproof them. This implies that you should employ a filler of adequate quality when mending cracks and holes. Make sure the filler is completely dry before you crush it. If you want the waterproofing to stick well to the walls, you should smooth out any bumps and divots, then wipe down the walls with water to remove any dust and allow them dry completely before continuing.
Put on the Weatherproof Paint
Spreading the waterproofer can be done using either a roller or a brush. Applying a second coat requires waiting until the first has dried completely. Be sure to use a generous amount of the product so as to form a solid barrier.
Test
A water-tightness test is necessary to evaluate the effectiveness of the outside waterproofing materials. As part of this test, water should be sprayed at a 30 degree angle onto the wall and left there for a few hours. If a moisture metre registers no moisture, then your home is dry and will pass inspection. In addition to saving money on maintenance, increasing your home's value, and protecting it from the elements, waterproofing the exterior walls is a smart investment.
Home Waterproofing Tips
Be Certain That the Structure Will Not Sustain Any Flooding
You don't want puddles to form and cause flooding inside. Prevent this from happening by ensuring that water quickly leaves the structure. Steeper roofs allow water to quickly drain away from the structure.
Stop the Seepage of Water
The most common entry points for water are in joints and seams, such as those found in a building's facade. To prevent issues in the future, it is crucial that the architect and other designers of the building fully grasp these connections.
Water seepage occurs due to faulty design or implementation. Common blunders include using subpar primers, not adequately preparing the surface, and failing to account for temperature and wind fluctuations.
Repairing the Leaks on Flat Terraces
Waterproofing flat terraces is challenging because water cannot immediately drain off. Weeping walls and water damage are possible results. The terrace should ideally be sloped. The ideal slope for flat terraces is 1 in 100, with water flowing down the slope and into drains. Water flow speed is increased and pooling is reduced when a structure has smooth surfaces.
To stop water from entering a structure, waterproofing membranes are installed. The concrete is covered with a waterproof membrane. Following that, you should place filler. Last but not least, you must use a long-lasting coating, such as tiles, stones, or another material.
Protecting Slanted Roofs From Water Damage
A properly adhered waterproofing membrane requires a spotless base. The substrate could possibly be cleaned most effectively with high-pressure water. The adherence of the membrane is enhanced by priming the surface. Sealants prevent bitumen from seeping through the roof. Primers should be used on dry substrates.
After diagnosis, treatment must be started. Reinforcing fabric or a flashing grade sealant is applied to problem areas ahead of time, such as floor-to-wall transitions, the ends of metal flashing, and the locations where pipes, vents, and drains are cut through the structure. Put down the liquid roofing membrane.
Looking for the best waterproofing company? Look no further! Hitch Property Constructions has you covered.
Repairing Leaky Basements
Waterproofing the basement with sealants and coatings can protect the building's interior against flooding. Waterproofing the interior requires measures such as installing exterior drainage systems and covering the outer walls with a waterproof membrane.
Improvements to Toilet Watertightness
Damage from water might be caused by a poorly installed toilet. You can avoid a lot of headaches by installing drop slabs or underground plumbing. If you're going with the drop slab method, make sure you set the bathroom's slab approximately a foot lower than the rest of the slab to create a tub for the plumbing. After the tub is tiled and filled with concrete.
On order to accommodate pipe runs, holes are made in nearby slabs. Then, it is concealed by a drop ceiling, which is the first place water would seep to if the toilet were to overflow. Fixing these leaks won't necessitate any major plumbing or structural work.
Keeping the Outside Walls Watertight
Find out where the moisture is coming from on the outer walls first. Rainfall, construction faults, or a broken pipe are all possible sources. Before you try to waterproof it, be sure the leak is fixed.
It's important to keep your gutters clear of debris to avoid flooding. Find a product that will keep water out. Pick a product that evaporates moisture and lets walls breathe. It is necessary to prep the walls before waterproofing. Let the filler cure before sanding after repairing any holes or cracks. It's important to make sure the walls are dry before proceeding with waterproofing. The second coat can be applied once the first has dried.
Your Home: A Step-By-Step Guide to Waterproofing
1. Waterproofing During Construction
Waterproofing should be done as early as possible in the building process. Cement and sand can now be used to create a high-quality liquid waterproofing solution that can be applied to brick and cement work, pillar and foundation, roof slab, rendering, basement, and plastering. By combining the right ingredients in the right amounts, you may stop the fragmentation and form a solid, cohesive whole.
Waterproofing the inside and outside of your home begins with this first and most important step.
2. Terrace Waterproofing
Even a hairline fracture in the roof or terrace can widen and let water in, leading to mould and mildew inside the building if left unchecked. Many homes' roofs leak because waterproofing was neglected throughout the building phase. As a first step, you should clean your roof or terrace thoroughly, paying special attention to any cracks. Then and only then can it be sealed to prevent water damage.
It is recommended to use two applications of a high-quality crack-filling paste or powder to fill in the cracks. This process continues as often as required. To repair wider cracks, use polymer-modified mortar mixed with HomeShield Advanced Latex Plus. Don't touch it until it's completely dried.
A high-quality exterior roof coating is the next stage in completing the waterproofing procedure.
3. Waterproofing Damaged and Aging Plaster
There's a good chance your walls are in poor shape if they've been subjected to heavy rain and wind. Is there water seeping into the house from cracks or holes in the wall? Damaged or ageing plaster can let water in, resulting in a musty atmosphere. Possible property damage necessitates prompt action on your part.
The Weekend Warrior’s Guide to Waterproofing Your House
Repairing Gutters
Neither clearing gutters nor repairing them is something anyone looks forwards to doing. Although, there are ways to simplify the process. To unclog drains from fallen leaves, use barbeque tongs. Sometimes this works, but more often than not you'll end up soaked and covered in gutter goop.
Long lag screws should be used to replace dangling gutter nails. Lag screws can be put with a cordless drill and a nut driver bit, are more secure, and save time and effort.
Concrete Repair
Cracks in concrete are inevitable, but they can be repaired. Most cracks in concrete smaller than 1/4" can be filled with caulk. After using a high-pressure hose nozzle to clean the crack, caulk it.
Larger cracks should be sealed with concrete patch. When water seeps into crevices, it weakens the ground, which leads to further fissures. The problem is made worse by the freezing water.
Sticky Windows/Doors
When it rains in the spring, wooden frames expand and become difficult to open and close. It's important to first identify the window or door that's stuck. Take out the hinge pins, prop up the door or window, and use a hand plane to smooth down the excess wood. The power planes do their job, but at a cost of too much. The gap will become unmanageable when the wood contracts throughout the summer.
Sliding windows require the trim to be taken off and put back in place for easier manoeuvrability. Pull the nails back using a flat bar and pliers to remove the trim. The wood shouldn't be damaged if the trim was put using finishing nails. It's important to reinstall everything so that they're snug but not too tight. Windows with loose trim will rattle as the wood dries.
It's a good idea to paint the tops and bottoms of windows and doors to keep them from sticking. The window sills and channels should not be painted. Utilize linseed oil as a sealant.
Fixing Water Stains on the Wall
Not using a primer-sealer will result in the staining being permanent. Here are some simple rules to follow while using a sealant: Water-based sealants don't perform as well as oil-based ones. Second, select a sealer that is high in solids. Colorants and other components in solids mask blemishes. Primer sealers such as Kilz and Zinsser can be found at paint stores, hardware stores, and home improvement centres.
When applying an oil-based sealer, do it with disposable brushes and rollers. Cleaning up after using an oil-based product is a hassle and wastes more paint thinner than it's worth.
Check out our Melbourne internal waterproofing services here.
Fixing and Repainting Old, Rusted Fixtures
Historically, naval jelly or a wire brush were required before to painting over rust. It is possible to prevent further corrosion from occuring under the paint by using an additive designed to improve paint's adhesion to rust and neutralise rust.
If you don't take care of the rust, it will lock up your fixtures. Always use lubricant on moving parts. Light oil or spray silicon is commonly used to grease outdoor fixtures. The problem is made worse by the use of light oils, which evaporate or dilute the current lubrication. Maintenance of gate hardware entails greasing its moving parts. It's ideal for long-lasting use and doesn't evaporate. Heavy grease is available at auto parts retailers.
Depending on the type of waterproofing you're attempting, you may need to get in touch with your broker. It's possible to save money on your house insurance. Traders, please get in touch with your broker.
FAQs About Waterproofing
Waterproofing is best done at the time of the construction. At this step, using high-quality liquid waterproofing compound with cement and sand can be applied for all brickworks and cement works, pillars and foundations, roof slabs, rendering, basements and plastering.
If you see any water, dribbles or leaks, or if you feel any dampness, then you need to get your basement waterproofed. Waiting will only worsen the damage and make the issues more expensive. New home ownership can be daunting, but it's important to address problems before they become catastrophes.
The exterior waterproofing process includes excavation of soil surrounding your home and repairing the leaks using a powerful sealant. Interior basement waterproofing systems are considered better and more effective in preventing wet basements. The interior weeping tile system can waterproof your basement.
The length of time waterproofing lasts depends on a few different factors including the amount of waterproofing product used, climate, and the severity of the initial damage. With all the different constituents, there's no set date, but most professionals will warranty it for about ten years.
Typically, extensive waterproofing measures are applied during construction to ensure that moisture is controlled at the initial stage. Waterproofing can also be done after a building has been built to solve problems as they arise.
Conclusion
Whether your home is brand new or centuries old, it is essential that you waterproof it. Nowadays, homeowners can choose from a variety of exterior waterproofing materials. Water will pool and seep into the fascia or wood boards on your roof if your gutters are clogged, and it will overflow and run down your walls. Plastering improves the aesthetics, strength, and water resistance of a building's walls. Painting a wall with waterproofing paint is as simple as painting any other wall with acrylic paint.
Your chosen formulation should promote airflow and the loss of wall moisture through evaporation. Incorrect planning or construction usually leads to water seepage. Use of poor primers and neglecting to account for weather changes are two frequent mistakes. External drainage systems and a waterproof membrane covering the exterior walls are necessary steps in interior waterproofing. This is the first and most crucial step in waterproofing your home, both inside and out.
Brick and cement work, pillar and foundation, roof slab, rendering, basement, and plastering can now all benefit from a liquid waterproofing solution made from cement and sand. Seal window sills and channels with linseed oil to prevent water damage.
Content Summary
- It is important to waterproof your property whether it is brand new or centuries old.
- Your house will be better prepared to withstand the spring showers and summer storms if you perform some routine maintenance.
- Concrete waterproofing coating, a cement-like material, can be sprayed to any surface, even newly painted walls, to create a permanent seal against water and the environment.
- In addition to saving money on maintenance, increasing your home's value, and protecting it from the elements, waterproofing the exterior walls is a smart investment.
- Prevent this from happening by ensuring that water quickly leaves the structure.
- Waterproofing the basement with sealants and coatings can protect the building's interior against flooding.
- Find out where the moisture is coming from on the outer walls first.
- It is necessary to prep the walls before waterproofing.
- It's important to make sure the walls are dry before proceeding with waterproofing.
- Waterproofing the inside and outside of your home begins with this first and most important step.
- As a first step, you should clean your roof or terrace thoroughly, paying special attention to any cracks.
- Although, there are ways to simplify the process.
- To unclog drains from fallen leaves, use barbeque tongs.
- Long lag screws should be used to replace dangling gutter nails.
- Cracks in concrete are inevitable, but they can be repaired.
- Windows with loose trim will rattle as the wood dries.
- It's a good idea to paint the tops and bottoms of windows and doors to keep them from sticking.
- Utilize linseed oil as a sealant.
- Second, select a sealer that is high in solids.
- If you don't take care of the rust, it will lock up your fixtures.
- It's possible to save money on your house insurance.
- Traders, please get in touch with your broker.
