
Two of the most typical places in residential structures for waterproofing to fail are bathrooms and balconies, and fixing either may be rather costly. Waterproofing a balcony is very difficult. The surface that people walk on is removed if there is a mistake, and it is not an easy thing to do when dealing with tiles, so you only get one chance to get it properly.
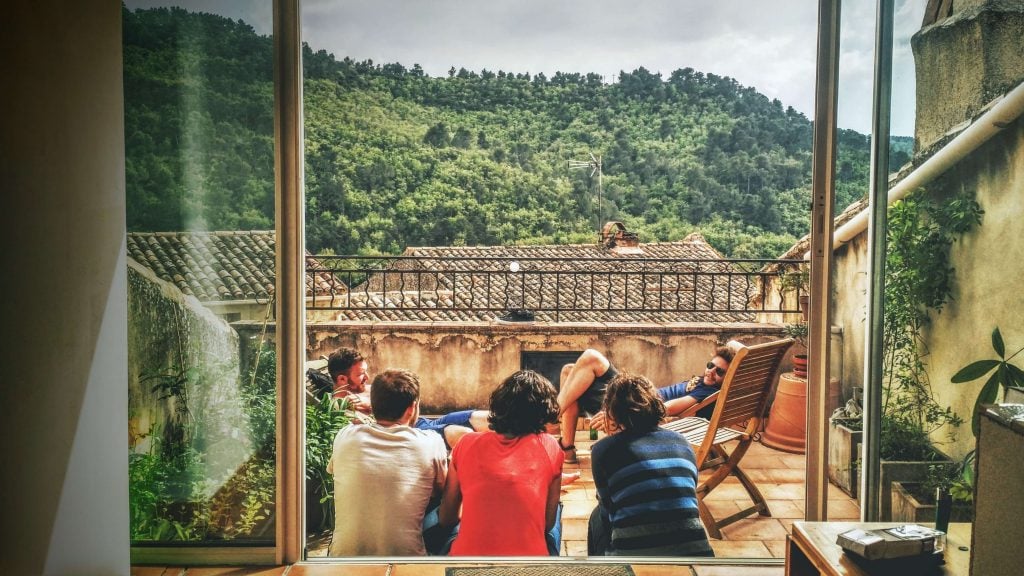
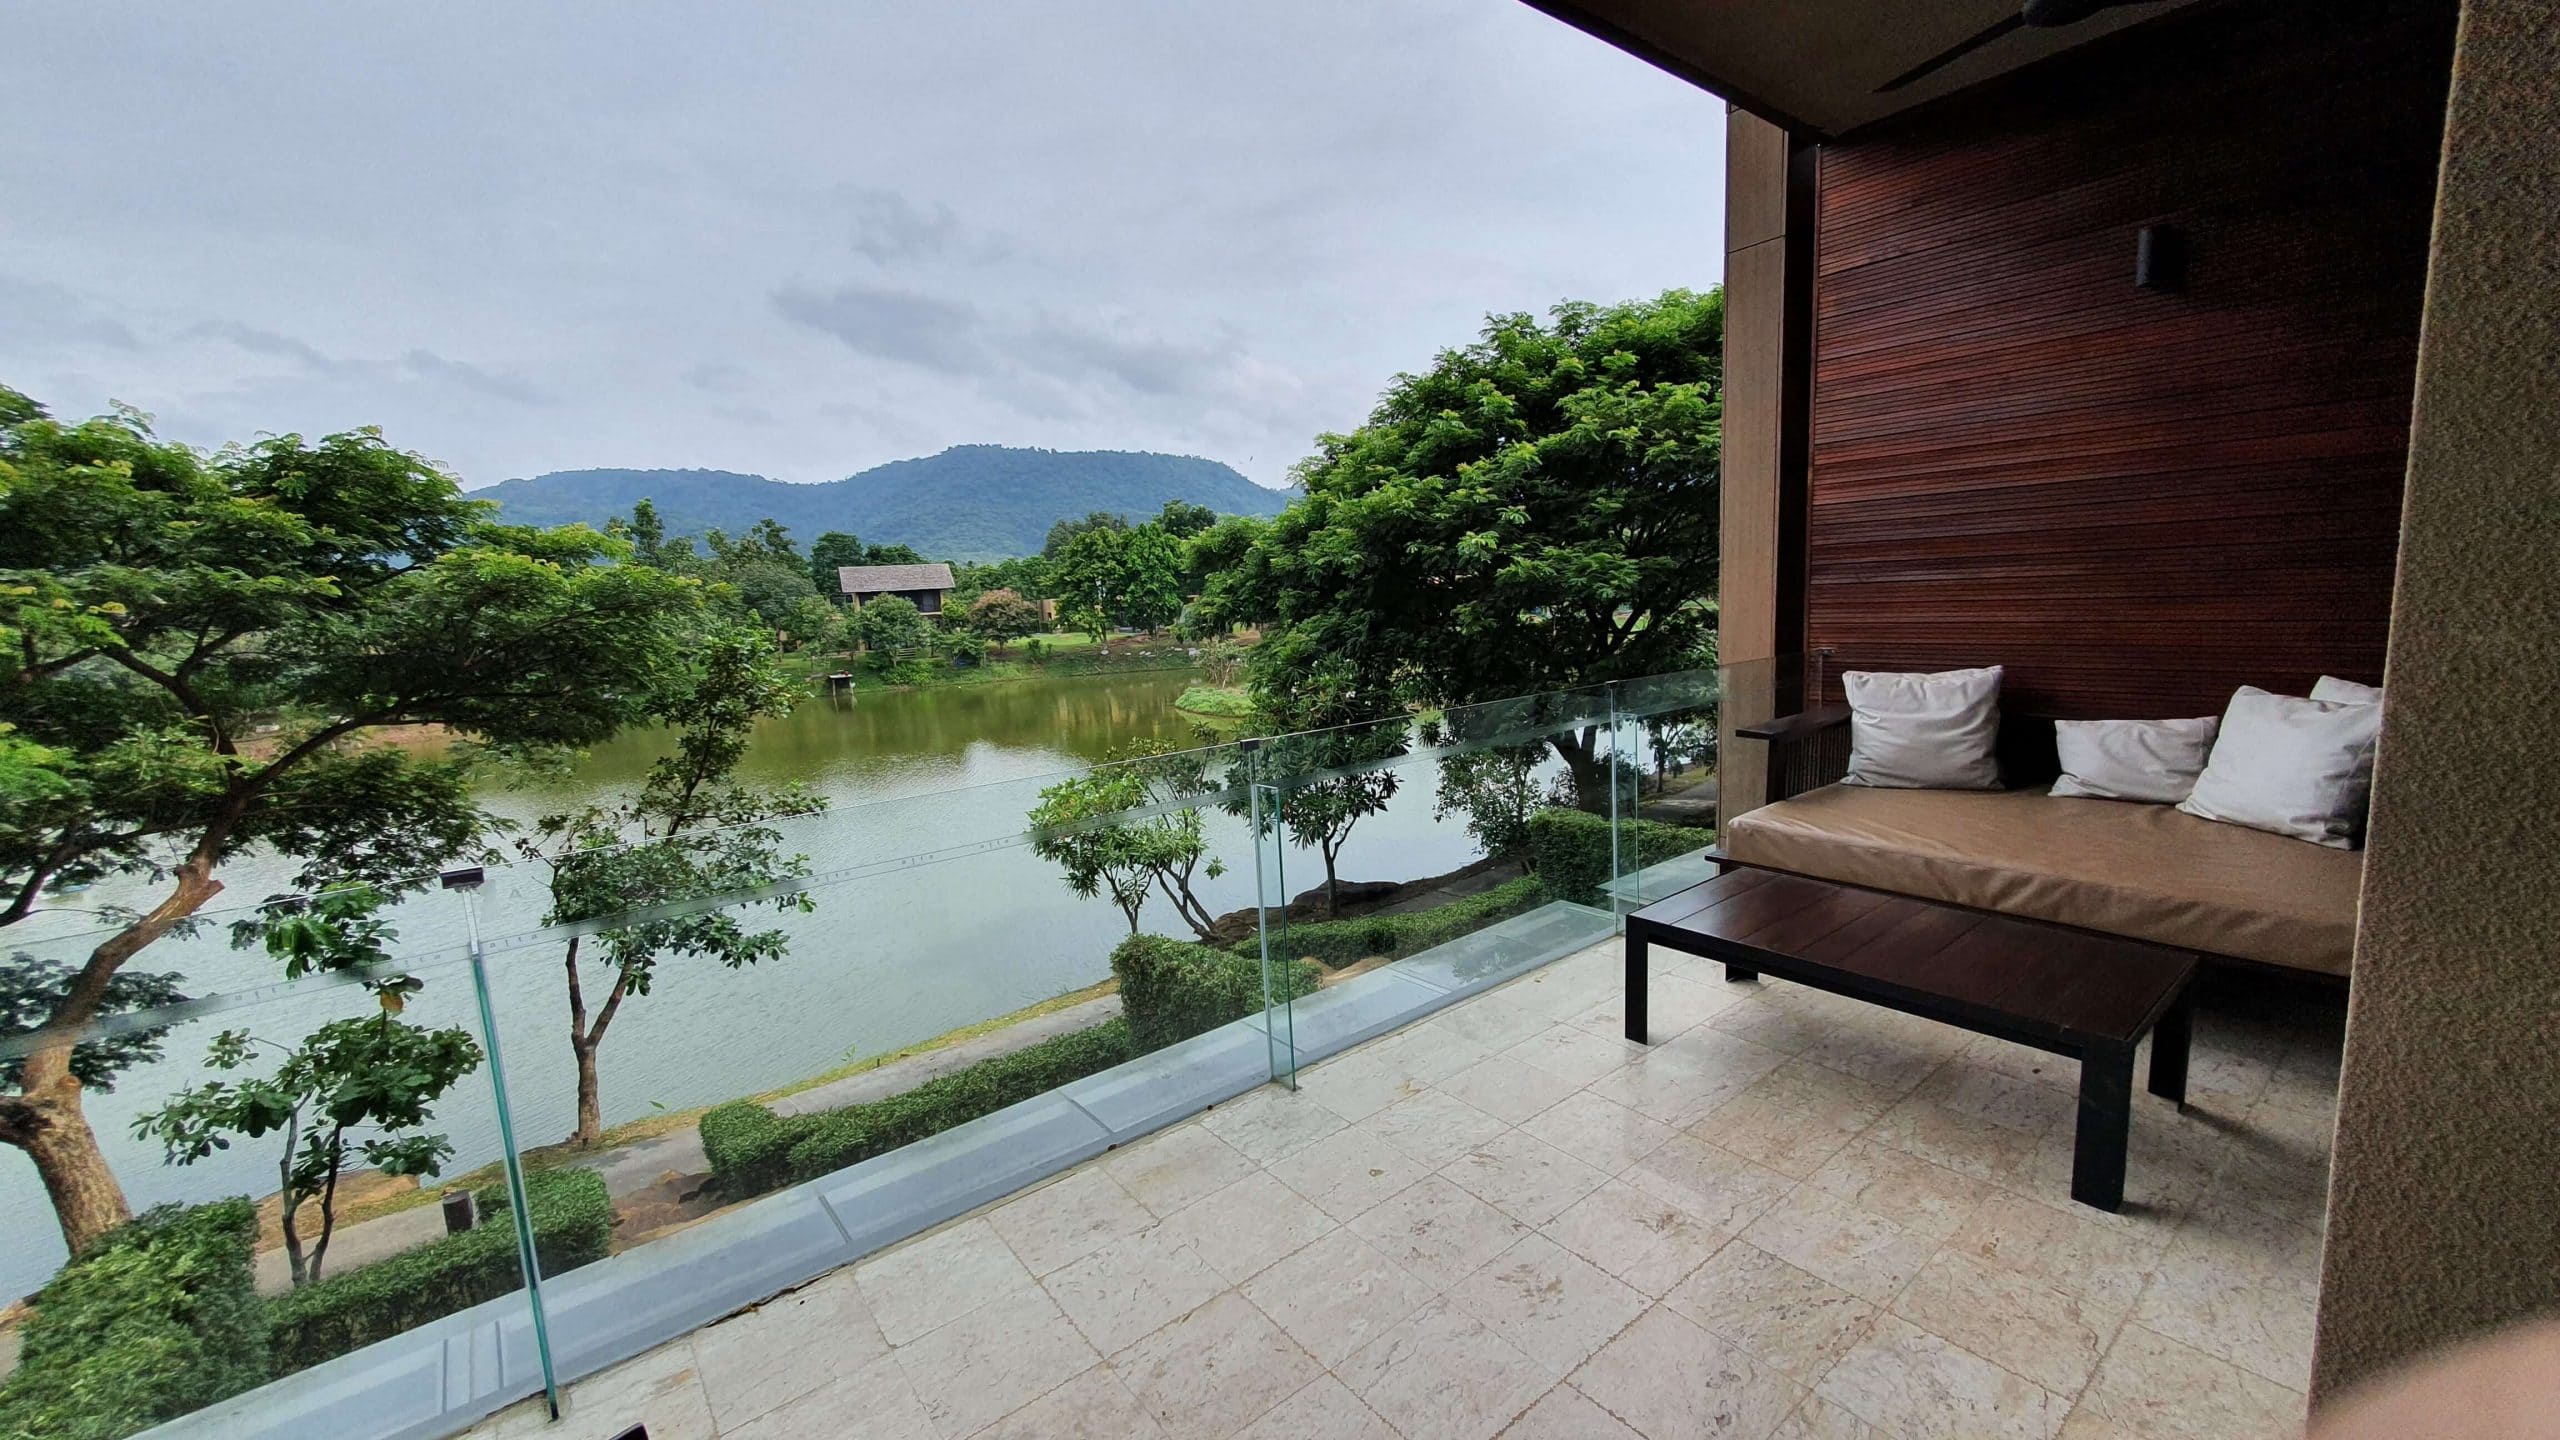
Flat roofs atop an added living area, kitchen, or bedroom, or the top floors of apartment buildings are common places to find balconies and terraces. Rooftop decks and balconies are common additions to residential buildings.
Sealing the balcony surface properly and then waterproofing it are two very involved processes.
Realizing waterproofing systems for balconies or terraces requires the ability to evaluate the situation and, as a result, select the waterproofing system that is best suited to the existing situation. This is true whether the balcony or terrace is being constructed from scratch or an existing structure is being modified. Knowing how to pick the right waterproofing system for the current conditions is also crucial. Therefore, it must be realised flawlessly, with careful consideration paid to every aspect and the precision with which it is handled. These are the most likely entry points for water, which might lead to other issues. Check out Hitch Property Constructions for a wide range of balcony repairs.
An essential part of the building works.
Waterproofing a balcony is important because it prevents water damage to the area below the balcony, which can occur if water seeps through the balcony's foundation. In areas that get a lot of snow or rain, waterproofing the balcony surfaces should be a priority during construction. This is a crucial part of the building process that must not be overlooked.
A recent statistical analysis revealed that the "Balcony Waterproofing" component of the building envelope had the greatest failure rate.
Even though the cost to waterproof a balcony is only 1.8% of the entire cost of construction, 83% of all complaints about a building's quality are related to balcony sections.
Using waterproofing material to seal flat roof balconies, balconies atop rooms, and terraces requires careful planning and application to avoid serious problems later on.
Keeping a balcony safe from water
Numerous methods exist for keeping water away from your balcony, and there are also numerous new technologies and materials available. Balcony flooring is normally built with a layer of concrete or wood decking as the base, followed by a layer of watertight material. Construction with lumber or steel has its own unique issues that are not shared by concrete construction, and vice versa. Your balcony's surface may need frequent repairs if you didn't utilise the right system or if the waterproofing was done poorly. Frustration is possible in this situation.
Efflorescence, the deposit of calcium crystals and salts that mar the top edges and underside of brickwork, cannot form if there is no water present. Efflorescence is another term for this phenomenon. The chosen material must attach to the other materials, make a good bond and seal, and have the same capacity for expansion as the materials all around it.
The correct sequence of works
All penetrating work and repairs must be done before water sealing and waterproofing may begin. Installing a railing in such a location will almost probably need the use of baluster posts that are fixed to the building's framework. To prevent water from seeping through, the balcony's waterproofing material must be flexible enough to wrap around the steel balustrade posts while maintaining its attachment to the balustrade. If you use a brittle material, the steel will grow beyond the capacity of the material, potentially resulting in a leak.
The connecting of dissimilar materials calls for a high-quality sealant, and polyurethane-based sealants like Sika flex 11FC are ideal. Whether the region in issue is exposed to sunlight or not, these materials are advantageous because to their high bond strength, versatility (they can bond to stone, steel, glass, rubber, etc.), durability to extreme temperatures, and resistance to UV light.
When attaching anything to a finished roof, care must be taken to prevent water penetration by utilising the necessary components and paying close attention to the weather.
What to do before waterproofing a balcony or a terrace
Waterproofing a balcony or patio requires first determining the current state of the area. This is due to the fact that restoring or installing a brand new waterproofing system on a balcony or terrace might involve a wide range of solutions and stages, some of which are more invasive than others, depending on the balcony's or terrace's current condition of preservation.
The visible layer of the floor, the one now installed, must be inspected first to determine its current state. The preservation status of this layer may be easily examined because it is the lowest. This assessment can be done by looking for things like inconsistencies in joint volumes or the absence of volumes altogether. For the most part, water will find its way in through the joints, rendering the finish useless in its claimed function of waterproofing the surface.
The water will begin to erode the entire pack, which will have devastating effects on the individual parts. In a similar vein, the integrity of the flooring components can be examined, even if they are meant for usage in wet environments. There will be infiltration places wherever there are cracks or breaks in the same, as water will find its way in.
MULTIPANEL Waterproof Balcony System
MULTIPANEL's groundbreaking high-density polyurethane composite construction panel is the first of its kind on the market and is therefore perfectly suited to the task of waterproofing balconies. The panel was produced by MULTIPANEL, a company.
100% Waterproof
Even if there are many water-resistant panels to choose from, a liquid membrane is still required to ensure a project is totally dry. Since MULTIPANEL is water-resistant and can act as a complete water barrier in any situation involving damp areas, you can rest easy knowing your property is protected.
Super Lightweight
In some cases, MULTIPANEL can be up to 80% lighter than comparable conventional goods. Each 30mm MULTI PANEL sheet weights 18 kg (6.25 kilogrammes per square metre)
Labour Saving
Each edge of the panel is designed with a tongue and groove pattern to make assembly easier. Since it does not include a liquid membrane, MULTIPANEL may be built up to 75% faster than competing balcony systems, despite its small weight. This is because a liquid membrane is unnecessary.
Eco Friendly
EcoSpecifier's research shows that MULTIPANEL has a low impact on the environment. MULTIPANEL's insulation benefits are substantial, resulting in significant cost savings over the project's lifetime. In addition, scraps can be used to make a joint that is stronger than the original panel using MULTIPANEL Polyurethane adhesive, so no materials are wasted in the process. MULTIPANEL can be joined off of a floor joist, which also aids in material conservation.
Where is it used?
To tile residential decks and balconies, this material can replace particleboard, plywood, or compressed fibre cement as the external substrate.
Balcony Waterproofing
Waterproofing a balcony is similar to other types of construction in that it requires a solid foundation. This substrate may vary from system to system, but in general, it should have a finish that is acceptable for tiling without the use of any additional waterproofing material.
The Waterproofers ask that no silicone or polyurethane be used on a balcony's surface before they arrive to apply the waterproof coating. Leak control flanges, or floor wastes, have silicone applied to them and their edges sealed rather often. This silicone might potentially disrupt certain of our systems, making it impossible for us to do our tasks. Tradespeople, we trust that you will make every effort to seal off any potential water entry points before you leave the job site. However, these methods occasionally prevent us from offering a solution that will satisfy the client.
Waterproofing balconies can be achieved by using any of the standard product lines we stock and instal. There are a variety of systems to choose from, and each has its own set of benefits and considerations that must be made when determining which one is best for your project. If you need guidance in deciding how to proceed with the issue at hand, don't hesitate to get in contact with us. Because of their high combustibility, torch-on bitumen membranes are not recommended for use on a balcony. Though they are part of a "trafficable" membrane system, they struggle to deal with the additional strain brought on by vehicles on days when the temperature is high. Bitumen is more easily damaged when it has been allowed to soften, and it can be transferred from your shoes to your carpets and floors when you bring them inside.
Looking for balcony repairs Melbourne? Look no further. Hitch Property Constructions has you covered.
Butyl Rubber Waterproofing
Butyl rubber is a great membrane for use in the waterproofing of balconies since it can be laid either beneath a screed or immediately below most surface treatments. As long as it meets certain requirements, butyl rubber waterproofing can be applied to almost any surface. Concrete, plywood, and cement sheet are all examples of suitable substrates. Under specific conditions, an epoxy primer is used prior to the installation of a butyl rubber waterproofing membrane.
Even if butyl rubber is used to waterproof the screed before the screed is applied on top of it, another waterproofing membrane must be applied to the screed after it has dried to prevent efflorescence from rising through the screed or any moisture from soaking the screed. This membrane could be an extra butyl rubber layer, or it could be any of the numerous varieties of seamless liquid membranes currently available.
A butyl rubber must be coated and glued to the building framework (or masonry) before any wall finishes, including doors and windows, can be installed. This is another consideration when thinking about employing a butyl rubber. This is especially important in view of the leaky housing crisis in New Zealand, often known as "leaky building syndrome," which has been linked to the increased usage of lightweight foam in construction.
When using butyl rubber to waterproof a balcony, the final major consideration is the installation of finish materials like tiles or other forms of finishes. Butyl rubbers are famously difficult to adhere to due to their unique qualities, and as a result, the vast majority of tile adhesives struggle immensely to establish bonds that are sufficient. It is in your best interest to bring up the matter of the finishing material when discussing your project with us.
Seamless Liquid Waterproofing
Although liquid system balcony waterproofing isn't quite as forgiving as butyl rubber system balcony waterproofing, it can be done later in the construction process, reducing the likelihood of damage. The substrate needs to be readied for the final result, and in some cases, epoxy primers may need to be used in place of the more commonplace primers.
Liquid balcony waterproofing doesn't necessitate pre-installation of door frames and wall covering like butyl rubber does. In places where the membrane does not cover the full wall, the flashings should be attached loosely behind the cladding and should extend far down onto the balcony's floor.
When it comes to the finishing touches, liquid waterproofing systems are more flexible and may work with a larger range of adhesives than other systems. Once again, these are topics that need to be discussed before work begins to guarantee that only compatible goods are used.
Waterproofing a balcony can also be achieved with the use of liquid membrane systems. These solutions provide not just a waterproof barrier but also a durable coating that can sustain regular foot traffic. When cost or weight are critical factors, these technologies can be a lifesaver.
Steps to waterproof a balcony or a terrace
The first step in waterproofing a balcony or terrace is figuring out if a new application is required or if the current system needs to be restored. If the former is true, then it's critical to make that distinction. Conducting this analysis allows us to ascertain the precise point in the waterproofing procedure at which our involvement is required.
In the former case, putting in place the waterproofing system is easier, but in the latter, which requires reconstruction, an evaluation of the current state of affairs is required first. In the second case, a minimally invasive procedure method is an option. Cleaning the support with a pH-neutral detergent comes after the removal of efflorescence, deposits, and any previous treatments like waxes.
Once the grouting on the terrace has dried, it can be rebuilt with outdoor putty that has good impermeability properties, restoring the finishing layer and, by extension, the entire package. Now that we've covered the background, we can move on to the treatments themselves, which mostly make use of film-free, see-through products. These items make it possible to waterproof large regions, and they are especially helpful for vulnerable spots like joints. This will guarantee that the waterproofing of the balcony's or terrace's top layer is entirely restored following the intervention.
If water is seen to be getting through the finishing layer, we move on to restore the terrace's waterproofing system in another way. To do so, we must first remove the damaged flooring, as well as the adhesive and the waterproof coating that protects the screen.
From here on out, we'll be re-waterproofing the screed using liquid solutions made exclusively for outdoor usage, bonding the new coating with cementitious glue tailored to the substrate type, and grouting the whole thing with grout made specifically for outdoor use.
How to avoid leaks on the balcony or terrace
It's important to take into account the sort of flooring you'll be installing on your balcony or terrace when deciding on the junction size and the material you'll use to build the joints.
In terms of flooring, for instance, the usage of extra-large-sized tiles has grown in popularity. It is imperative that the size of the flooring joints correspond with the size of the tiles so that the friction does not lead to fractures in the flooring and raise the danger of infiltration.
Thresholds, which connect the balcony or terrace to the window-door that leads inside the house, also warrant special consideration. Ideally, these would be at least 1 inch higher than the balcony's walkway, but increasingly, for aesthetic reasons, they are made at the same level as the floor, leaving rainwater disposal to the package's incline alone. At this point, the only thing affecting the drainage of the package is its incline.
Special prefabricated pieces are often made for use with the various waterproofing techniques that are recommended for the treatment of details such as wall-floor corners, expansion joints, or drains. These components, which might be butyl tapes, gauze, or strips, give an extra layer of protection against water seepage in areas where the danger of leaks is higher due to the geometry of the area in question. A slanted floor at a wall's base corner, a diagonal expansion joint, etc.
Hitch Property Constructions has a wide range of the Melbourne balcony repairs right here.
Characteristics of the ideal product to waterproof a balcony or terrace
The best method for waterproofing a balcony or terrace will produce a waterproofing layer that is elastic and highly durable, and will guarantee extraordinary adherence to the cement bond that will be used to put the flooring. Once it happens, we'll know that the approach works. It will be simple to implement because its parts have been meticulously researched to include all the nitty-gritty aspects (such as wall to floor corners and drains).
Regulations now in place for the intended usage of these systems necessitate that the accompanying technical documentation reflect those standards.
If the waterproofing system fails for any reason, it's best to start over with waterproofing and tiling by removing the tiles and starting over. As long as the current tiles are in good shape and securely attached to the substrate, you can wet the area and tile over them. However, if the tiles are broken, loose, or hollow sounding, or if the existing floor level does not permit a height increase, they will need to be removed and replaced.
A waterproofing membrane might be thought of as a jacket for your balcony or an umbrella for your patio. Because you hate getting wet, hate being wet, and hate the smell of mildew, fixing the leaky balcony as soon as possible will make your days (and nights) much more pleasant.
Conclusion
As a result of water seeping through the floor below the balcony, repair costs and structural damage can quickly add up, thus it's crucial to waterproof the balcony. Waterproofing is essential, but so is knowing how to choose the best system for the conditions. Eighty-three percent of all building quality complaints are concerning balconies. Concrete or wood decking is often used as the foundation for a balcony's flooring. Water is necessary for efflorescence—a deposit of calcium crystals and salts that damage the top edges and underside of brickwork—to occur.
Prior to attempting to waterproof a balcony or patio, it is important to assess its existing condition. This revolutionary high-density polyurethane composite construction panel from MULTIPANEL is the first of its type. Assembly is simplified by tongue and groove patterns along the panel's edges, and each 30 mm MULTI PANEL sheet weighs 18 kg (6.25 kilogrammes per square metre). Any of the usual product lines we carry and instal can be used to waterproof a balcony. Torch-on bitumen membranes are not a good choice for usage on a balcony because of their high flammability.
Waterproofing with butyl rubber can be done on a wide variety of materials. No doors or windows can be put until the building is covered with butyl rubber and cemented together. Because of their distinct properties, butyl rubbers are notoriously challenging to stick to. Since liquid systems are more malleable, they may be compatible with more adhesives. Liquid membrane systems can also be used to successfully waterproof a balcony.
These innovations save lives when size and weight are at a premium. The type of flooring you choose to instal on your balcony or patio is an important consideration. The optimum strategy for waterproofing a balcony or terrace will result in a layer of waterproofing that is both elastic and highly durable, with a cement bond that adheres exceptionally well. Details like wall-floor joints, expansion joints, and drains are commonly treated with a variety of waterproofing methods, and prefabricated elements are often provided for use with these methods. You might think of a waterproofing membrane as an umbrella for your patio or a raincoat for your balcony.
If the tiles are in good condition and securely bonded to the substrate, you can moisten the area and tile over them. Tiles should be removed and replaced if they are cracked, loose, or make a hollow sound, or if the current floor level does not allow for a height increase.
Content Summary
- Waterproofing a balcony is very difficult.
- Knowing how to pick the right waterproofing system for the current conditions is also crucial.
- MULTIPANEL's groundbreaking high-density polyurethane composite construction panel is the first of its kind on the market and is therefore perfectly suited to the task of waterproofing balconies.
- Under specific conditions, an epoxy primer is used prior to the installation of a butyl rubber waterproofing membrane.
- When using butyl rubber to waterproof a balcony, the final major consideration is the installation of finish materials like tiles or other forms of finishes.
- When it comes to the finishing touches, liquid waterproofing systems are more flexible and may work with a larger range of adhesives than other systems.
- The first step in waterproofing a balcony or terrace is figuring out if a new application is required or if the current system needs to be restored.
- This will guarantee that the waterproofing of the balcony's or terrace's top layer is entirely restored following the intervention.
- In terms of flooring, for instance, the usage of extra-large-sized tiles has grown in popularity.
- It is imperative that the size of the flooring joints correspond with the size of the tiles so that the friction does not lead to fractures in the flooring and raise the danger of infiltration.
- Special prefabricated pieces are often made for use with the various waterproofing techniques that are recommended for the treatment of details such as wall-floor corners, expansion joints, or drains.
- The best method for waterproofing a balcony or terrace will produce a waterproofing layer that is elastic and highly durable, and will guarantee extraordinary adherence to the cement bond that will be used to put the flooring.
- If the waterproofing system fails for any reason, it's best to start over with waterproofing and tiling by removing the tiles and starting over.
- As long as the current tiles are in good shape and securely attached to the substrate, you can wet the area and tile over them.
- A waterproofing membrane might be thought of as a jacket for your balcony or an umbrella for your patio.
FAQs About Balcony Repair
You could use a number of different strategies in order to waterproof the surfaces of your balcony, such as installing a waterproof membrane both beneath and in addition to the screed, or possibly sealing the exterior of the tiles and the grout joints. It is essential to begin with high-quality waterproofing. Repairs for a leaking balcony are an annoyance that nobody needs.
A completely waterproof seal is produced above and below your deck when a Tufdek vinyl membrane is installed on a second-story deck, regardless of whether the deck is new or already in place. If you have a vinyl deck, the water will run off the edge of the deck rather than getting trapped in the cracks. Both the space underneath your deck as well as the space above it are totally safe.
Sealing the edges and the perimeter of the balcony can be done with a paint brush. Be sure to cover all of the concrete that can be seen, as well as the spaces between the posts of the bannister and the railings. Apply the sealer to the remaining portion of the balcony with a paint roller, moving carefully so as not to paint yourself off the balcony and into the house as you go.
Make sure that all of the wall and floor joints, nail and screw heads, and flanges are sealed with joint sealant (ensuring penetration flanges are installed correctly). To ensure that the balcony is completely watertight, apply two coats of a polyurethane membrane.
The phenomenon known as "ponding" can occur on a balcony with a minimal fall because it increases the likelihood of water pooling and moisture becoming trapped between the membrane and the tiles. If the waterproofing membrane that was applied is not capable of withstanding ponding water, the membrane will eventually deteriorate, which will result in water leaks. In addition, waterlogging can cause joint failure, which ultimately results in leaks.