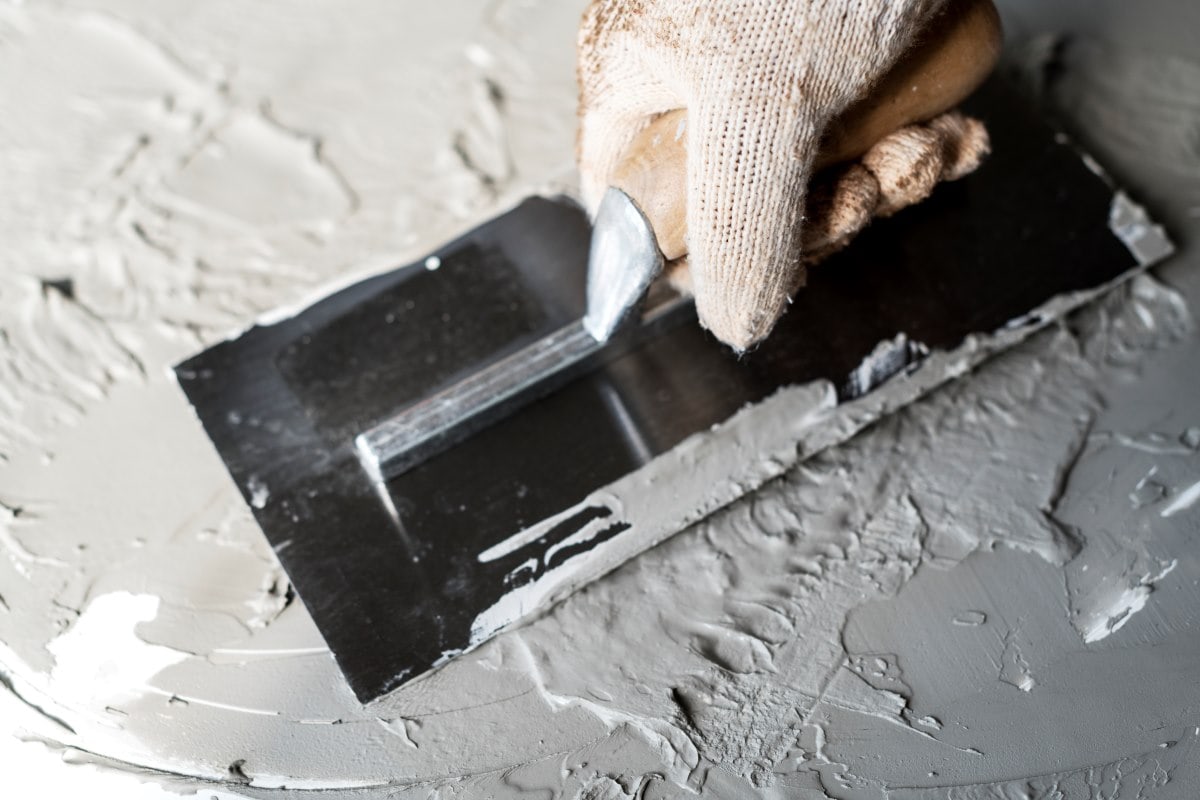
Plastering is a versatile and essential technique used in construction to create fire-resistant, soundproof, and scratch-resistant walls and ceilings. It offers a smooth and even finish, whether applied over concrete, drywall, or other surfaces.
However, the process requires careful consideration of the underlying materials. In this guide, we’ll explore the different scenarios where plaster can be used, including over wallpaper, Artex, paint, tiles, wood, and more. We’ll also cover key tips for achieving a professional finish, ensuring durability, and avoiding common pitfalls.
Let’s get straight to the point.
Plastering is a versatile technique for creating smooth, fire-resistant, and soundproof surfaces. However, its success depends on the surface being prepared correctly. Plastering over wallpaper is not recommended, as it causes cracking.
Meanwhile, plastering over Artex requires scraping down textures and caution with asbestos. Plaster can be applied over paint if the surface is well-prepped, but plastering over tiles and wood is challenging due to bonding issues.
Primers or reinforcement methods, such as bonding agents or metal lathing, can help. Fillers can handle minor imperfections for damaged surfaces, while skim coating and replastering are ideal for larger repairs. Proper surface preparation with bonding agents like PVA is crucial to ensure durability.
Key Considerations On Plastering On Different Materials
1. Plastering Over Wallpaper: Why It’s Not Recommended
Plastering over wallpaper is not recommended. When plaster is applied, the surface below draws moisture from it, and if that surface is wallpaper, it can absorb too much moisture too quickly.
This leads to cracking and flaking of the plaster. Even moistening the wallpaper beforehand won’t solve the issue. Removing the wallpaper completely before applying plaster is best to achieve a smooth and durable finish.
Steps To Remove Wallpaper:
- Score the wallpaper with a utility knife.
- Use a wallpaper steamer or a mix of water and vinegar to loosen the adhesive.
- Scrape off the wallpaper with a putty knife.
- Clean the wall thoroughly before applying a base coat of PVA (polyvinyl acetate) to help the plaster adhere.
2. Plastering Over Artex: Considerations And Precautions
Artex, a textured surface often found on walls and ceilings, was popular in the 1970s but has since fallen out of favour. Plastering over Artex is possible, but the success depends on the texture’s height. If the design is too pronounced, scrape the high points with a scraper before applying plaster.
Key Points To Consider:
- Texture: Ensure the surface is flat enough to apply plaster.
- Hazardous Materials: Artex produced before 2000 may contain asbestos. If your Artex surface was installed before this time, avoid removing it yourself and hire a professional, as disturbing asbestos can release harmful particles into the air.

3. Plastering Over Paint: Steps For Success
Plastering over paint is possible, but the condition of the paint must be assessed first. After cleaning the wall thoroughly, high-quality, well-maintained paint can be plastered over. Any dirt or contaminants could prevent proper adhesion and lead to issues.
Preparation Steps:
- Wash the painted surface with a mild detergent to remove dust and grease.
- Sand the surface to create a rough texture for the plaster to grip.
- Apply a PVA bonding coat to ensure good adhesion.
4. Plastering Over Tiles: Challenges And Alternatives
Plastering over tiles could be better. Tiles have a smooth, non-porous surface that prevents proper bonding with plaster. This can result in an unstable surface that may crack or flake off. Removing the tiles before plastering is the best option to ensure a long-lasting finish.
Removing Tiles:
- Use a hammer and chisel to remove the tiles gently.
- Clean the surface of any remaining adhesive.
- Apply a PVA base coat before plastering.
5. Plastering Over Wood: Effective Solutions
Plastering over wood is tricky due to its porous nature, which prevents proper bonding with plaster. Without proper preparation, plaster can easily detach, leading to costly repairs.
Solutions For Plastering Over Wood:
- Expanded Metal Lathing (EML): Secure sheets of metal mesh over the wood with screws or nails. This provides a textured surface to which the plaster can adhere.
- Surface Disruption: Scratching or texturing the wood can help, but this method is less reliable.
- Plaster Hooking: Press the plaster into gaps between wooden panels so it clumps on the back and hardens. However, this method is only sometimes dependable.
6. Replastering: Techniques For Achieving A Smooth Finish
Replastering over old plaster is often necessary when the surface is damaged, cracked, or uneven. Older plaster tends to be more porous, absorbing more moisture from new plaster. Skimming the surface with a bonding agent like PVA is essential to prevent the plaster from quickly drying and cracking.
Steps For Replastering:
- Clean and assess the old plaster for any loose or damaged areas.
- Apply a PVA bonding coat to the surface.
- Skim the surface with a thin coat of plaster for a smooth finish.
7. Skim Coating Your Walls: Understanding The Process
A skim coat is a fine layer of plaster applied over walls to hide cracks, minor imperfections, and uneven surfaces. It’s ideal for achieving a perfectly smooth finish without replastering completely.
Skim Coating Process:
- Surface Preparation: Clean and apply a PVA bonding agent to the wall.
- Skimming: Use a wide trowel to apply a thin layer of plaster, smoothing it evenly across the surface.
- Sanding: Lightly sand the surface once dry to remove any remaining imperfections.
Skim coating is a great DIY solution for minor repairs, but hiring a professional plasterer is often worth investing in larger areas or more extensive damage.
How To Handle Severely Damaged Surfaces?
Complete replastering is often required for walls with extensive damage, such as large holes, cracks, or loose plaster. While you can save money by removing the old plaster yourself, removing only what is necessary is crucial, as this could complicate the process.
Replastering Steps:
- Remove Loose Plaster: Gently scrape away any loose or damaged plaster and clean the area to ensure a smooth application.
- Apply a Coarse Coat: Start with a thick, coarse coat of plaster to build stability and fill larger gaps.
- Smooth the Surface: Finish with a thinner, smooth coat to create an even surface.
Replacing the plasterboard walls may be a more reliable, long-lasting solution for severely damaged plasterboard walls. This ensures structural integrity and a professional finish.
Guide To Wall Repairs: Fillers And Skimming
Fillers:
Filler products like Polyfilla can repair small holes, hairline cracks, and minor damage. These come in powder form and are ready to be mixed with water or pre-mixed in tubes for easy application.
Tips For Using Fillers:
- Use a filling knife or scraper to apply the filler into the hole or crack.
- Overfill the area slightly, as the filler shrinks when it dries.
- Sand the surface once dry for a smooth finish.
Skim Coating:
Skimming is the best solution for larger areas of damage or uneven surfaces. Apply a thin layer of plaster over the entire wall to smooth out imperfections and create a flawless finish.

Conclusion
Plastering is a highly versatile technique for creating smooth, durable surfaces in your home. Proper preparation is key to achieving a professional result, whether working with wallpaper, Artex, paint, tiles, or wood.
Removing old plaster and preparing surfaces with bonding agents can ensure that your plaster adheres correctly and stands the test of time. Fillers and skim coats offer easy solutions for small repairs. However, hiring a professional plasterer is often the best choice for larger projects or severely damaged walls.
FAQs About Plaster
How Is Plaster Made?
The plaster is manufactured as a dry powder and is mixed with water to form a stiff but workable paste immediately before it is applied to the surface. The reaction with water liberates heat through crystallisation, and the hydrated plaster hardens.
What Are The Different Types Of Plaster?
Types of Plaster
- Browning plaster.
- Bonding plaster.
- Thistle plaster.
- Carlite plaster.
- Hardwall plaster.
- Dri-coat plaster.
- One Coat plaster.
- Tough coat plaster.
Which Type Of Plaster Is Best?
Gypsum plaster can achieve a fine finish and is often used as a topcoat in plastering projects. It’s less prone to cracking, making it a great choice for your walls’ longevity. This versatile plaster can also create a great first coat or an undercoat for your project.
What Material Is Used To Plaster A Wall?
Plaster is a pasty composition (such as lime or gypsum, water, and sand) that hardens on drying. It is used to coat walls, ceilings, and partitions. Plastering is one of the most ancient building techniques.
Why Do You Plaster Walls?
Applying plaster will give your walls a strong, smooth, durable finish. A well-plastered room will also help keep old walls in good condition, provide the perfect base for paint, and help with soundproofing.

