

Every carpenter needs to know how to apply caulk, as it is a crucial part of the construction process. However, caulking has a few limitations that should be considered if you want to make a good-looking surface. This adaptable substance is used to smooth the way between two or more nearby building elements when shifts in the construction site are expected.
Caulk is used to fill in any gaps in a joint and prevent air and water from leaking through. The recommended method for sealing gaps up to half an inch wide. Filling cracks with caulk can help prevent air and water leaks. However, bigger joints will require the use of multiple elastomeric materials, including caulk, to ensure a full seal. Caulking may seem like a simple maintenance activity, but knowing just what kind of caulk to use in any given circumstance takes practise. Check out Hitch Property Constructions for a huge range of Melbourne caulking services.
Caulking may seem like the easiest home improvement project, but anybody who has tried to seal the space around a bathtub knows how quickly it can become a messy disaster. Perfecting the art of caulking takes time and effort. This is why professionals who work with their hands all the time, such as painters and tile setters, are so proficient at their trades.
Selecting the right caulk for the job also necessitates some head-knowledge. Many different types of tile, wood, and vinyl need to be glued together and/or have gaps filled in around your home, and there is no universal solution. Thankfully, help is on the way. We'll explain how to find the right caulk and how to apply it so that you get a beautiful bead every time.
How to Choose Caulk?
Caulk is versatile and can be used to form a weatherproof or insulating seal between two building components. Caulk can be used to seal spaces between tiled surfaces and other materials, such as the grout between a tiled bathtub and its surround, the backsplash and countertop of a tiled kitchen, or the tiled window and its frame. Although many caulking applications look identical at first glance, using the correct caulk for the job is essential for a reliable seal.
Despite their being more caulk and sealant options than ever before, finding the one that's right for the job is easier than it's ever been. Large, purpose-built labels are now standard on the majority of brands' cartridges and tubes. We appreciate the shift. Information on the suggested software can be obtained without resorting to the fine print. But it's crucial to have a firm grasp on the most common caulk types. Hitch Property Constructions has a wide range of caulking services
That chemistry has a part in the vast range of prices in the caulk aisle is one explanation for that. The cost of a 10-ounce cartridge, for instance, can range from one dollar to seven dollars and fifty cents. The chemical composition of caulk determines its paintability, durability, and workability (easiness to shape and toot). The caulk's chemical makeup is also a factor in whether or not it can be painted.
Since new caulks are always being introduced to the market, understanding their chemistry can shed light on how much of an improvement a given product actually is. One drawback of silicone caulk is that it can't be painted over. That's just one illustration. Water-based and paintable, DAP's Paintable Silicone Sealant is a genuine silicone caulk. Not only is it odourless and easy to deal with, but it also has no complexity. If you don't have mineral spirits handy, you can always just use soap and water instead. Here, we'll examine the four main varieties of caulk available.
Types of Caulk
Latex Caulk
Since it sticks well to both wood and drywall, latex caulk is commonly used indoors to seal gaps around windows, doors, and trim. Latex caulk is commonly referred to as "painters caulk" or "acrylic caulk" because it may be painted to blend in with its surroundings. That's because there are so many ways to put it to good use. As time passes, however, it is known to shrink and distort, reducing its effectiveness as a water barrier. Using latex caulk is easy because it is simple to apply and remove any mess it may make. When it comes time to replace it, it can be scraped off more readily than other caulks, which is a major plus.
Silicone Caulk
As the best watertight barrier, silicone caulk is commonly used in damp environments like around showers, bathtubs, sinks, and bathrooms. When utilised in the outside, it shields your home's façade from rain, snow, and other inclement weather. Silicone, in contrast to latex, is stickier in texture, making installation and removal more of a hassle. Furthermore, silicone caulk does not allow paint to stick to it. Silicone is very durable and difficult to break or distort because of its malleability. It has excellent adhesion to a wide variety of materials, including plastic, glass, ceramic, and metal. If applied properly, silicone caulk can prevent water leaks for up to 30 years.
Polyurethane Caulk
Polyurethane caulk is prefered over silicone and latex caulks due to its higher rip resistance, waterproofing, flexibility, and ability to be painted or stained. There is a wide range of uses for polyurethane caulk. Polyurethane caulk's enhanced ability to stick to practically any surface makes it more expensive than other types of caulk. One negative is that its sticky, putty-like quality makes it more difficult to clean than other materials, necessitating the application of a cleaning solvent.
Tips When Applying Caulk
There are two main types of caulk: those that can be painted, and those that cannot. Caulk that may be painted is the kind most commonly used around the house, such as around window and door frames. When the caulk is dry, you can paint right over it. Silicone, a common ingredient in "can't paint" caulk, prevents paint from properly adhering to the caulk's surface. Modern caulk formulations, when used properly, have a lifespan of more than 20 years with regular upkeep.
- Joints and cracks wider than half an inch should be repaired with caulk.
- Application of caulk on top of dust is not recommended. It serves its purpose best when used on freshly painted walls. Applying a priming coat before caulking is highly recommended.
- When working with wood, remember to paint the surface before adding caulk.
- Cutting the caulk tube's tip off to make a huge hole is not recommended because it will reduce the amount of caulk that can be squeezed out of the tube.
- If the gap is smaller than a quarter of an inch, you can try repairing it with a putty knife.
- With a caulking gun, apply the caulk slowly while operating the gun at the same pace.
- You can prevent making a mess by wiping off the spout and your hands with a moist cloth. It is also possible to use a tool for wet caulk smoothing within the first two to five minutes after the caulk has been applied.
- Caulk used around mouldings should have no other purpose than to seal the gap it was applied to. You just need to press down hard enough with your finger tips to form a neat corner junction. There is more of a challenge when painting around spherical joints.
- Showers, tubs, sinks, bidets, and loos should all be spotless and dry before caulking is attempted. Do not caulk over mould or mildew, and if there is mildew in the caulk from a previous application, do not use it. If the caulk is put over damp surfaces, it will not dry properly.
- A cotton swab dipped in rubbing alcohol will remove soap residue, body oils, and other lingering particles. Rubbing alcohol effectively removes all traces of dirt and grime from the surfaces, allowing the fresh caulking to adhere without fail.
- The best course of action is to caulk the bathtub when it is totally full with water. Because of the pressure of the water, the wall and the bathtub will develop the largest possible joints as a result of the surface tension.
- Low-tack tape should be used over delicate or already-finished surfaces when a nearly completed look is required. You should wait for the caulk to dry before removing the tape. Overuse of caulking is not recommended.
- Yes, caulking may and often does contract as it dries. Applying a second layer of caulk can often be more practical than trying to completely seal a crack with the first, and it also creates a neater surface.
- If new caulking is going to be applied over previously sealed seams, the old caulk must be removed, and this process must be done carefully.
- Removing caulk from concrete and masonry surfaces is best done with a wire brush.
- Mineral spirits should be used for cleaning the region surrounding silicone caulk, whereas soap and water should be used for cleaning the area around acrylic caulk.
Steps On How To Caulk A Shower
The best way to rejuvenate your mind, body, and soul after a hard day or a good night's sleep is to hop in a hot shower. But if the caulk around your inclosure starts to crack and crumble, it's not you that needs a boost; it's your shower. Caulking the tub, tiles, shower door, and drain is an easy DIY job that won't take more than a few hours to finish. If you want to learn how to caulk a shower and make sure it stays sealed properly against water, read on. Check out our Melbourne caulking services here.
Step 1
First and foremost, you need high-quality caulking material to ensure a successful caulking job. If you need caulk for your project, you can choose between silicone and latex. Despite silicone's superior seal, latex is much easier to work with, especially for beginners. Many homeowners choose a sealant that strikes a balance between silicone and latex, such as DAP Kwik Seal Plus (see on Amazon), which they may use because it has the benefits of both.
Caulk that is labelled as being suitable for usage in damp environments, such as bathrooms and kitchens, should be purchased before beginning your job. You shouldn't buy anything until then. One of the most important things to look for in a shower caulk is the presence of mould and mildew inhibitors. This property is shared by these formulas.
Step 2
Before starting to apply new caulk, make sure that all traces of the old caulk have been removed. Your new bead won't adhere properly if you skip this step. Using a utility knife or an oscillating tool, cut through the strips of old caulk. The first step is to scrape off as much as possible, and if there are any stubborn patches left over, a specialised remover can be used to get rid of them. You can use a commercial cleaner or a homemade solution of one part bleach to two parts water to get rid of any mould you find on your travels. Caulk won't attach to a wet surface, so once the old caulk is gone, wipe the area with a moist cloth and let it dry before proceeding.
Step 3
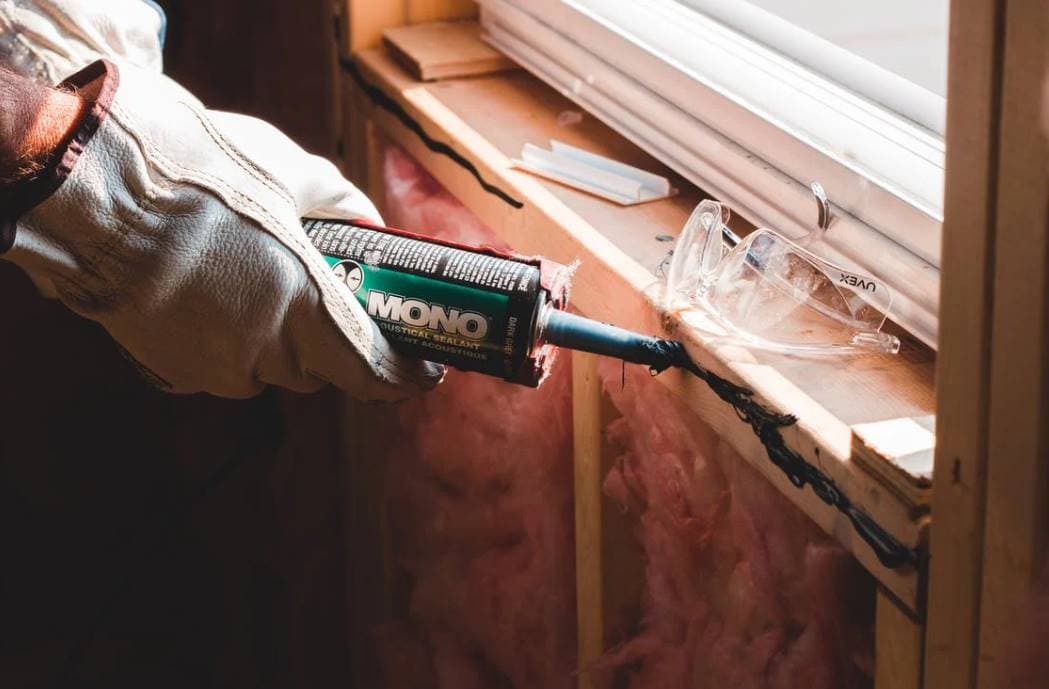
It is possible to apply caulk by squeezing it directly from the tube, but a caulk gun is much more convenient. This will allow for more precise outcomes by improving flow management. Due to the simplicity of these instruments, even the highest quality commercially available options are usually quite affordable.
Any caulking gun worth its salt will come with a sturdy plunging mechanism that allows for even and precise caulk distribution, as well as a pressure release that allows you to swiftly pause or stop the application process. Every reliable caulking gun is equipped with these two qualities. When feeding your caulk gun, remember that you don't want to remove too much of the caulk tube's tip. If you give anything a lot of room to expand, it could become out of hand. It is recommended to snip the tube slightly above the indentation point marked on most tubes.
Step 4
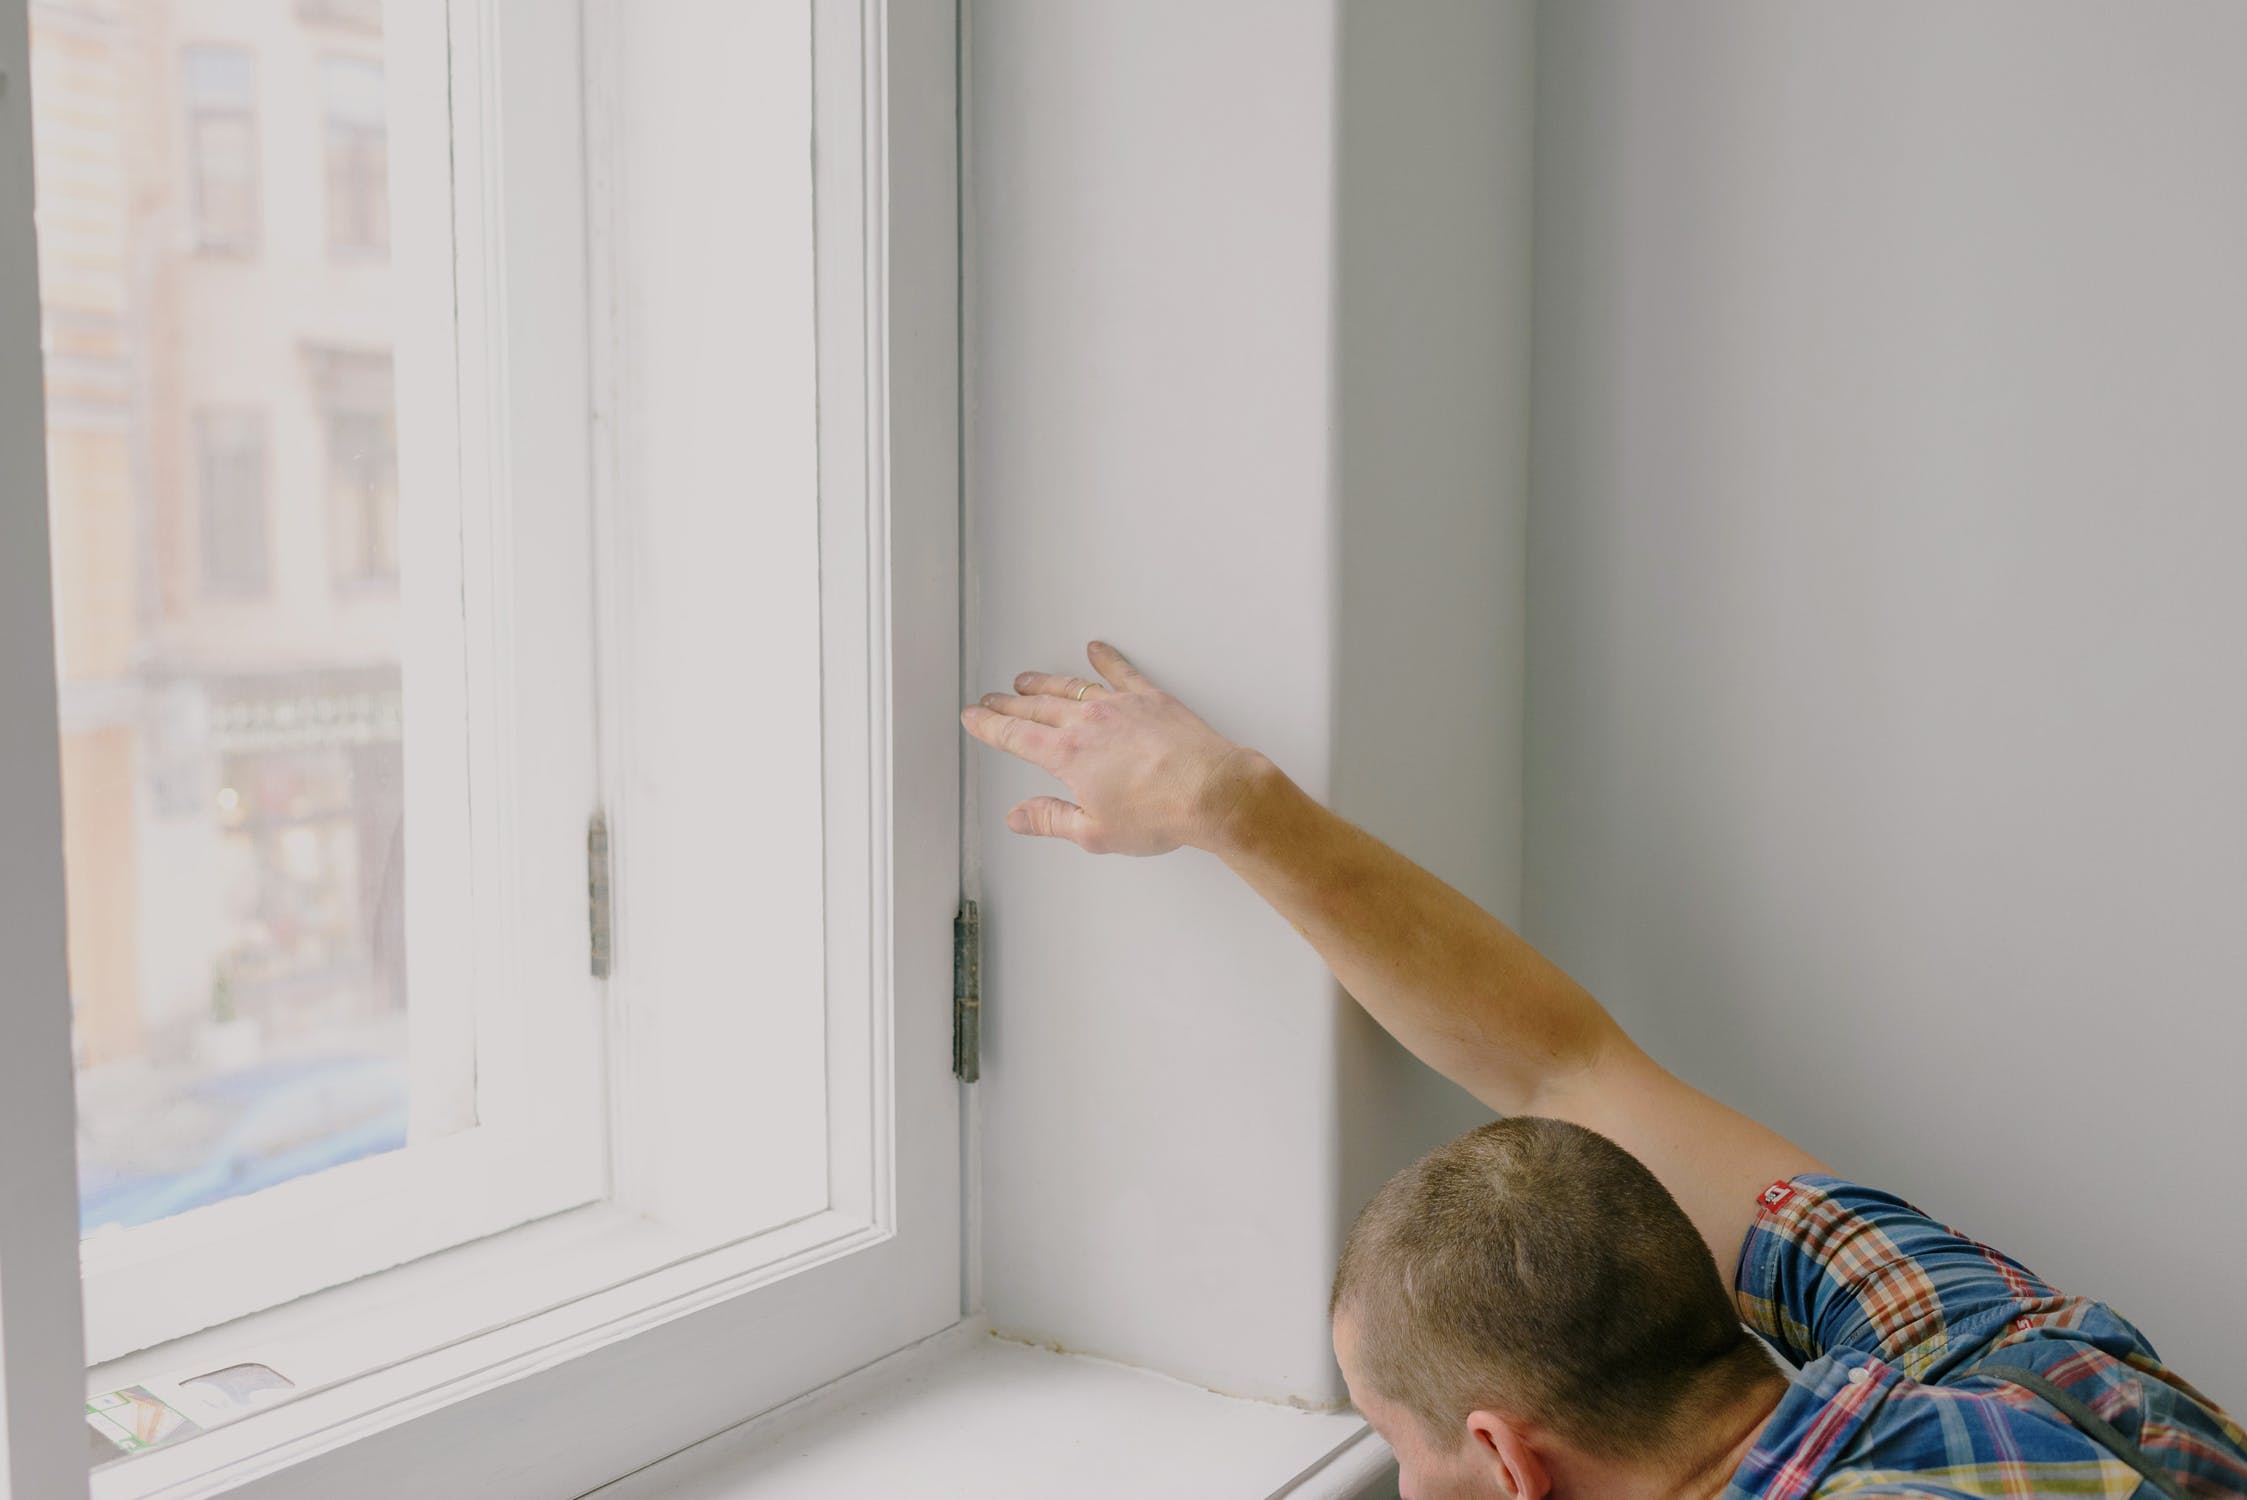
In order to get a neat bead, using painter's tape as a guide is highly recommended. You should always use lengthy strips of tape to mask off the surface on each side of the line where you'll be applying the caulk, whether you're caulking a wall, a shower door, or a bathtub. To begin the caulk bead, press down on the caulk gun or tube and then either drag the gun away from your starting position while holding it at a 90-degree angle or push the caulk in a forwards motion while holding the gun at a 45-degree angle. There is no "right" method, so pick the one that works best for you and run with it.
Step 5
Once the gap has been filled, run a damp finger along the line to remove any extra caulk and shape the bead into a smooth, rounded edge. Before moving on to the next area that requires caulking, gently remove the painter's tape from the freshly caulked area.
Step 6
When you're done, give the caulk at least 24 hours to cure before you hop back in the shower. You can sing your favourite musical number 364 more times before you have to caulk the shower again, assuming you did a good job caulking the first time.
Conclusion
Caulk is an essential aspect of building, thus every carpenter should know how to use it. Caulk is used to seal cracks and prevent the passage of air and water. How to determine which caulk is best for a certain application is detailed below. Caulk's capacity to take paint, its longevity, and its malleability are all dependent on its chemical makeup. If the caulk can be painted or not depends in part on the chemicals that make it up.
In this article, we take a look at the four most common types of caulk: silicone, latex, acryl, and polyurethane. In comparison to latex and polyurethane caulk, silicone caulk is the superior product due to its waterproofing, flexibility, and ability to accept paint and stain. Silicone caulk, when applied correctly, has a 30-year lifespan in watertightness. Paint the wood before caulking it to prevent the caulk from soaking into the wood. Before attempting to caulk, make sure that the area to be sealed is dry and that all water has been removed from the shower, tub, sink, bidet, and commode.
When used on surfaces, rubbing alcohol is highly effective at eradicating any and all traces of filth and grime. Tape with low adhesiveness should be used on fragile or finished surfaces. A few hours is all you need to caulk the tub, tiles, shower door, and drain. Quality caulking material is essential for a professional-looking finish. Inhibitors of mould and mildew growth are an important feature of shower caulk.
Caulk can be applied by squeezing it out of the tube, but a caulk gun makes the process much more manageable. Their reliable plunging mechanism ensures that caulk is applied uniformly and precisely. The best solutions now on the market don't have to break the bank.
Content Summary
- Perfecting the art of caulking takes time and effort.
- Selecting the right caulk for the job also necessitates some head-knowledge.
- Although many caulking applications look identical at first glance, using the correct caulk for the job is essential for a reliable seal.
- But it's crucial to have a firm grasp on the most common caulk types.
- The chemical composition of caulk determines its paintability, durability, and workability (easiness to shape and toot).
- The caulk's chemical makeup is also a factor in whether or not it can be painted.
- Furthermore, silicone caulk does not allow paint to stick to it.
- There is a wide range of uses for polyurethane caulk.
- You can prevent making a mess by wiping off the spout and your hands with a moist cloth.
- You should wait for the caulk to dry before removing the tape.
- Overuse of caulking is not recommended.
- First and foremost, you need high-quality caulking material to ensure a successful caulking job.
- One of the most important things to look for in a shower caulk is the presence of mould and mildew inhibitors.
- It is possible to apply caulk by squeezing it directly from the tube, but a caulk gun is much more convenient.
- When feeding your caulk gun, remember that you don't want to remove too much of the caulk tube's tip.
FAQs About Caulking
Can you apply caulk without a gun? The quick answer is yes. You can apply caulk without a gun. However, this requires much more effort and care than caulking with a gun. A caulking gun applies steady pressure on the tube to get a smoother and more even finish.
A wire brush is recommended if the caulk is removed from concrete and masonry surfaces. To clean the area around the caulk, use mineral spirits for silicone caulk and soap and water for acrylic.
Removing the old caulk and replacing it with a new bead of caulk instead usually creates a better seal. However, you can effectively caulk over caulk as long as the bottom layer of caulk isn't damaged or mouldy. For the best adhesion, the old caulk should also be clean, dry, and free of oil.
Putting a second layer of caulk is fine for some types of caulk. However, when using silicone caulk, your best bet is to remove the first/older layer of caulk before putting it on a second layer. Nothing sticks to silicone, not even silicone itself.
Caulk makes your surface airtight and watertight. Silicone sealants, on the other hand, remain flexible for years, making them ideal for areas prone to expansion and contraction. In addition, silicone has strong binding properties that can be applied to almost any surface, indoors and outdoors.