
Decks which are ground or covered, like as the front porch or patio decks, are outside the scope of this guide. We've broken down this complex topic into three manageable chunks. A general description of the procedure follows the detailed instructions for design and layout presented in this first section.
The best investment you can make in your country house and busy indoor/outdoor lifestyle is to construct a deck made from warm and inviting wood. The deck can be used for a wide variety of activities, including barbeques, parties, the careful monitoring of children and dogs, or just relaxing in the sun while waiting for the tomatoes to ripen. Not everything in fashion mags and "ideabooks" have to be an extravagant architectural creation costing millions of dollars. Building a simple four-square deck yourself using only basic tools and materials will increase the home's value by $100 for every $1,000 you invest. In fact, savvy consumers have the potential to turn a profit.
To find out if a permit application and inspection are necessary, you should first visit the local structural engineer in person rather than calling (s). All large cities should allow it. When constructed properly, decks are long-lasting additions to any home, as well as whether people like it or not, culture has legislated itself with a say in the aesthetics and longevity of such additions. This class includes decks.
Setbacks, the minimum distance a structure can be from a property line, and the interpretation of regional building codes that specify the magnitude and spacing of concrete elements, the depth and length of foundations, the aspects of stairs and railings are all matters left to the discretion of individual municipalities. Looking for home deck services? Look no further! Hitch Property Constructions has you covered.
Some inspection agencies go out of their way to help do-it-yourselfers by providing them with decks plans and advice on how to follow the rules. Many people have an unconscious prejudice toward those who work in the building industry because of the attention to detail required of their jobs. Because of these potential issues, a deck may need to be torn down even if it fails the inspection. However, a retired town assessor puts it this way: "If you won't need it, there's no need in getting a permit. If you choose to submit it, we will be alerted so it is possible that your land tax would go up." Even if you don't need a permit to build a deck, it's still a good idea to research the local building codes before you start.
Constructing A Foundational Framework
One of the best things about a floor deck is the simplicity it offers. Building your balcony in a visually appealing area of your yard will allow you to take full advantage of the scenery. Adding pavers that run back towards your house is another easy way to give it a more finished and elegant look. The decision is up to you and your ideas for the backyard's style. When you need decking services in Melbourne, contact Hitch Property Constructions.
Making Plans and Layouts
Evaluate the landscape and visualise potential uses for the area before deciding where to build the platform deck. Where you end up putting it can be aided by this. You don't have to worry about door clearance because you're not planning to attach a deck to the home. The drainage system beneath your deck is, however, something that requires your attention. Is there a slope for water to drain away? The deck's lifespan can be significantly extended with proper ventilation construction.
- Make a complete plan for it. Plan ahead to accommodate each of the features you've identified as priorities.
- Come up with a strategy and write it down. Expert gardeners, general contractors, or even home repair businesses can all lend a hand in sketching out your project. This will allow you to solve layout and space constraints before you ever begin construction.
- Collect some data by measuring the area. Drive stakes into the ground to mark out the boundaries. Basically, this is just a sketch to assist figure how the batter boards ought to go. Next, you'll fiddle with the details.
- Batter boards can be crafted from furring strips if you follow the included instructions. Simple string support created from 3 parts of furring nailed together. Place them in the open areas beyond the area's corners. Larger decks need more posts, which should be spaced at regular intervals and labelled with batter boards. Refer to both your plan and the prevailing building codes for details.
- In order to denote the overall structure, string is the best option. You can use strings tied to the batter boards to designate the deck's perimeter. Make sure the volume of the string is at its maximum.
- Rectify the region by adjusting the strings as needed. When the diagonal distances between the string's corners are also equal, we say that the area is square. Make a notation on the bat boards to show where the last strings should be positioned.
- Grass should be dug up entirely if doing so is mandated by law. Renting a sod cutter is the most efficient way to get the job done quickly.
- Consider how you may best organise your postings along the strings. The format will be decided by the local construction regulations and the available space.
- The footer positions should be marked with a spray can of paint. This marks the spot where you need to dig holes for your footers and posts.
To what extent will you be able to customise the material?
You should give some consideration to the type of wood and composite material you will use for framing an earth's surface deck because it is meant to be low. Use stress hardwood that is rated against ground contact if the bottom for your deck frame will be less than 6 inches from the ground. Maintaining your deck in this fashion will keep it looking great for years to come. There is a greater concentration of a preservation in this type of wood, making it resistant to rot and decay.
Do you want to raise your platform deck by one or two steps? If that's the case, you'll want to give some thought to how you'll secure the stairways; if you use stringers, you'll be burying metal inside the ground, which might corrode over time.
Deck Ventilation at Ground Level
The soil beneath a platform deck will always be damp. Prolonged exposure to humidity, that can result in the formation of mildew, rot, and decay, is the worst adversary of a ground-level deck. Building your deck at least this high will allow for proper air circulation on the ground below it. Your deck's longevity will improve as a result of all this. If your deck is less than Twelve inches off the ground, you should leave its perimeter open so that air can circulate freely. In order to meet the standards set forth by local ordinances, this must be done.
Arrange for the Base and Leveling
It's easy to build a solid base for the deck by setting concrete blocks at its four corners. Placing your building on gravel might further enhance drainage. The next thing to do is to hammer stakes into to the ground, string around perimeter with the stakes, and suspend a level line. Once you've checked and made sure the deck's outline is straight, you're ready to move to the next phase.
Put Down the Beams
As was previously noted, the deck beams should be placed on the top of the blocks while being raised to a height that will allow for sufficient ventilation. These beams will serve as the framework for your ground-level deck. The next step is to obtain a diagonal measurement before tapping the beams into place.
It is recommended to employ temporary gurneys, which are made of wood structures that prop up the beams, to keep the beams from shifting while they are kept in place. Shims that have been treated under pressure can be used to keep the beams level if it becomes essential. You may spread out some additional gravel to keep the ground level.
Fasten Joists and Anchors
After checking that the beams are level, attach angle brackets to a four corners of a deck at the points where the joists & beams meet. These can be placed at each corner of your ground-level deck to provide extra stability. Again, you can check the distribution of your deck with terrain by looking at the string level.
Connect the joists to the studs.
Hang the joists from the beams at regular spacing. Always follow the manufacturer's instructions for decking spacing. This not only helps you see the deck's final shape, but it also reinforces the framework. New stair installations require considerable thought about their eventual placement.
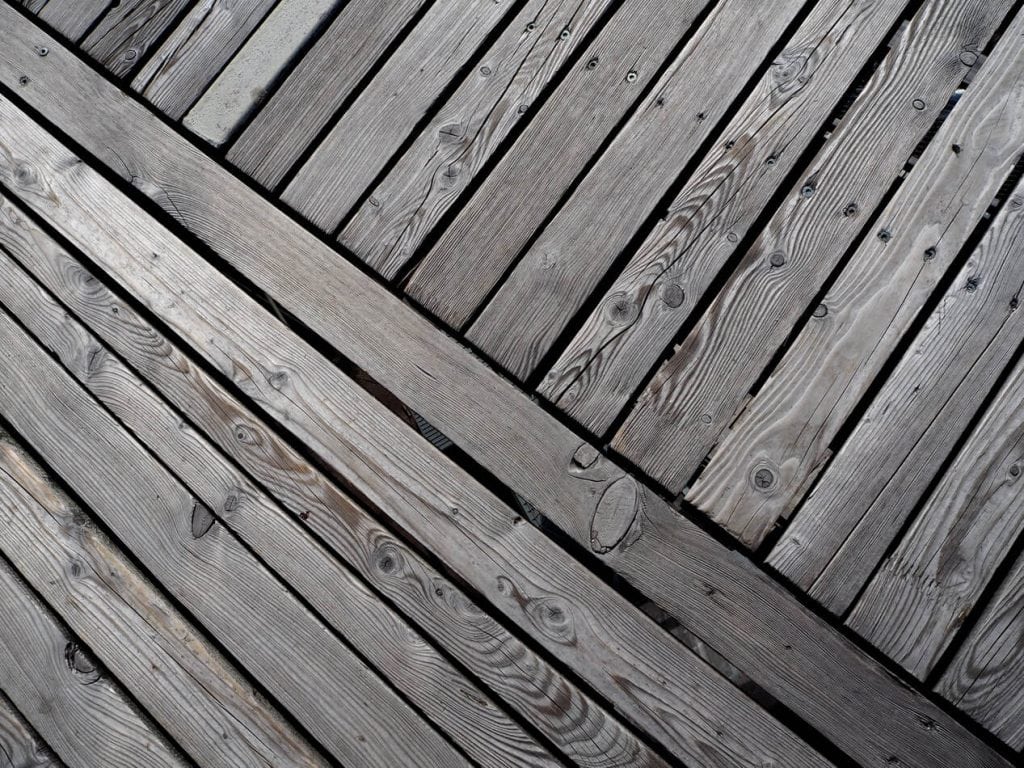
Create a Deck
Your decking project is finally taking shape and looking like it will be completed successfully. The first piece of decking you lay should be flush with the exterior wall. Once you have the joists in place, you must verify that the decking boards are positioned perpendicularly to them and are securely fastened.
Always consult the manufacturer's guidelines for recommended gap sizes to ensure proper ventilation when installing new flooring.
Polish the Corners
The circular saw will come in handy after you've finished installing your decking to trim off any excess. Doing so will guarantee a level deck surface. Don't let the cutoffs of the wood pile up; instead, collect them and tidy them up. Your fresh new ground-level deck is finally ready for inspection.
Construct Stairs or Steps
One must first decide how many and what kind of steps they want leading up to the ground level deck. You can have a deck built with either extra footings in the ground and stringers that dangle from the deck. The stringers can be fastened to the platform deck joists with either metal curly braces and 2 by 4s. Either choice could work.
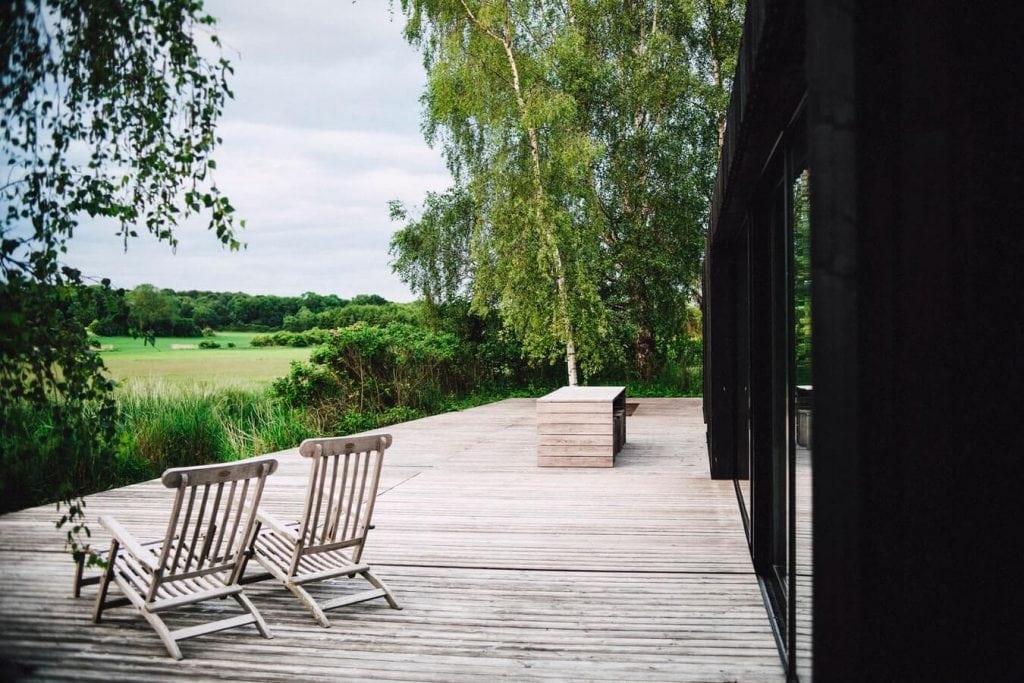
Have Fun Outside
After completing the deck, you should take some time to unwind and enjoy the fruits of your labour. A rest stop could be made more enjoyable with the addition of chairs, companions, a grill, or refreshments.
Expert Deck Construction Tips Straight from the Pros
You may be considering building a deck as spring is quickly approaching. Do it yourself deck construction is a terrific job, and it's not as difficult as you would think if you follow some basic guidelines.
Ensure a Pleasing Result with Your Own Do-It-Yourself Deck
Decks are created to extend a home's living area, so it's important that they're constructed in an aesthetically pleasing and structurally sound way. Since many backyards and other places close to the house are quite flat, this may be an easy process for some home sites. The lower part of some decks are at floor level near the home's entry, but the upper part of the same decks are elevated by about 15 feet. Check out our Melbourne decking services services here.
Before Attempting to Construct Your Own Deck, You First Apply for the Necessary Permits.
The approval of most local building departments is required prior to the construction of decks. A full set of permits may not be necessary for a small, freestanding deck, but a deck that is two stories tall and intricate may require engineer blueprints. Getting in touch with the appropriate municipal permit agency is always a good idea before beginning any project.
Get a solid base for your do-it-yourself deck.
Through my travels, We have seen several beautiful deck layouts, and I can honestly say that any of them would be worthy of being my own. On the other hand, as a contractor serving the Denver region, the majority the deck repairs I am called upon to complete are the result of the original builder's decision to skimp on quality materials or methods. This describes the great majority of life's challenges. In the process of my work, I've shown on a few decks whose support columns were little more than posts driven into the ground beneath the deck. The others were set up on preexisting footers that were comprised of various combinations of rocks, blocks, including a few more precarious foundations.
Building a strong house begins with laying a strong foundation, as it does with most other construction projects. An excellent beginning is predicated on a strong base. A hole is dug to a depth greater than the expected frost level, and a cardboard tubes form is then inserted into the hole. After the concrete has been mixed and poured into the tubes, an anchoring bolt is placed inside while it is still wet and left to dry. When the concrete has cured for the required amount of time, the post bracket can be attached and the mould can be removed.
Its anchor nut and the posts base work together to provide the structure with uplift and compressive resistance. This is done with each deck column. Could this possibly make you feel scared? Even if you want to build the deck yourself, you should still consider hiring a technician to construct the base for your structure.
Select Appropriate Framing
A deck's structure, or "skeleton," is what the phrase "decking" alludes to. The framing establishes the deck's skeleton. Joists may need to be closer together when installing some types of decking than when installing others.
There are, however, decking options that are well-suited for covering large areas. Certain parts of these metrics will also be affected by the local weather conditions. Location-specific snow and wind loads, as well as material choices, affect building design. Some opt to build the entire framework from pressure-treated wood because, in their experience, it lasts the longest. This inclination stems from the fact that pressure treatment increases the wood's durability and thusly decreases the likelihood that it will rot.
Decks made of hardwood will last for decades.
Most decks up until now have looked very much the same... Concrete & pressure-treated lumber, as well as pressure-treated frame joists, are examples of fairly conventional building materials. Your deck has the opportunity to stand out through others due to the deck material or railing system which you select. Pine, cedar, and redwood were the usual suspects when it came to deck building decades ago, when buyers had fewer options to pick from. Modern consumers still have access to these materials, but they also have dozens of hardwood and synthetic options to choose from.
My home's deck was built of ipe, a solid hardwood that is fireproof. This deck, fashioned of ipe (pronounced "ee-pay"), is around 650 square feet in size. After 15 years since its reconstruction, my deck looks as good as new thanks to the use of Ipe wood, which is known for its extreme lifespan and resilience. Although I still prefer Ipe, there are numerous synthetic options now that offer a similar visual appeal with far less upkeep. Concerned more about protecting the planet than making a buck, the green movement is increasingly pushing for the use of non-petroleum based products.
Purchasing a hardwood deck with a lifespan of sixty years or more is a great financial move. Hardwood decks, if properly maintained, have the ability to outlast decks made from composite materials, even less desirable ones. Hardwoods are commonly utilised for decking because of their aesthetic value and their little impact on the environment.
Tutorial on Building a Deck
The first instalment of a three-part series, this one will explain how to construct a raised and connected deck. We won't be going into detail on drifting decks specifically, but the methods remain largely unchanged. Front porches and patio decks, which are examples of grounded and covered decks, are not included in the scope of this article. We've broken this extensive topic down into three sections. This first section offers background information and specific guidelines for preparation and design.
Building a deck out of wood is the best investment you can make in your rural house and busy indoor/outdoor lifestyle. The deck is perfect for hosting barbeques and parties, keeping an eye on the kids or pets, or just relaxing in the sun while you wait for your tomatoes to ripen. You don't have to have a lavish party like the ones depicted in publications and "ideabooks," though. For example, if you build a simple four deck yourself, including the framing, stairs, railings, and stairs, you can add $100 to the worth of your home without spending any money on the labour involved. You can even turn a profit with strategic purchasing.
Going to the local home inspector in person to ask if you need a permit and inspection is preferable to making an initial phone contact (s). You can do this in almost any city. If constructed correctly, decks are long-lasting additions to any home, or whether you prefer it or not, civilization has given itself a voice in how such additions should look and hold up over time. Decks are a part of this group. Its size and space of structural components, the depth & size of foundation, the dimensions on stairs and railings, as well as other aspects in construction are all specified by the size and spacing requirements of regional building codes, which are interpreted by communities. Looking for home deck services? Look no further! Hitch Property Constructions has you covered.
Some inspection agencies go out of their way to help owner-builders by giving them free deck blueprints and advice on how to build legally. People who are drawn to the construction industry tend to be meticulous problem solvers with an eye for detail. One or more of these may call for the demolition of a deck if it does not pass inspection. But, as one retired town assessment put it: "If you do not need a permit, do not apply for one. If you do, we'll find out about it and it could increase your property tax." You should still check the local building codes before beginning deck construction, even though a permit isn't needed. Hitch Property Constructions has a wide range of decking services Melbourne services.
Conclusion
Building a deck out of natural wood is one of the best improvements you can make to your country home. Ground or roofed decks are not included in the scope of this manual. Even if a permit isn't required to construct your deck, it's smart to check the regulations in your area to be sure you're building up to code. Do-it-yourselfers can get assistance from some inspection agencies, which go out of their way to provide deck plans and guidance on how to follow the rules.
Content Summary
- We won't be going into detail on floating decks especially, but the methods still apply.
- Decks which are ground or covered, like the front porch or patio decks, are outside the scope of this guide.
- A general description of the procedure follows the detailed instructions for design and layout presented in this first section.
- The best investment you can make in your country house and busy indoor/outdoor lifestyle is to construct a deck made from warm and inviting wood.
- The deck can be used for a wide variety of activities, including barbeques, parties, the careful monitoring of children and dogs, or just relaxing in the sun while waiting for the tomatoes to ripen.
- To find out if a permit application and inspection are necessary, you should first visit the local structural engineer in person rather than calling (s).
- When constructed properly, decks are long-lasting additions to any home, as well as whether people like it or not, culture has legislated itself with a say in the aesthetics and longevity of such additions.
- Because of these potential issues, a deck may need to be torn down even if it fails the inspection.
- Even if you don't need a permit to build a deck, it's still a good idea to research the local building codes before you start.
- Building your balcony in a visually appealing area of your yard will allow you to take full advantage of the scenery.
- The decision is up to you and your ideas for the backyard's style.
- Evaluate the landscape and visualise potential uses for the area before deciding where to build the platform deck.
- The drainage system beneath your deck is, however, something that requires your attention.
- Make a complete plan for it.
- Plan ahead to accommodate each of the features you've identified as priorities.
FAQs About Building A Deck
Instead of using footings, adding a level of gravel will give you the drainage aspect you are looking for. You can then add a frame of wood that anchors in concrete blocks that sit in the gravel, creating your new deck.
Start by laying out the joist spacing on opposing rim joists. Pull your tape measure across the rim joist and mark the joist location, which will be every 12, 16 or 24 inches, per your drawings. If your deck is comprised of two beams, pull your measurements along the beams and mark the beams.
Yes, you can build a deck directly on the ground. There are many reasons to want a very low deck, including that at certain heights the deck may not require stairs or guardrails.
Beams are a crucial part of any deck, so it's imperative that they're properly installed. A beam runs across the posts, parallel to the ledger, and supports the joists.
A freestanding deck is a self-supporting deck structure built independently from a house wall ledger board attachment. Some freestanding decks stand alone in an open area. Above-ground pool decks are often built freestanding in this fashion.