
Painting is one of most basic DIY projects you can do to improve the look of your home, and it's often the first thing people think of when it's time to decorate a new place or get an older one ready to sell. However, the technique is not always straightforward, especially if you have never done it before, even though that it is a terrific project all people of varying ability levels. The bright side is that there numerous innovative ways to cut down on the time spent painting and get the job done faster.
The next paragraphs contain advice that will help you paint a room immediately without losing quality. You can use this advice whether it's your first time painting a room or you're a seasoned pro looking for a speed boost. It's possible that you're already familiar with a few of these paint tips, and it's also possible that they go against conventional paint advice that you've been taught in the past; yet, it's been shown that applying any of these ideas will help you painting rooms more swiftly and easily.
It may seem contradictory to rush through a painting job inside the hopes of achieving a high-quality finish, yet this is how professional painters make their money. If you put these suggestions to action, you can speed up your painting without sacrificing quality. Some of these methods may go against the painting instructions you've been given over the years, but the ones that really do work will save you time and make your project look like it was completed by a pro. Hitch Property Constructions provides home painting services to help you paint the home of your dreams.
The Fastest Way to Paint Your Room
Before you even think of picking up a paintbrush, you need to have a strategy mapped out. The last thing you want to do is realise halfway through cooking that you forgot an essential ingredient because you didn't read the recipe thoroughly first. The process is similar to following a recipe, in that you should study everything well before attempting to make anything.
Get your stuff together all at once.
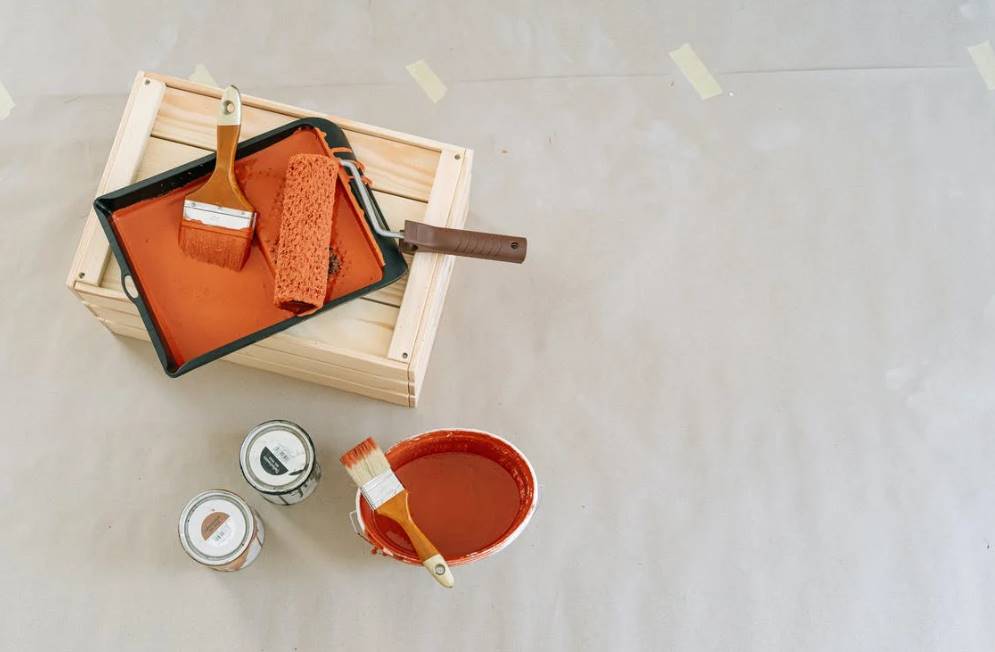
Get started by rounding up everything you'll need. A small paint pail, an angle brush between 2 to 2.5 inches in length, a putty blade, paint stirring stick, a dropping cloth made of fabric, and paint are all part of the equipment you'll need. Having a home improvement store employee walk you thru the scope of your job and suggest you in the way of additional items you might need is always a smart idea. If you accomplish this, they'll be in a position to help you finish the project. The choice between a long and a short roller cage is a false choice. These shorter cages are better for close-up work, while the larger cages will save you time and effort by reducing the number of times you need to use a ladder.
One of most important tips is to use high-quality paint instead of inexpensive paint if you want to swiftly paint a space. If the paint is of higher quality, fewer coats will be required to cover the surface.
Do the Housekeeping Before You Enter the Room
Preparing the surface well before painting saves time and makes for a better finish. Prior to cracking open the first paint can, spending some time preparing the space to be painted will save you a lot of time and effort by reducing the amount of back-and-forth that is often required.
First, empty the room of all its contents, including its furniture and decorations. Push any large furniture pieces to the centre of the room and cover them with many layers of old sheets you don't mind having paint on. Gather everything else you'll need, including a step stool and a stack of clean rags.
Now, Prepare the Walls
Preparing your walls is another process that may be completed simultaneously to save time. Simply washing them off so that no dirt, lint, or even other debris will be trapped under the new coat of paint is all that is required. How soon can walls be made suitable for painting? Wrap a fresh cloth around the end of a lengthy swivel duster and work your way clockwise along each wall. It's time to get a fresh rag and give the trim a good hand cleaning. It may be necessary to soak the rag with warm water in order to remove stubborn or stuck-on debris. In that situation, you should stop what you're doing and let it dry.
Ignore the Tape
You may be wondering whether you shouldn't just forgo taping off the corners and trim before painting the room, as this is one of its most time-consuming parts of the process. Contrary to popular belief, painting any room without first tape it off is among the most effective ways to accomplish the work done.
You should invest in a good brush if you want to start saving money by using less of the that blue painter's tape. More command means more precision, which is especially useful when working in tight quarters. Another useful tool is a putty knife, which may be held flat against by the wall and served as a guide if you're worried about going outside the lines. To prevent paint drips from landing where they shouldn't, wiping it away as you go is essential.
When starting to cut in, be patient and be careful to avoid damaging the surrounding area. You'll want to spend some time with this, but we promise it'll go far more swiftly than tape everything off that would have. Don't be too hard on yourself if you make a mistake. If you make a mistake, immediately use a clean, wet rag and wipe it away. At Hitch Property Constructions, we offer a comprehensive selection of home maintenance services.
Think About Ignoring the Preface, Too
Since primer is usually unnecessary when painting a room, skipping it is a wise shortcut that will allow you to get the job done faster. Only when going from the a dark colour to a light one, whether you're painting across an existing darker shade with a lighter colour or painting plasterboard that has never painted before, is it necessary to prime.
Observe the Ceiling First
In spite of the fact that painting your ceiling is probably the least exciting component of the project, doing it first will save you a lot of time in the long term. You don't have to worry a great deal about becoming precise when applying the paint because any mistakes you make as a result of paint getting onto to the walls will simply get covered up once you continue on to the next portion of the room.
If you want to avoid having to repaint the ceiling after it has already been painted, choose a paint with a flat finish. Choosing the correct ceiling paint will reduce the time and work required to paint this area of the room, as well as the need for extra coats of paint.
A Roll, and a Cut In
It is recommended that you cut in initially and then roll while painting. Forget about it; putting just on paint first is terrific method to save time and finish a room faster. An effective mental trick is to roll the dice first, since this allows you to achieve rapid progress and a sense of accomplishment that can help you feel more in control of the situation. Additionally, starting with the rolling motion speeds up the process. If you stay as closely to the margins as possible, you will not be concerned about going over the line because you can always go back with a brush to fix any mistakes.
Shorten the Interval Between Coats as Much as Possible
You can choose to wait as little time as possible in between coats of paint, or you can decide that you'll need to take a break and return to the project the next day. However, the first option is the ideal one to pick if you want paint paint any room immediately, as well as the time it necessitates can be reduced further by assuring that the initial coat dries more rapidly. Instead of applying every layer thickly, you should opt for thin coats to achieve this. Lighter coats, despite appearances to the contrary, dry faster and, when layered, provide coverage on par with heavier coats. In addition, you should open the windows (if it is not too humid outdoors) and set up a large oscillating fan to keep the air circulating around the room. To expedite the drying in specific spots, you can also try using just a dryer on the cool setting; however, you should point the hairdryer at the walls from at least one or two inches away to avoid the paint from bubbling. Allow yourself about an hour between coats if you're following these directions step by step.
How to Properly Paint a Room
Almost everyone will agree that painting the wall of your house is the simplest and least expensive method for giving it a fresh start. Painting is a versatile home renovation technique that can be utilized for everything from refreshing a single bedroom to completely transforming the look of the outside of a house. Painting is a low-cost technique that yields quick, obvious results.
However, the benefits of painting your home's exterior and interior walls and trim are numerous. With just a few coats of paint, you can completely modify the ambience and aesthetic of your home. Paint can be utilised to make a strong visual statement by adding bright accents, or it can serve as a more muted backdrop to create a more sombre aesthetic. It will look fantastic either way. Painting the walls & trim on a regular basis helps keep the space looking nice and creating a healthy atmosphere for the residents. Painting also prevents damage to your walls.
You can save money in the long term by investing in an interior paint job, which will safeguard your home and its structural components from wear and tear. As an added bonus, it will improve the inside of the house's defences against pests and other elements that hasten the wall's deterioration. There is a direct correlation between the cost of interior painting and the return on investment when selling a home. As a result of the increased kerb appeal, more people are interested in purchasing houses that have recently been painted. The value of the house may also rise as a result.
Whenever the time comes to sell your home, this helps increase its value and puts you at an edge. Moreover, any issues brought on by exposure to extreme weather conditions can be resolved by adding a layer of paint of good quality and meeting high standards on the walls of a room.
You can give the appearance that you have a fresh new home simply by making some cosmetic changes to the inside, such as cleaning the walls. If the interior painting is done properly, it will be able to disguise the stains and blemishes that won't go away and give your walls a fresher, more modern appearance.
Choose a colour that complements the style you wish to portray. Keep in mind that the light flowing into a room from different angles can drastically alter the colours that are perceived to be present. Light from the sun will cast a distinct hue on the walls than artificial light sources like bulbs or incandescents. Incorporating neutral tones into a space can make it feel more homey and welcoming. Using light paint colours is another way to make a tiny room or interior area seem bigger. The use of these colours can also make the living area appear and feel more vibrant.
Since low-VOC or no-VOC interior paint is better for human and environmental health, it is recommended that new paint be applied in any given room. It's best to use paint with very low or no VOC. Green paint can significantly lessen the quantity of outside air pollution that makes its way inside. Finally, a good paint job can keep the moisture out of your home.
This may be explained in 5 easy steps:
Constraints of Space
Painting the roof is a must before painting any other surface. You can then apply two full coats without worrying about the paint dripping off the roller and into the floor. You must use a roller with a two-arm frame when painting a ceiling. The roller may be used to great advantage thanks to the double-arm frame that supports it at both ends. This ensures uniform pressure and coverage across the entire roller's width during use. An ideal combination for this task is a 12" perfection light pile roller and a prestige chrome double arm frame.
The Barriers
There should be at least two coats of paint on the walls, cut and rolled once the ceiling has dried completely. If some paint falls on the trim, don't worry; it will be taken care of in the next step.
In this case, the skirting boards
Painting skirting boards often involves a semi-gloss to high-gloss finish. Skirting boards usually get a fresh coat of white paint. It is sufficient to tape off the area directly above the trim using masking and painter's tape to guarantee a straight cut. You can count on this to solve the problem. In any case, make sure that wall paint is totally dry before you get started!
The casings of windows and doors
Like the skirting boards, the window & door frames must be installed next. Remember that the key to success in this endeavour is in your level of preparedness. Verify that all nail holes have already been filled, that the frames have been caulked flush against the wall, and any rough edges have indeed been sanded before applying the final coat.
The Doors
Both panel windows & flush doors can be painted quickly or with a high quality finish, depending on your preference. Painting the door panels should always be the first step when working with panelled doors. To produce the smoothest finish, use a Prestige sash paintbrush to reach into the panels' profiles for even coverage, and a Prestige medium-pile mini roll for all the flat areas. It's possible to get both of these brooms from Prestige. The final, crucial step is to lay off any excess paint with the Prestige putting off brush. The outcome will be a glossy, smooth surface. (The flatter the surface, the higher the shine will seem.) Need a Melbourne house painter? Ignore all other options. If you do not even mind that the effect will appear somewhat like orange peel, the faster method is the way to go. To guarantee uniform coverage in the panel's corners, use a sashes brush once more; on the other hand, roll out the Prestige long pile mini roller across all the panels' flat surfaces.
Take care of the doors as a final step. When cleaning panelled doors, it's best to use a sash brush and wipe in the same way as the wood's grain. After the tough-to-reach spots have been trimmed out, the door can be finished with a brush or even with a regular roller if it is perfectly flat. Two coats of paint are usually enough to completely cover trim, walls, and ceilings. Hitch Property Constructions offers a wide range of home renovation services in the Melbourne area.
These are the basic procedures required when painting a room. By adhering to the guidelines provided below, you can be confident that even the most challenging tasks on your list will be completed efficiently and on schedule. The final result deserves the effort put forth.
FAQs About Home Painting
A potential obstacle to overcome when attempting to complete the painting of a room in a single day Priming the surface, applying two coats of paint, and allowing at least six hours for each coat to dry are necessary steps to take before painting a light colour over a dark wall or covering stains.
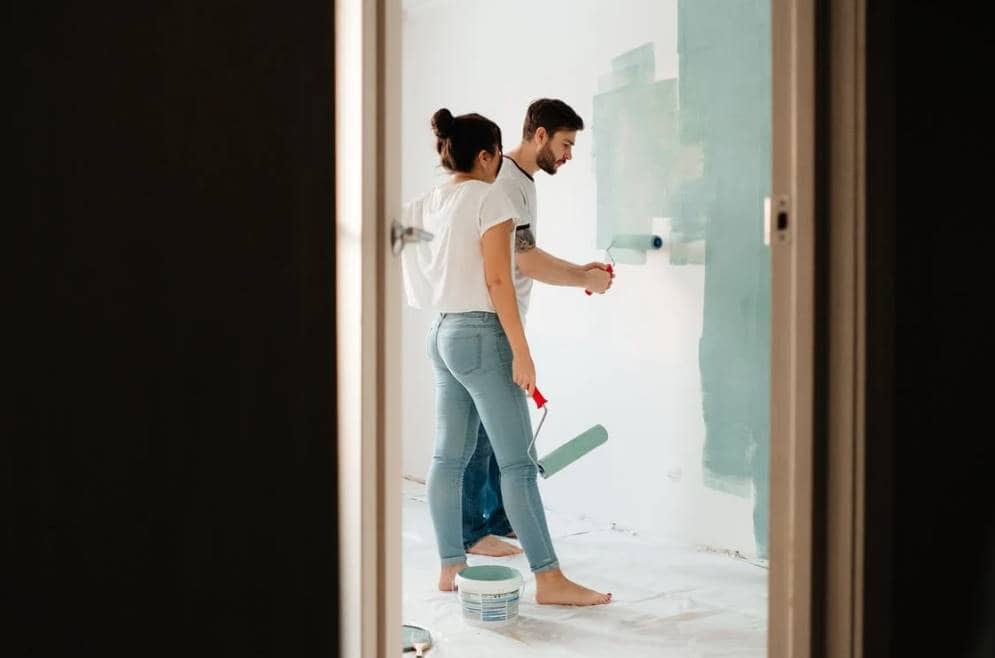
When painting an average room with an average painter, it might take anywhere from forty-five minutes to an hour to apply the first coat of paint to the walls and ceilings, and it might take only fifty percent of that amount of time to apply the second coat. Professional painters can typically complete the task even more quickly.
Start by painting the Molding, then move on to the Ceilings and Walls.
When painting a room, professionals will typically work in a specific order. They begin by painting the trim, then move on to the ceiling, and finally they paint the walls. This is due to the fact that taping off the trim is a much simpler and quicker process than taping off the walls.
When the new paint is the opposite shade of the old paint, you have a few options to choose from if the wall is in good condition and the paints are chemically the same (for example, both latex). You can first apply a primer to completely cover the previous colour, and then follow up with either one or two coats of the new paint.
Yes! When painting the exterior of a building, we will typically power-wash the surface, but occasionally we will scrub it by hand to ensure that it is clean and free of any surface contaminants. Inside, power washing with a pressure washer is not an option; however, in many instances, the walls need to be washed before the application of paint.
Conclusion
Painting is one of the easiest home improvement chores you can undertake yourself. The amount of time spent painting can be reduced in a variety of ways. The painting instructions you've been given throughout the years may conflict with some of these techniques. Taking the effort to get the surface ready to paint will result in a better finished product and less work for you. If you need to quickly paint a room, choose a high-quality paint over a cheap one. There is no need to decide between a long and short roller cage.
Content Summary
- The bright side is that there numerous innovative ways to cut down on the time spent painting and get the job done faster.
- The next paragraphs contain advice that will help you paint a room immediately without losing quality.
- You can use this advice whether it's your first time painting a room or you're a seasoned pro looking for a speed boost.
- It's possible that you're already familiar with a few of these paint tips, and it's also possible that they go against conventional paint advice that you've been taught in the past; yet, it's been shown that applying any of these ideas will help you painting rooms more swiftly and easily.
- If you put these suggestions to action, you can speed up your painting without sacrificing quality.
- Some of these methods may go against the painting instructions you've been given over the years, but the ones that really do work will save you time and make your project look like it was completed by a pro.
- Before you even think of picking up a paintbrush, you need to have a strategy mapped out.
- Get your stuff together all at once.
- Get started by rounding up everything you'll need.
- One of the most important tips is to use high-quality paint instead of inexpensive paint if you want to swiftly paint a space.
- If the paint is of higher quality, fewer coats will be required to cover the surface.
- Preparing the surface well before painting saves time and makes for a better finish.
- First, empty the room of all its contents, including its furniture and decorations.
- Preparing your walls is another process that may be completed simultaneously to save time.