
Are you sick and weary of the panelling that covers your walls when you could have beautiful plaster? Are you prepared to bring back the beauty and sophistication of your home?
Stop right there! In this detailed tutorial, you will learn all you need to know to successfully remove panelling from plaster walls and begin your renovation project. Put away the ugly panelling and welcome the classic appeal of exposed plaster.
When done correctly, removing panelling from plaster walls can be a joyful and transformational experience. We will help you with everything from determining the state of your walls to choosing the right equipment and supplies.
Our professional guides will lead you through the process step by step, protecting your plaster walls and making the transformation to a new interior as smooth as possible. Prepare to realise the full potential of your area!
But why stop merely ripping out the panelling? Beyond the fundamentals, our guide delves into innovative approaches to bringing out the best in your plaster walls. Learn how to make your walls look picture-perfect by covering up blemishes, adding texture, and painting a new colour.
Trust the process of revitalising your place now that you have the advice of well-known authorities. So, are you prepared to make some changes to your house? Let's take the plunge into panelling removal from plaster walls and discover the potential of your home!
Remember that you will see outstanding outcomes if you adhere to our tried and true recommendations and detailed guidelines. Please get rid of that old panelling and replace it with the classic beauty of plaster. Let's take the plunge together and give your home a fresh start.
A Diy Guide To Removing Wood Paneling
Clearing wood panelling is relatively easy with enough time and the proper equipment. However, diving headfirst into the task without any preparation can become boring and irritating. Determine how to detach wood panelling from drywall, wall studs, and glue.
Prepare The Room For Wood Panel Removal By Clearing It
Cleaning up after removing wood panelling is a major undertaking.
- Get the photos down from the wall.
- Use your drop cloth to protect the furniture, or remove it from the room entirely.
Remove moulding, baseboards, switch plates, and outlet covers to continue.
Note: Remove moulding and baseboards carefully and slowly. Instead of treating it like a race and risking cracking or damaging your moulding or baseboard, take your time and do it well. This is the first step in the elimination procedure.
Moulding and baseboards can be easily removed from the wall by following these instructions. Put your flathead screwdriver in the space between the moulding or baseboard and the wood panelling. Carefully and slowly make a slit in the moulding by sliding a screwdriver along its length. Use caution to prevent scratching or denting the surfaces around you.
You can move on to the following stage when you've made a gap of about a quarter of an inch. Grab the protruding nails with your pliers and work carefully to close the hole. Use light pressure and carefully pull the nails out of the moulding or baseboard to ensure they are completely removed. This method will ensure the wall is not damaged or disrupted during removal.
Now that you've removed the nails, you may carefully pull the moulding or baseboard away from the wall. You can get it out of its stuck position by applying light pressure along its length, starting at one end and working your way to the other. It's important to take your time and not apply any unnecessary pressure that could cause the moulding or baseboard to crack or splinter.
Pay close care to any light switch plates or outlet covers that might be attached to the moulding or baseboard as you remove them. To avoid any trouble or harm, you should take these off first. Please ensure the plates and coverings are not attached to the moulding or baseboard, and detach them with a screwdriver.
The moulding or baseboard, along with the light switch plates and outlet covers, must be safely stored where they may be retrieved later. Putting them in a marked box or container would be best to avoid losing or mixing them up.
Examine The Area Beyond The Wooden Walls
It would be best to ascertain whether the wood panelling was fastened or glued into place. Let me explain.
The best place to start prying off wood panelling is at the floor's intersection with two walls.
Tap gently with the hammer to ensure the pry bar is firmly embedded in the joint where the two walls meet.
The wood panelling can be dislodged from its fastening with a little pry bar wiggle. If any nails come free while you're working, remove them carefully with the pliers. The last step is to carefully peel the panelling away from the wall to see if it is bonded or nailed to the drywall or studs behind it.
Take Off The Sides
These standard procedures work for removing shipboard, barn panelling, and tongue-and-groove. Panels with a tongue and groove joint are simpler to pry apart from the tongue side.
For Paneling Nailed To Studs
First, pull the panel away from the wall with a pry bar and a hammer. Take care to prevent any harm to the surrounding region. You might knock some nails out as you pry. To remove these nails, pliers are required.
Once the nails are out, you may carefully take the panelling away. The panels should be stacked or disposed of responsibly. Repeat the process until all the panels in question have been taken down.
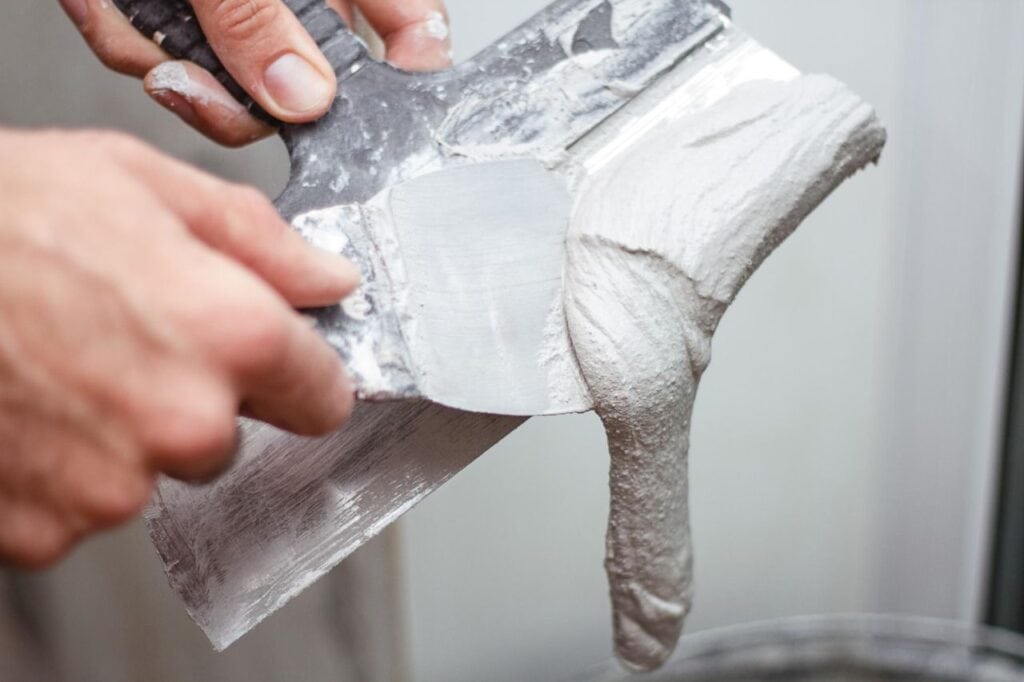
Nail holes may be visible when the panelling is taken down. Use drywall putty to repair the damage. Smooth the putty over the holes with a putty knife. Follow the manufacturer's directions for drying time before using the putty again.
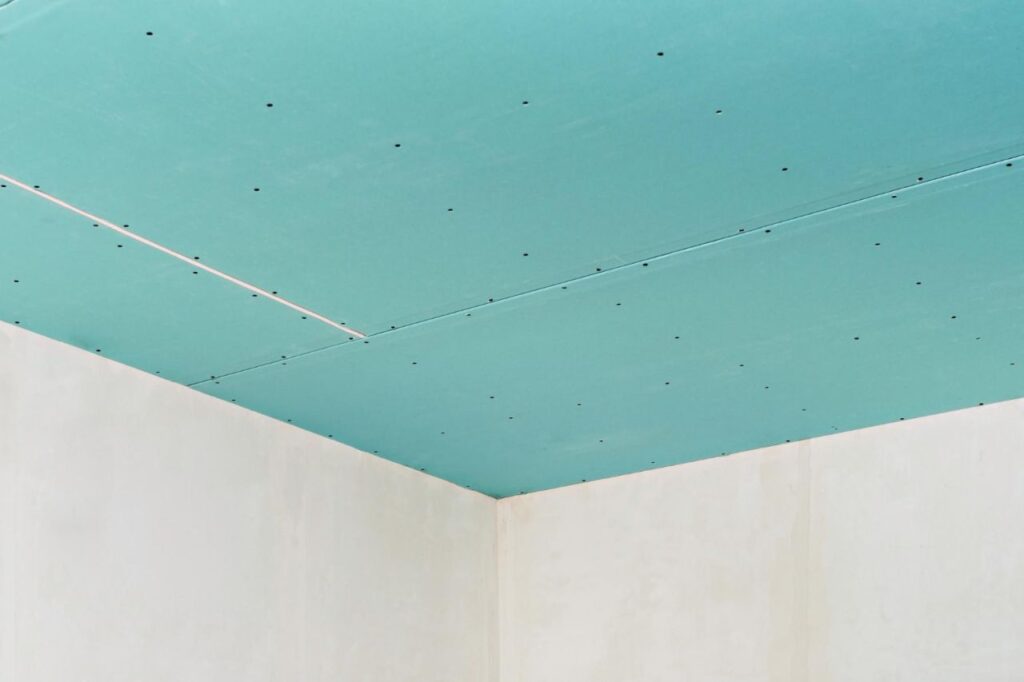
If you want to change the panelling, install new panels over the uncovered space. You can always drywall over the studs if you prefer a different look. To do the job successfully, refer to the product's installation instructions.
For Paneling Nailed To Drywall
Working slowly and carefully will remove the panelling without damaging the drywall.
The first panel must be removed by prying it off with a pry bar and a hammer. Nails dislodged along the way can be easily extracted with pliers.
After the nails are out, carefully peel the wood panel away from the wall, careful not to damage the drywall behind it.
To remove the next set of panels, repeat the operation with a chisel or pry bar inserted between the panels, taking care not to do any damage. Repeat these methods until you have successfully removed all of the panels.
You can find nail holes in the drywall when you take down the panelling.
Use drywall putty to patch up the damaged areas. Fill the nail holes with putty and smooth them out with the knife. Following the manufacturer's recommendations, let the putty dry completely.
For proper disposal, put the old panelling in a dumpster or other designated trash can.
Don't worry if you accidentally harm the drywall when removing it. You can add a new piece of drywall or patch the old one with a joint compound to fix the hole.
If you use a joint compound, sand it down and repaint it to blend in with the rest of the wall.
For Paneling Glued In Place
Working slowly and carefully to remove the panelling will help avoid damaging the drywall. Pull off as much of the panel as possible with a chisel and hammer. Stop prying when you get to the glued-on section.
Now, turn a heat gun's temperature down to its minimum setting. Keep the heat gun six inches away from the panelling you have removed. Keep moving the heat gun around if you don't want to burn the panel.
You may peel the panel off once the glue has softened from the heat. Keep applying heat from the gun and using your free hand to help pry off the panel.
After removing all the panels, use a chisel to scrape the drywall clean of any melted glue. Take care not to scratch the surface below. Just keep doing this until you've taken off every panel.
Then, clean the drywall of any adhesive that may still be there. The residue can be easily removed with a fine-grit sandpaper. You can also use a heat gun and a chisel to soften and scrape out any remaining adhesive, if necessary.
After the panelling and adhesive have been removed from the walls, any holes should be patched using drywall putty. Fill the holes with putty and smooth it out with the knife. Let the putty dry totally before using it.
Benefits Of Using Wall Panelling
Easy To Install
Wall panelling is easier to install now than it was in the past. Manufacturers currently use various clipping technologies to streamline the procedure.
Mounting panels to walls is a breeze with tongue-and-groove construction. You need to use the 'tongues' at the ends of each piece to join them together.
The panels on the wall should come together to make a seamless, sturdy joint. Wall panels are convenient for use in the construction of film and television sets due to their simple installation procedures. Crews may easily transform the set from one theme to another by swapping out the wall panels.
More Material Choices
There is an abundance of options for wall panelling materials. Due to their high durability and resistance to impact damage, medium-density fibreboards (MDF) are widely used in contemporary construction.
This makes them a great option in heavily used locations where walls are frequently scuffed and dented.
Wall panelling made of MDF is suitable for use in damp environments like bathrooms and kitchens. Sheets of MDF are frequently laminated with melamine by manufacturers.
This helps ensure the goods won't rot or distort because of humidity.
Plywood wall panels are a greener alternative to other materials. Plywood is a renewable resource that can sometimes be manufactured in factories. It's also much simpler to recycle than comparable building materials.
Protects Walls
Wall panelling is another option for shielding your walls from harm. Depending on your material, your wall panels can be made more or less durable. Adding MDF panelling to your walls strengthens them against knocks and water damage. Using wood treated to resist fire is another precaution you can take. It is also simpler to clean or replace wall panels than to repair a damaged section of drywall.
Conclusion
It shows how to evaluate the current wall condition, select the appropriate tools and materials, and ensure a seamless interior renovation. In addition to repairing flaws, adding texture, and painting a new colour, the guide explores other creative ways to bring out the best in the plaster walls.
The article also includes advice on how to get the space ready for wood panel removal, including removing portraits from the wall and covering furniture with a drop cloth. Carefully and slowly take off the trim, baseboards, plates, and covers from the switches and outlets.
Slit the moulding or baseboard by sliding a flathead screwdriver along its length in the gap between the moulding and the wood panelling. Pull the nails out of the moulding or baseboard by grabbing them with pliers.
Pull the moulding or baseboard away from the wall and remove any attached light switch plates or outlet covers. Put the baseboards and moulding away in a box, and the outlet covers and light switch plates in another. For evidence of fasteners or glue, check the space behind the wood panelling.
Pry the wood panelling off the floor where it meets two walls for the greatest results. Use a small hammer to tap the end of the pry bar into the joint until you can wiggle it free of the joint and remove the wood panelling from its fastenings.
Carefully remove any loose nails with pliers, then pull the panelling away from the wall to check if it is connected to the drywall or studs behind it.
Install fresh panels over the exposed area and wait the recommended amount of time for the putty to dry before using it again if you plan on making any changes to the panelling. Repetition of these steps is required to remove all of the panels.
Important steps include filling nail holes with drywall putty, disposing of the old panelling, and scraping the drywall free of melted glue with a heat gun and a chisel. It is possible to soften and scrape away any leftover adhesive with the use of a heat gun and a chisel.
The use of clipping technologies and tongue-and-groove construction has made wall panelling more simpler to set up than in the past.
Because of how easy it is to set up, it is a great choice for usage on film and TV productions. MDF, plywood, and fireproof wood are just some of the options for wall panelling. Wall panels are also more manageable than drywall repairs, both in terms of cleaning and replacement.
Content Summary
- Comprehensive tutorial on removing paneling from plaster walls
- Learn how to bring back the beauty and sophistication of your home
- Step-by-step guidance for a smooth and successful paneling removal process
- Discover innovative approaches to enhance the look of your plaster walls
- Trust the advice of well-known authorities in revitalizing your home
- Tried and true recommendations and detailed guidelines for outstanding outcomes
- Prepare the room by clearing it and protecting furniture with a drop cloth
- Carefully remove moulding, baseboards, switch plates, and outlet covers
- Instructions for removing moulding and baseboards without damaging them
- Properly store removed items to avoid losing or mixing them up
- Examine the area to determine if the paneling was fastened or glued
- Start prying off wood paneling at the joint where two walls meet
- Safely remove shipboard, barn paneling, and tongue-and-groove panels
- Instructions for paneling nailed to studs, including nail hole repair
- Step-by-step process for removing paneling nailed to drywall without damage
- Patching nail holes in the drywall using drywall putty
- Instructions for paneling glued in place, including using a heat gun
- Scraping off melted glue and cleaning the drywall after paneling removal
- Benefits of using wall paneling, such as easy installation and material choices
- Use of medium-density fibreboards (MDF) for durability and impact resistance
- MDF wall paneling suitable for damp environments like bathrooms and kitchens
- Plywood wall panels as a greener alternative with ease of recycling
- Wall paneling protects walls from damage and water
- Options for using wood treated to resist fire for added safety
- Ease of cleaning or replacing wall panels compared to repairing drywall
- Convenient installation procedures using tongue-and-groove construction
- Wall panels used in film and television sets for easy set transformation
- Medium-density fibreboards (MDF) prevent rotting or distortion due to humidity
- Plywood as a renewable resource with potential for factory manufacturing
- Enhanced durability of walls against knocks and water damage with wall paneling
FAQs About Plaster Walls
When removing paneling from plaster walls, there can be several risks or potential problems to consider. Here are a few:
- Damage to the plaster: Panelling is applied to plaster walls with nails or adhesive. Removing the panelling can harm the plaster surface, leaving holes, fissures, or lumps. This may require further repair work and raise project expense.
- Asbestos exposure: Asbestos may be in old panelling. Building materials used asbestos until the late 1970s. Asbestos-containing materials release hazardous fibres when disturbed. Before removing panelling, test for asbestos and consult asbestos abatement experts.
- Electrical wiring: Panelling may hide outlets or wiring. Removing panelling may damage or cut electrical cables. This can cause electrical shocks or fires. Turn off the power and proceed carefully. If you're unfamiliar with electrical work, hire a professional.
- Hidden damage or pests: Panelling can disguise water damage, mould, and pests. Before removing panelling, check the walls for these issues. Preventing further damage and ensuring a healthy living environment requires early action.
- Time and effort: Panelling removal takes time and skill. Pry off the panelling, remove nails or adhesive, and repair any wall damage. It can take time and talent, depending on the size and condition of the walls.
Professionals or experienced contractors can analyse the situation, provide direction, and guarantee the removal process is done properly and effectively to reduce these dangers and potential issues.
It is possible to recover the gypsum from the plasterboard and recycle the component parts back into raw materials which can, in turn, be used for a range of uses, including for industrial machinery and by the plasterboard industry to produce new plasterboard.
One of the main things to remember is that plaster doesn't stick well to certain surfaces. Unfortunately, wood is one of them. The reason for this is that wood is generally smooth, and there's nothing for the plaster to grip onto.
Removing plaster paneling from walls typically does not directly affect electrical or plumbing systems that are concealed within the walls. However, it is important to exercise caution during the removal process to avoid damaging any underlying electrical or plumbing components. While removing the plaster paneling, you should be mindful of the following points:
- Electrical Wiring: If the walls contain electrical wiring, it is essential to be cautious and avoid damaging or severing any cables. Before starting the removal process, it is advisable to turn off the power supply to the affected area and, if necessary, seek professional assistance from a licensed electrician.
- Plumbing Pipes: In some cases, plumbing pipes may run within the walls. Exercise care when removing the paneling to prevent accidentally hitting or damaging any pipes. If you encounter plumbing lines or suspect their presence, it is recommended to consult a professional plumber for guidance.
- Wall Structure: While removing the paneling, be mindful of the wall's structural integrity. Removing large sections of paneling without proper support could potentially weaken the wall. If you're unsure about the structure, it is advisable to consult a contractor or a structural engineer to assess the situation and provide guidance.
Removing paneling from plaster walls typically takes anywhere from a few hours to a few days, depending on various factors. This includes the size of the area covered by the paneling, the condition of the paneling and plaster, as well as the tools and techniques used. To begin the process, it is important to prepare the area by clearing the room of furniture and protecting the floor with coverings.
The next step involves removing any trim or moldings around the edges of the paneling, using tools such as a pry bar or crowbar. Carefully prying off the paneling from one corner, and gradually working along the wall, helps avoid damage to the underlying plaster. Lastly, any adhesive or nails left behind should be removed, ensuring a clean surface. Throughout the process, it is crucial to work patiently and cautiously to preserve the integrity of the plaster walls.