
The most effective approach for painting inside walls is with an airless sprayer; however, due to the amount of overspray produced, this method is problematic for only painting a single wall. Alternatively, you might use a roller or brush. Paint the bulk of the wall with the roller, and save the brush for the hard-to-reach areas like the corners and under the furniture. Though rolling the wall is not particularly difficult, there are ways to speed up the process.
To freshen up a new room or get an older property ready to sell, painting is often the first choice because it is one of very simplest DIY home improvements you can perform. Even though it's a fantastic undertaking for people of varying abilities, getting started can be a bit of a challenge. Using one of the numerous ingenious methods currently available, painting a room can be completed in less time and with a lesser effort. Are you looking for the best company that paints homes? No need to look any further! You have nothing to worry about when you hire Hitch Property Constructions.
Follow the advice in the subsequent sentences if you want to repaint a room immediately without compromising accuracy or attractiveness. This is useful whether you are a novice painter who has never tackled a room before, or a seasoned professional who wants to speed up the process. Using these painting tips has been shown to help you paint spaces more quickly and easily. It is likely that you're already familiar with a few of these suggestions, and it is also possible that some of these suggestions run counter to the traditional painting advice that you've been given in the past.
The Fastest Method of Wall Painting
Vacant the Premises
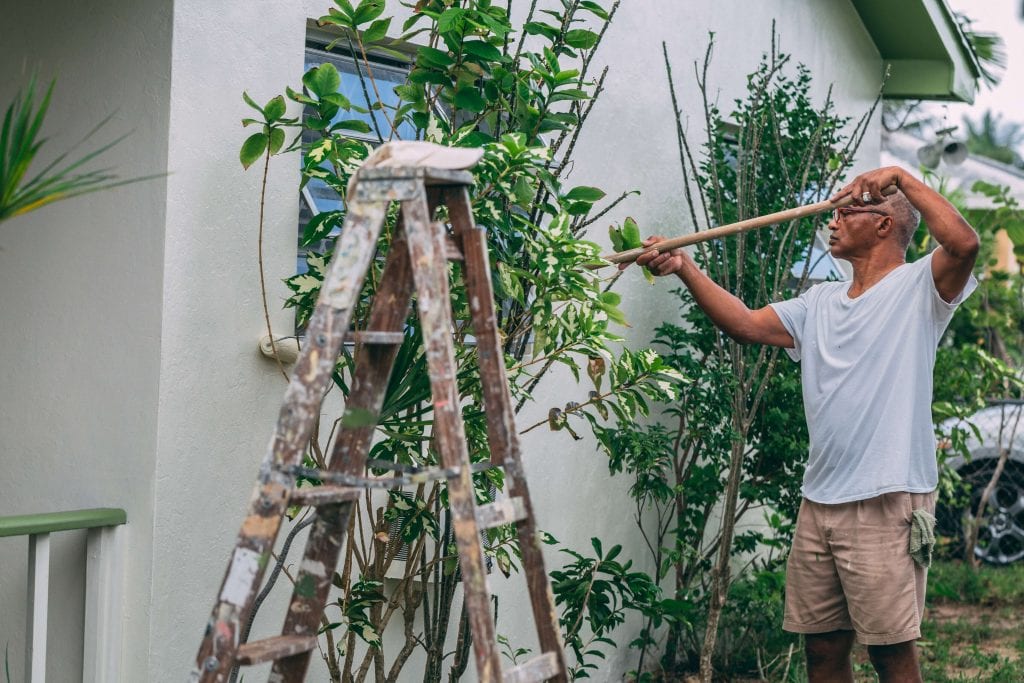
In order to properly prepare a space for painting, you should always take out all of the furnishings and decorative accessories first. This may appear to be a very simple next step. Reaching the uppermost part of the room will necessitate the use of a stepladder. Also, it will be significantly less of a hassle to get around the space without having to constantly shift furniture out of the way. Drop cloths can be used to protect bulky furniture that would be a hassle to move while you clean the rest of the room. Make sure you have dropcloths on available to shield the floor from any spills.
Always Maintain an Orderly Appearance
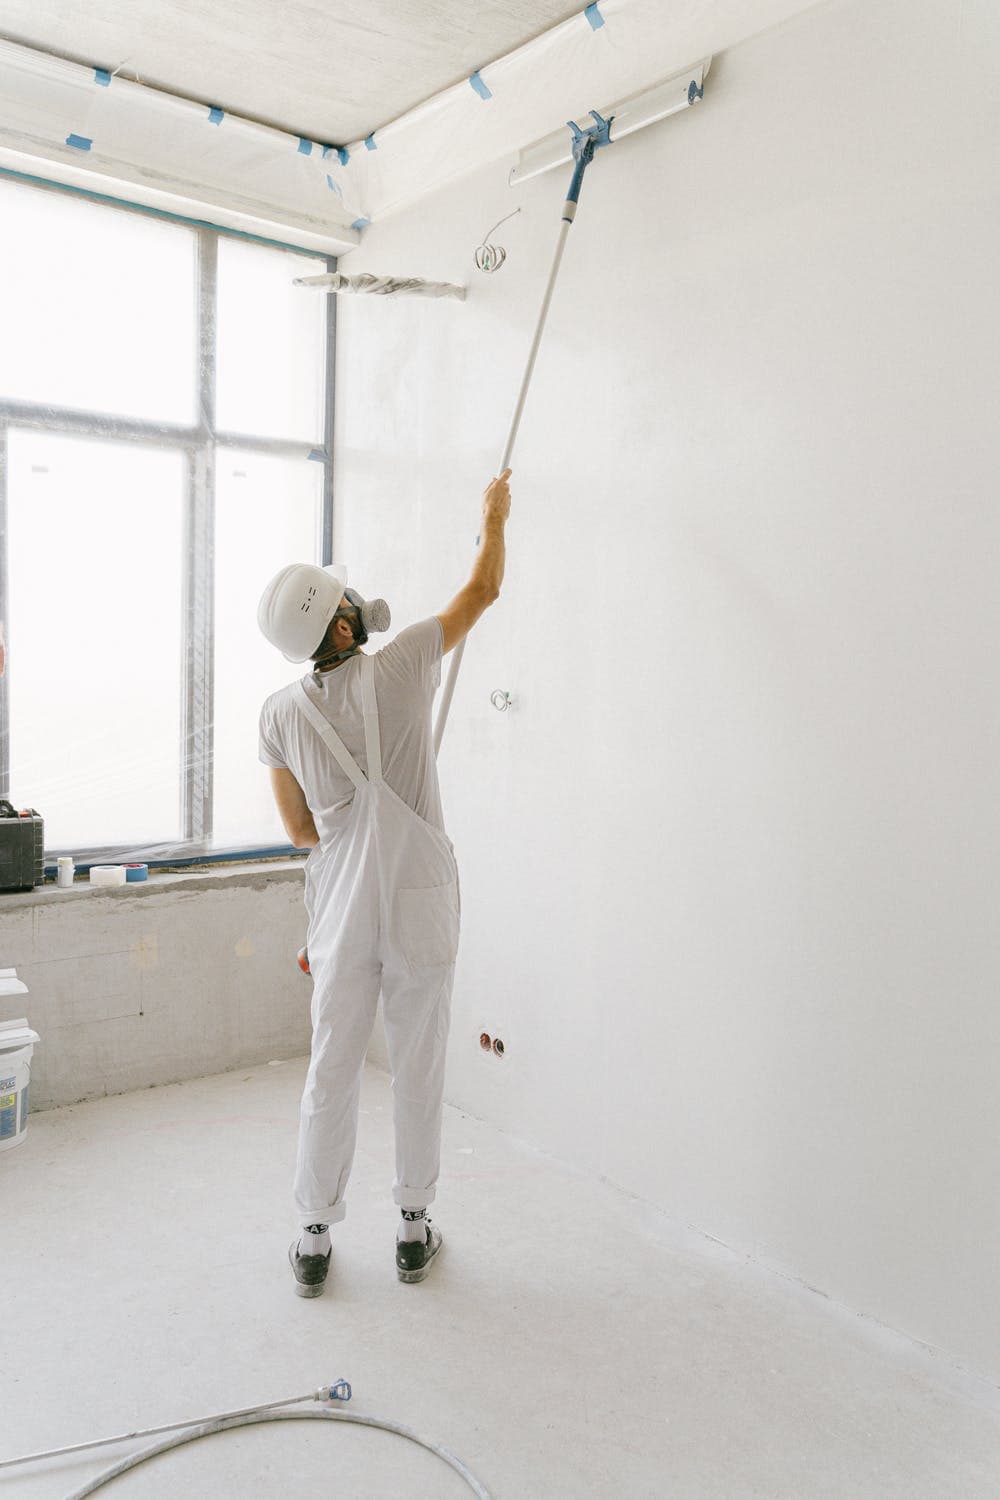
Even if you're simply painting the ceiling rather than the walls, you still need to take safety measures to avoid getting paint where it doesn't belong. It's a good idea to tape off the ceiling and walls before you start painting so you don't make a mess. Pick a tape that easily comes off with a quick release mechanism so you may reuse the tape later. If you want to paint the crown moulding or other decorative moulding around the tops of your walls, you'll need to use artist's tape.
Apply the Appropriate Coating
That quality the interior paint might vary significantly between manufacturers. If you need to paint your ceiling, it's best to do it with paint that was made for that purpose. Ceiling paint is often thicker than wall paint and more matte in appearance. These qualities make ceiling paint an excellent covering for blemishes like watermarks, stains, and spots. It's possible that you'll only have to apply one layer because it's so good at hiding imperfections and stains. The ceiling can be painted with regular wall paint, although a primer is recommended to cover any defects. More time is needed for this. Most people choose white for their ceilings because it reflects light and makes the ceiling seem higher. But if you paint white on white, it can be hard to tell where you stopped and the old colour began. Try to find a paint that turns white after applying an other colour, like a pink, blues, or other tint. Having this information will greatly facilitate your efforts.
Get everything you need together right away.
Get started by rounding up everything you'll need. A small paint bucket, an angle brush between 2 and 2.5 inches in length, a putty knife, paints stirring sticks, a drop sheet made of fabric, and paint are all part of the equipment you'll need. Having a home improvement store employee walk you thru the scope of your job and suggest you in the direction the additional items you might need is always a smart idea. If you accomplish this, company will be in a position to help you finish the project. It is vital that you buy both short and long roller cages. In contrast to the shorter cages, which are more practical for close-range tasks, the longer cages eliminate the need for numerous trips up and down a ladder.
If you need to paint a room quickly, one of the finest pieces of advice is to invest in high-quality paint rather than a cheap one. As better the quality of a paint, the fewer applications of it will have to be applied.
Room preparation should be done in advance, rather than on the fly.
Preparing the surface well before painting saves time and makes for a better finish. You can save a lot of time by doing prep work in the room before painting begins, rather than running back and forth from the garage with each new can of paint.
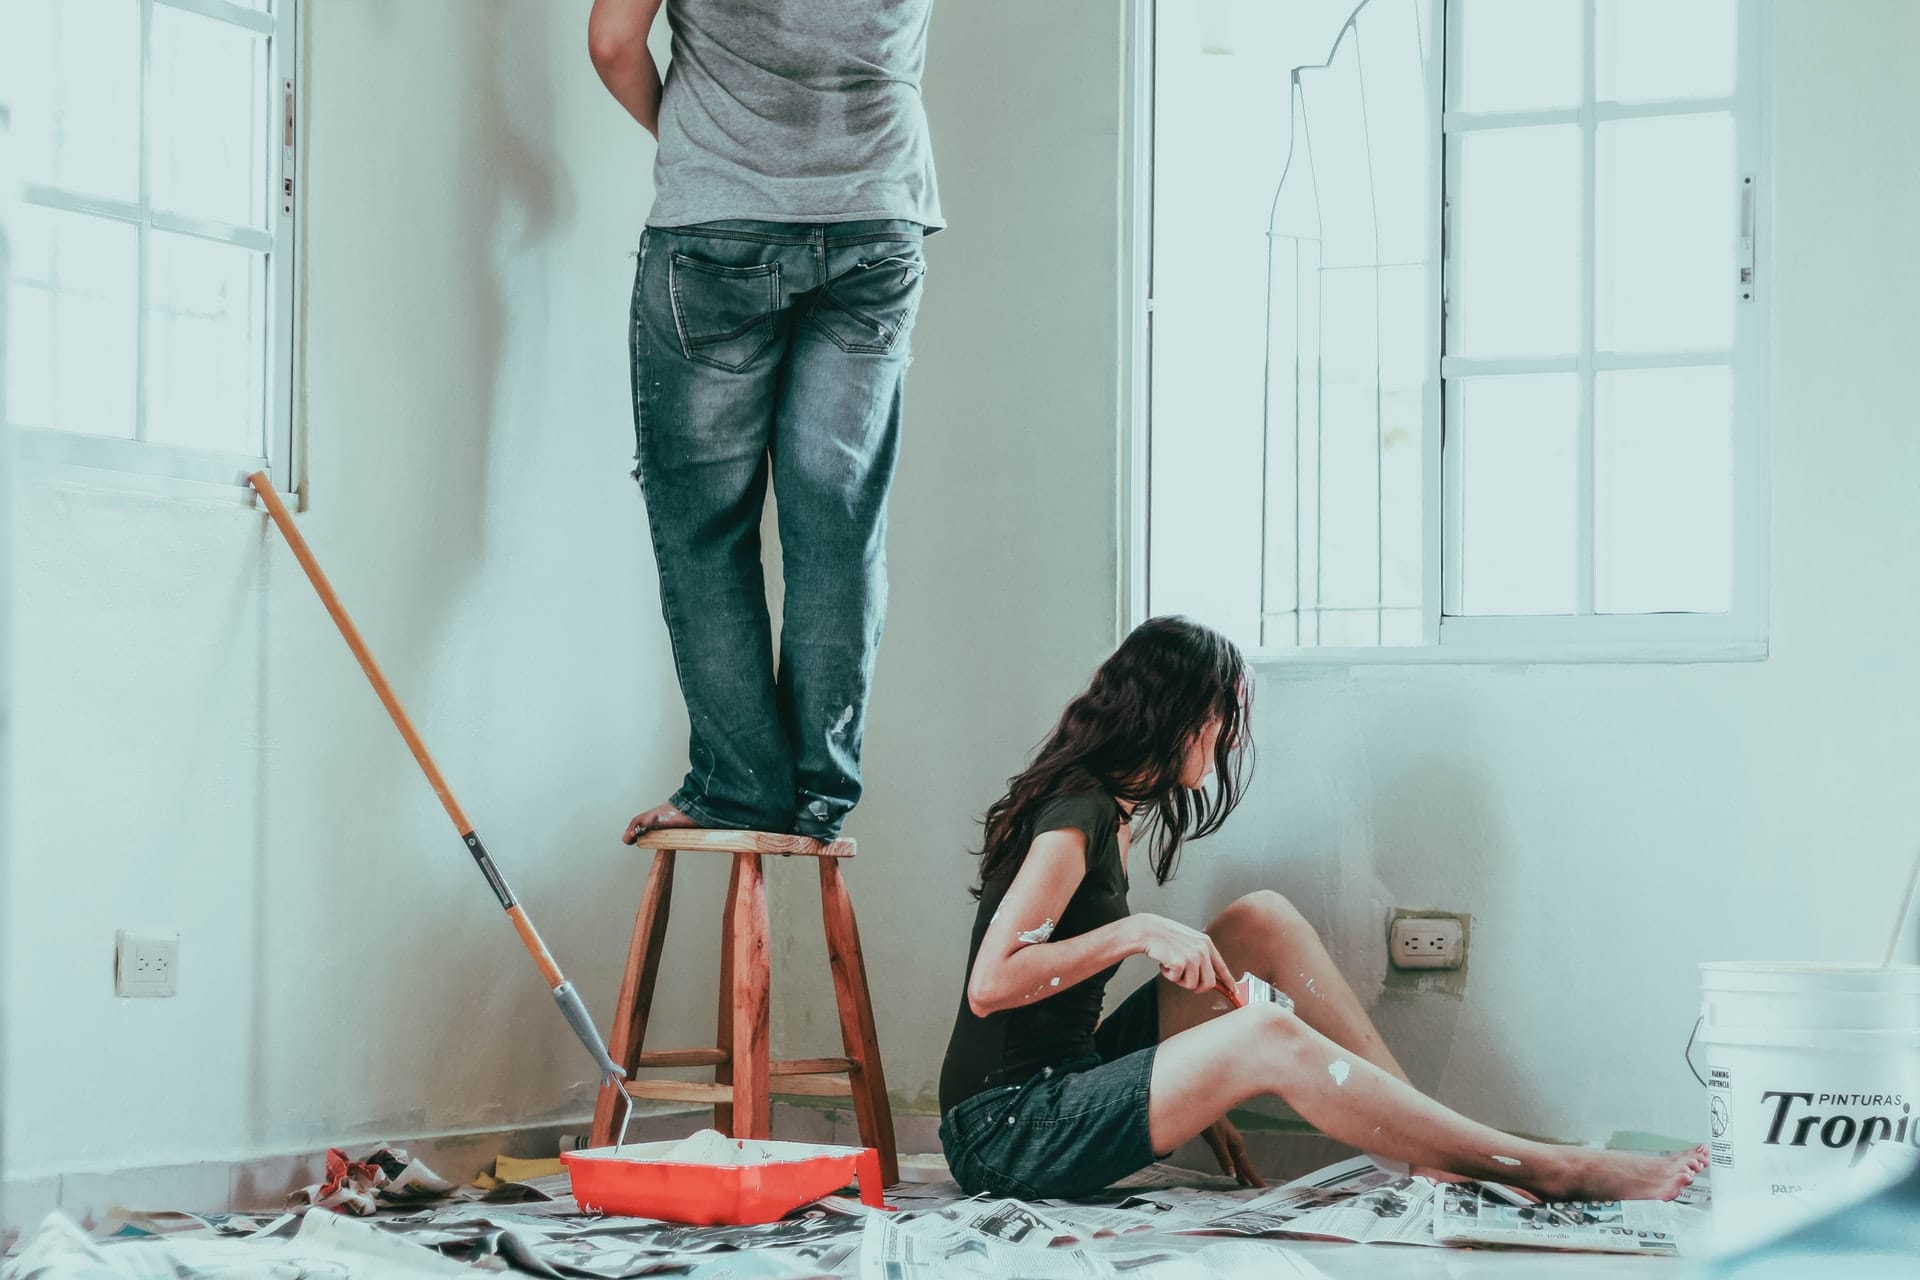
The first step in setting up the room is to take everything out of it. This includes the furniture and any decorations. The best way to paint around large pieces of furniture that can't be easily moved is to push them into the centre of the room and cover them with many layers of old sheets. Gather the additional items you'll need, like a step stool and a stack of clean rags.
Now, Prepare the Walls
Preparing all of your surfaces at once is another time-saving measure. Simply washing them off so that no dirt, lint, or even other debris will be trapped under the new coat of paint is all that is required. How quickly can walls be prepared for painting? A wide swivel duster with a clean cloth attached to the base can be used to quickly and efficiently dust an entire room from top to bottom, clockwise. The next step is by using a fresh, clean rag to manually wipe down the trim. Warm water can be used to moisten the rag and make it easier to remove stubborn debris. In that scenario, you should hold off until it dries.
Cutting the Cord
Taping off the room's corners and trim before painting is among the most time-consuming steps in the process. Then why not just jump over this stage altogether? Surprisingly, painting a space without first tape it off is among the most effective ways to accomplish the task done.
The first step towards reducing your use of blue painter's tape is to invest in a good brush. Increased command will make it simpler to manoeuvre with precision in tight quarters. One further item that comes in handy is a putty knife, which may be pressed flat it against wall and served as a guide if you're worried about going outside the lines. Wipe it away as you go to prevent paint drips from landing in an unintended spot.
When you begin cutting in, go slowly and carefully to avoid damaging the surrounding area. Even while this process requires careful attention to detail, we promise it will still move along far more swiftly than tape everything off. And if you make a mistake, don't be too hard on yourself. A clean, wet rag should be readily available at all times so that any mistakes can be erased as soon as they are discovered.
You Might Want to Skip the Introduction, Too
Given that primer is usually unnecessary, skipping it when paint a room is a wise shortcut that will help you to do the job faster. Priming is only necessary when switching from a brown colour to a light colour, which is the case when painting over an established dark colour with such a lighter one or when paint drywall that has never painted before.
Observe the Ceiling First
Ceiling painting is likely to be the least exciting element of the project, but getting it out of the way first can save you a considerable amount of time in the long term. You shouldn't stress excessively about being precise when applying the paint because any mistakes you make will be completely covered when you go on to the next portion of the room.
If you want to avoid having to refinish the ceiling when you've finished the first coat, pick a flat-finish paint. Glossy paint will highlight any faults. With the correct ceiling paint, you can save time and energy by not having to apply as many layers of paint.
Shake, then Insert a New Scene
Standard painting instruction states that one should "cut in" before rolling on paint. Ignore that bit of advice, as rolling here on paint first is a terrific method to save time and get an area repainted more quickly. The mental trick of rolling first is useful because it helps you to make rapid progress in such a brief amount of time, giving the impression that the task at hand is much more doable than it actually is. Additionally, starting with the rolling motion speeds up the process. You don't need to worry about being perfect if you get as closely to the edges as you can. if there are any gaps, they may be filled in with a brush after the process is complete.
Fewer Intervals Between Coats, Please.
You can choose to wait as little time as possible in between coats of paint, or you can decide you need to take a break and return to the project the next day. However, the first method is preferable if you're in a rush to finish painting a room because it reduces the amount of time spent painting and the amount of time needed for the first coat to dry. The key is to apply the paint in thin applications rather than one heavy one.
Lighter coats, despite appearances to the contrary, dry faster and, when layered, provide coverage on par with heavier coats. In addition, you should open the windows (if it is not too humid outdoors) and put up a big oscillating fan to keep the air flowing around in the room.
A hairdryer set to the cool setting can be used to expedite the drying in targeted areas; however, to avoid bubbling in the paint, the dryer must be held at least two inches away from the wall. Assuming you're following these guidelines to the letter, you should give yourself around an hour between coats.
Be Sure to Read This Before You Begin
Before you run out to get paint samples, think about the following from a higher level of the project:
Long-Term Project
Painting the house is a labor- and time-intensive job, regardless of whether you do it yourself or hire a professional. Do you have the stamina for a task that will take a lot of time and effort? If the painter's estimate ends up being too pricey, would you be willing the paint the room yourself? Painting a house in the spring is a project that many people don't get around to finishing until the summer comes to an end.
Why Do You Feel the Need to Paint the House?
It's possible that the colour scheme you end up going with if you're painting a room to put it up for sale won't be the one you'd pick out if you were doing it for yourself. Instead, you may paint as preventative maintenance. If this is the case, stick to using only one colour. You'll have an easier time painting the house. Repainting the inside and outside of a building is a drastic transformation that cannot be undone lightly. Spend some time deliberating over whether or not this is the ideal shade for you.
An Introduction to DIY Home Painting
Many property owners think that hiring a professional painting crew to do the job would be ideal. Many homeowners, however, are tempted to try to accomplish the project by themselves due to the drastically decreased expenses associated with completing it oneself.
It's evident that saving money is a major perk of painting your own house, but there are plenty of other benefits, too. Painting outdoors in pleasant weather may be almost as pleasant an experience as it seems. Painting by hand, as opposed to with a spray gun, allows you to break up a large project into more manageable chunks of time. Make sure to put on some tunes from your iPod and take it easy while you paint.
Advantages of DIY house painting include a more thorough examination of the structure than would be possible with a professional painter. You know exactly what has to be adjusted. Take your time seeking solutions to these problems so long as you're not in a rush to complete the painting. At Hitch Property Constructions, we provides a wide range of home maintenance services.
Employing Expert Painters
It's understandable that even the most dedicated DIY painter would have second thoughts about tackling a job of this scale without assistance. Employing a professional painter is the best option here. Homeowners who are considering doing the painting themselves are generally warned against taking on an exterior project because of the difficulty and number of processes needed.
- Professional painters often work in groups rather than individually. This speeds up the procedure considerably. A professional should base their estimate on the number of days a task will take, not the number of months.
- Professional painters usually have easy access to all they need to do their jobs. Homeowners may not be able to afford the high cost of renting or purchasing specialised equipment such as scaffolding, extension ladders, and high-velocity painting sprayers.
- Professional painters have a reputation for producing high-quality works. Make sure you've read over the applicant's resume and portfolio before making a hiring decision.
How to Pick a Color
The most fun part of painting your house will be deciding on a new colour scheme. Houses that are about to be put on the market should have a fresh coat of paint that will appeal to the widest potential audience. Most effectively for this goal, choose neutral colours or colours that are already present in the environment.
If that isn't possible, choose a colour that you either like while yet making sure it fits in with the style of your home and doesn't clash with the architecture. If you want to see how the colours look in different lighting, it's a good idea to acquire at least a quart's worth of paint samples and use them to wash at least 2 sides of your house.
FAQs About Home Painting
You can paint over a surface that is dirty, glossy, chipping, and flaking, but you shouldn't expect your handiwork to last very long under those conditions. Your interior or exterior surface needs to be clean and free of dust that could interfere with the ability of your new paint to adhere to walls, trim, and ceilings. Only then will your new paint have a chance to stick properly.
It is not against the law to give your house a dark coat of paint. However, if you ask any expert in design or painting, they will tell you to steer clear of black and other dark colours. Because these colours attract and retain more dust than other colours, you will need to paint the walls more frequently. They recommend that people use a lighter version of the dark colour and combine it with another colour that is lighter.
When painting a room, professional painters will typically proceed according to a predetermined order. They begin by painting the trim, then move on to the ceiling, and finally they paint the walls. This is due to the fact that taping off the trim is a much simpler and quicker process than taping off the walls.
In the majority of instances, painting the trim should come before painting the walls. Wait for the paint to dry completely, then tape off the moulding, and continue painting the walls. Paint the walls first, wait for the paint to dry, then tape off the walls and paint the trim. If the top edge of your trim isn't wide enough to hold painter's tape, paint the walls first, let the paint dry, and then paint the trim.
Benjamin Moore and Sherwin-Williams are two of the most popular brands of paint available today; as a result, most painting contractors turn to these two manufacturers when looking for high-quality paint for their projects. Painters working professionally all over the world have had a lot of success with these paints for a number of years now.