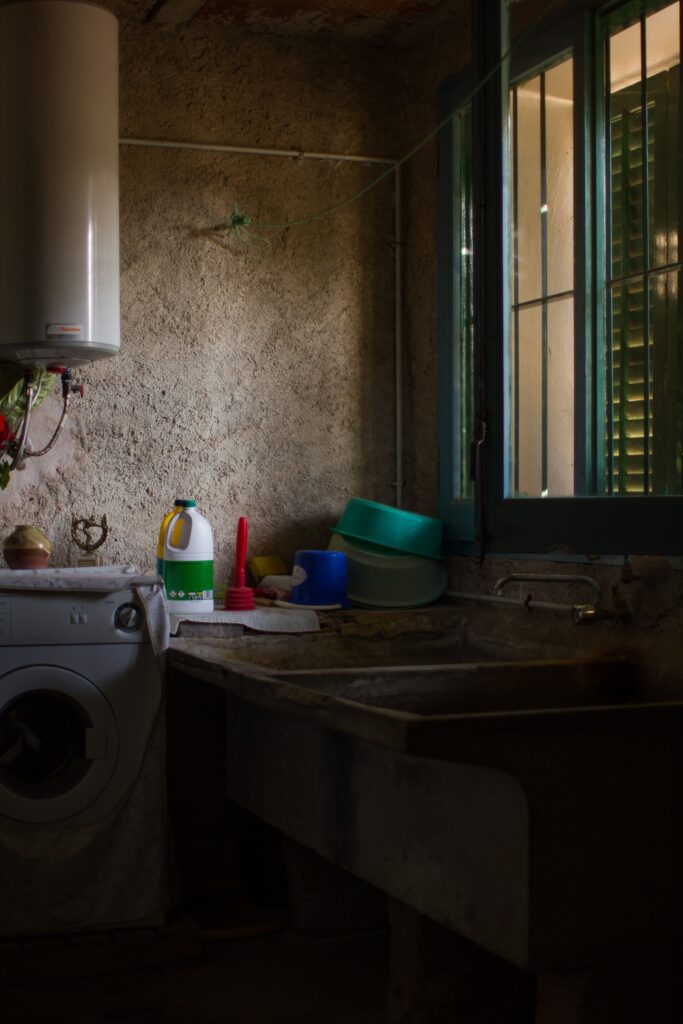
Renovating your laundry area is a great way to improve functionality, and one common project is replacing an old laundry tub or trough. Fortunately, many laundry tubs are freestanding, making removing them simpler than dealing with a built-in cabinet sink.
Follow these steps to remove the old laundry trough and install a new one effectively.
Let’s get straight to the point.
Replacing an old laundry tub is a simple DIY project that involves turning off the water supply, disconnecting the old tub’s plumbing, and installing the new one. Gather the necessary tools (wrench, pliers, etc.), then disconnect the water supply and drain lines.
Remove the old tub and install the new one, ensuring proper alignment of the drain and faucet connections. Reconnect the plumbing, check for leaks, and tighten connections.
Choose the right laundry tub based on space, material, and function for an effective and stylish laundry room upgrade.
Tools And Materials Required
Gather all the necessary tools and materials before starting the removal and replacement process. Having everything ready can save time and prevent unnecessary delays.
Tools:
- Adjustable wrench
- Pliers (preferably tongue-and-groove)
- Bucket
- Crescent wrench
- Handsaw or hacksaw
- Pipe wrench
- Utility knife
- Hole saw kit
- Drill (cordless)
- Screwdriver (4-in-1 recommended)
Materials:
- New laundry tub
- New faucet (if replacing)
- P-trap
- Soap dispenser (optional)
- Braided stainless steel supply tubes
- Pipe sealant or Teflon tape

Guide In Removal Of Old Laundry Tub
Step 1: Turn Off The Water Supply
Start by shutting off the water supply to your washing machine and laundry tub. The hot and cold water valves are usually located near the washing machine.
Turn the valves clockwise until they are fully closed. Once the water is off, open the faucet to drain any remaining water in the lines.
Place a bucket under the faucet when disconnecting the pipes to catch any residual water.
Step 2: Disconnect The Water Supply Lines
Use an adjustable wrench or pliers to loosen the nuts connecting the hot and cold water supply lines to the faucet. Ensure your bucket is in place to catch any water that may still be in the lines. If the nuts are too tight, applying a penetrating oil may help loosen them.
Once the supply lines are disconnected, remove the faucet from the top of the tub by loosening the mounting nuts beneath it.
Step 3: Remove The Drain Pipe
Next, focus on the drain. Locate the P-trap (the curved section of the drain pipe), and use pliers to unscrew the slip nuts that connect it to the tub’s drain and the house’s main drain line.
Be cautious, as water may still be sitting in the trap. Once the P-trap is disconnected, remove it and pour any remaining water into the bucket.
Step 4: Detach The Laundry Tub
Most freestanding laundry tubs are not anchored, but if yours is fastened to the floor or wall, you’ll need to remove any screws or bolts holding it in place. Once unfastened, carefully lift the old tub and set it aside. If it is too heavy, consider asking for help to avoid injury.
Step 5: Prepare The New Laundry Tub
Before installing the new tub, check whether it has pre-cut holes for the faucet and drain fittings. If you still need to, you’ll need to create these openings. Most tubs come with marked areas, also known as “knockouts,” for this purpose.
To remove the knockouts, use a utility knife to cut through the thin plastic or metal sections. Use a hole saw to enlarge the holes to the correct size for your faucet and drain connections if necessary.
Step 6: Install The Faucet And Drain Fittings
With the holes prepared, install the new faucet and any additional accessories, like a soap dispenser, according to the manufacturer’s instructions. Depending on the design, you may need to apply silicone caulk around the base of the faucet to ensure a watertight seal.
Secure the faucet in place with the retaining nuts provided, tightening them by hand or with a wrench if needed. Next, connect the drain assembly, ensuring all washers and seals are correctly positioned to prevent leaks.
Step 7: Install The New Laundry Tub
Now, position the new tub where the old one stood. Ensure the drain aligns properly with the existing drainpipe. If the drainpipe is too long or short, trim it using a hacksaw, then smooth any rough edges with fine-grit sandpaper.
Once the tub is in place, reconnect the P-trap to the drain and the main sewer line. Tighten the slip nuts with pliers, making sure not to overtighten, especially if using plastic pipes.
Step 8: Reconnect The Water Supply Lines
Thread the new stainless steel braided supply tubes onto the hot and cold water valves. Hand-tighten the nuts, then use a crescent wrench to give them a final snug turn. Be careful not to overtighten, as this can damage the connections.
Step 9: Check For Leaks
Once all connections are secure, turn the water supply back on by rotating the hot and cold valves counterclockwise. Turn on the faucet and inspect all connections for leaks. If any leaks are detected, tighten the connections or apply additional pipe sealant as needed.
Tips For Selecting A New Laundry Tub
When choosing a new laundry tub, several factors can influence your decision, including the size of your space, your functional needs, and the materials of the tub. Here are a few tips to keep in mind:
1. Size And Space Considerations
- Consider a tub that fits under the counter or a wall-mounted utility sink if you have a small laundry room.
- A freestanding tub can offer extra versatility for larger laundry rooms, where tasks like soaking clothes or bathing pets are performed.
2. Materials
- Laundry tubs are made of various materials, including stainless steel, acrylic, and ceramic. Stainless steel is popular due to its durability and resistance to rust, while acrylic is lightweight and affordable.
- Polymer-coated options are also available for added durability.
3. Style And Function
- Utility sinks are designed for heavy use and are ideal for washing paintbrushes or soaking large items. Many have deeper basins for added functionality.
- Some models feature additional accessories, such as pull-out spout faucets or soap dispensers, which can enhance the usability of your laundry area.

Common Mistakes To Avoid
When removing and replacing an old laundry tub, be mindful of these common mistakes that could cause unnecessary damage or complications:
1. Not Turning Off The Water
One of the most frequent mistakes is forgetting to shut off the water supply before beginning. This can result in water gushing out when disconnecting the pipes, leading to potential flooding and significant water damage. To avoid this, ensure the main and individual fixture valves (for hot and cold water) are fully turned off before starting work.
2. Overtightening Connections
It may seem logical to tighten plumbing connections as much as possible to avoid leaks, but overtightening can cause harm. When too much force is applied, plastic and metal pipes can crack or warp, leading to leaks and the need for future repairs. Always hand-tighten connections first, then use a wrench for just a final snug turn, being careful not to apply excessive pressure.
3. Forgetting To Check For Leaks
Failing to inspect for leaks after installing the new tub is a common oversight. Even a small leak can cause water damage over time or lead to mould growth. Once you’ve connected everything, always turn the water back on and thoroughly check all connections and joints for any signs of leakage. Catching and fixing leaks early can prevent long-term issues and costly repairs.
Conclusion
Replacing an old laundry tub is a simple DIY task requiring basic plumbing knowledge and a few common tools. By following the proper steps—shutting off the water, disconnecting the supply lines, and carefully installing the new tub—you can complete this home improvement project without professional help.
Whether upgrading to a larger tub or replacing an old, worn-out model, your new laundry trough can enhance your laundry room’s utility and aesthetics.
FAQs About Laundry Room
How Deep Should A Laundry Trough Be?
The ‘depth’ of laundry troughs (i.e. the distance from the front of the trough back to the wall) can be anywhere between about 350mm and 600mm – for practical reasons (i.e. to ensure they fit most benches, and to ensure they’re not difficult to reach over) they’re rarely ‘deeper’ than this.
Why Put A Sink In The Laundry Room?
A laundry room sink is perfect for presoaking clothes prior to washing. It also provides a convenient space to hand-wash delicate items and rinse swimsuits of chlorine, sand and/or salty water prior to putting them in the washing machine.
Is A Laundry Tub Necessary?
You need at least one washtub, and as per the explanatory information, as far as we’re concerned, the only thing you can empty your mop bucket into is a laundry tub. So, no, under Deemed-to-Satisfy, you cannot use the sink instead of a washtub, and performance requirements say you need to have a washtub.
Can You Have A Laundry Without A Sink?
A sink is a great addition to any laundry room, and can even help you save on water and detergent. But is it necessary? While a sink in the laundry room is nice to have, it’s not necessary as long as you have a plumbing fixture that allows for your washer’s water to drain into the sewage line.
Are Utility Sinks Useful?
Having a utility sink would come in handy for washing delicate items. It would also be great for soaking grass, wine or blood-stained clothes for hours at a time. I could even just hang them up right over the sink while they drip dry. A utility sink makes hand washing so much easier.

