
There are times when painting the exterior of a house can be a very labour-intensive project. You may save a lot of time and effort on the project, though, if you take the time to get ready for it ahead of time.
Finding out how much of the exterior will be painted is the first step. Perhaps the only things that need painting are the shutters and the trim around the house. Choosing the paint and paint colours is the next stage. These days, it's common practice for companies to give suggestions for complementary colour schemes in their sample books.
If you can't decide between two paint colours, one strategy is to buy a quart of each and utilise it to create larger samples for comparison. When picking a paint colour for your home, keep in mind that it should go well with the other houses in the area.
Since latex paint is easier to maintain and can last as long as oil paints, it is likely to be the prefered material. Whether you choose a latex or oil-based paint, you should always invest in the highest quality paint you can afford. Otherwise, you may spend a lot of time adding more coatings. Hitch Property Constructions provides home painting services to help you paint the home of your dreams.
It's important to get the house ready for painting by making sure the surface is dust-free, dull, and dry. Use water to wash away the chalk, grime, and mildew. Plants used in landscaping should be protected from the elements by being wrapped in plastic.
After you're done tidying up the house, scrape off the peeling or broken paint, sand it down, and prime it. Once priming is done, you can move on to painting the trim. The semi-gloss paint job looks amazing on the trim.
Choosing the appropriate brush is nearly as crucial as selecting the appropriate paint. When painting with latex paint, use a brush made of a blend of nylon and polyester. For oil paints, a brush with natural bristles is recommended. How to hold a paintbrush so that it rests comfortably on your hand at the join between the handle and the bristles. You'll have the most say in the situation if you do this. When using a paintbrush, rest your fingertips on the metal ferrule and steer with your wrist. It's easier on the paint and the brush.
Check the temperature frequently. For the greatest effects, painting should be done when the temperature is between 75- and 85-degrees Fahrenheit and the humidity is low. Heat blisters can grow on a freshly painted surface if it isn't kept in the shade. You can avoid this issue by staying in the shade.
How To Paint The Exterior Of Your Home Properly
You should avoid doing it if you want to improve the work's efficiency, reduce the amount of frustration it causes, and make it last as long as feasible.
The process of painting the outside of a building involves more than just choosing colours. Close to half of the entire time spent painting a house is spent on preparation. If you want the exterior paint you use to appear good and last for a long time, you should follow these procedures before you ever open the can.
Do you long to get started on painting your home's exterior and giving it a fresh new look? Caulk all the cracks and crevices to the point of overflow before you start painting. Use a wet rag or towel to remove any surplus.
Wash The Exterior Of The House Before Painting.
When preparing to paint the exterior of your home, be sure to give it a complete, top-to-bottom cleaning.
If you compare the time and effort required to clean anything by hand with the time and effort required to use a pressure washer, it's clear that the latter is the superior option. You can get the job done with water. Use cleaning chemicals if there is mould or any form of severe stain.
Cleaning the surface completely before applying new paint helps provide better adherence between the two. Allow the house at least a day to dry out before proceeding to Step 2.
Before Thinking About Exterior Paint, Scrape And Let Dry.
Once the house is completely dry, wipe off the peeling paint. Simply an ordinary paint scraper, with muscle, and persistence are all that's required.
At least twenty-four hours must pass for the moisture in your home to evaporate before you proceed. If you scratch the home while the paint is still wet, it will peel more after it dries.
Before Taking On Exterior Home Painting, Apply Caulk.
Cracked caulk should be fixed along vertical joints or where clapboards meet. Fill all the holes and crevices you can with caulk, and then wipe away the excess using a damp rag or towel. Caulking the joint between a soffit and a gutter, for example, would prevent air from circulating where it should be allowed to do so. There may be a loss of functionality if these cracks are sealed off.
A Paint Can On A Ladder
Things to Think About Before Having a Professional Paint the Outside of Your House
Since painting the outside of your home is no easy task, you may want to consider hiring a professional house painter.
Perform Repairs... Then Think About Your Exterior Paint Colours.
Repair any broken or rotting sections first. There are times when you will require the help of a professional, such as a carpenter or handyman. If you're not sure of your abilities, avoid taking on assignments that require you to replace clapboard, staircases, or overhangs.
When House Painting, Apply Primer First.
If there are any raw or exposed spots on the exterior of your house, prime them with an oil-based primer made for outdoor usage. The wood will be protected from moisture and the house's new paint work will be sealed from the outside air. If the bare spots are extremely rough, you should sand them down before priming. This can be done by hand or with a palm sander.
Prior To Applying Exterior Paint Colors, Trim Nearby Plants And Trees.
Trees, bushes, and plants that are becoming too close to your home should be trimmed and you should do some landscaping. You'll have more room to move around the house, and you won't have to worry about slicing yourself on thorny or sharply ended branches. Plus, the paint will be safer from touch with plants and foliage.
House painting, like any other home improvement project, should be seen as a long-term investment. If you want professional results when painting your home, it's best to take your time and undertake the prep work required. Putting it another way, a task that has been well-prepared will always look better and endure longer than one that has been rushed.
Setup Of Ladders And Scaffolds For Painting
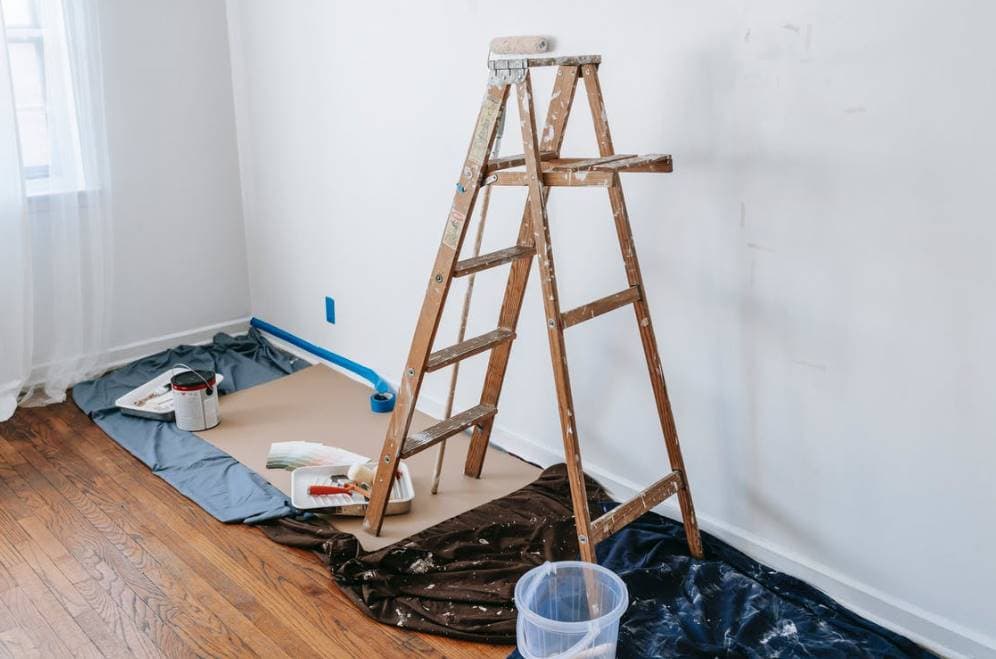
Preparing exterior paint for a project often necessitates working on structures of varying heights. A stepladder or scaffold may be necessary to achieve your desired height while standing on solid ground. External uses of a ladder or scaffolding are more challenging to set up than their inside counterparts. As a result of having to think about the stability of the ground, this is the case. Even if the base of the ladder is firmly planted in the concrete of your driveway, the weight of an individual could cause it to sink into the softer earth beneath. Alternatively, you may not be able to move the ladder until you are at least ten feet off the ground. You can get help from Hitch Property Constructions in a wide range of service areas with their specialised selection of home renovations.
Ground Cover Exterior Paint Prep
Preparing the outside of the house to be painted is a big project that requires you to be mindful of the movement of your pets and the plants and bushes in the area. Protect your landscaping from paint debris by draping a thin canvas sheet over your flower beds and shrubbery. To avoid killing the plants you are trying to protect, you should remember to remove the covering each night. Keep an eye out for any fragile plants or flowers while you set up your ladders and drop cloths. You should stay away from them if at all feasible. Think about repotting them in temporary containers if they are vulnerable. If your property includes a koi pond or waterfall, you need to take special care to protect them. Being proactive and anticipatory can save time, effort, and money in the long run by avoiding potential problems and repairs.
How To Prep For Painting: Tape Or Remove Around Obstacles
You can use painter's tape to protect the exterior of your property from accidental paint splatter caused by a few stray things. You'll find a variety of hose bibs, racks, and storage options, as well as outdoor outlet boxes and utility heads, here. During the process of getting the outside ready to be painted, you will either remove the item entirely or tape around it, depending on its nature. If you get this done now, you'll have momentum going into the actual painting of the house. Most of this work may be done standing on the ground, but if you must climb a ladder to tape off sections, remember that your safety is more important than productivity. Check out this post on setting up and using extension ladders if you need a fast refresher on how to work swiftly while preserving safety.
How To Prep For Painting: Scraping And Sanding
The majority of the time spent on exterior paint prep is spent on surface preparation. Also, avoid committing these blunders. The hardest parts of cleaning up will be sanding and scraping. Painting a previously unpainted surface is as simple as giving it a little prep before moving on. However, most previously painted surfaces will need to have any loose or flaking paint scraped off and the edges sanded flush before being repainted. Although this is a time-consuming and taxing process, it is crucial to the end result. If you paint over peeling paint, the fresh coat will eventually peel too, and if you don't sand first, you'll be left with big, ugly "divot" regions. If you paint over peeling paint, the new coat will eventually do the same thing. While power sanders can make quick work of a large area, it is important to take care for your health by using a dust mask and avoiding breathing in the dust. Read this article on surface preparation before painting for more information on the fundamental steps of sanding and scraping.
How To Prep For Painting: Cleaning Repairs And Surface
While sanding and scraping loose paint from your walls, you may see patches where the paint has peeled or been damaged. The deterioration could have resulted from the passage of time or through the action of animals or insects. It is now time to fix the harm, regardless of its origin. Several types of damage and methods for preventing them are described in this article from Family Handyman on preparing exterior paint. When the maintenance is done, you can then clean the area. Dust and debris from sanding can be easily cleaned with a quick wipe down or an air spray. The siding may need to be washed by hand or with a power washer if it becomes very unclean, especially in areas where traffic has kicked up dirt from the road. If you must use power washing, avoid spraying water in the air. Ensure that the sprayer is always aimed such that the washer's force is exerted in the opposite direction of precipitation. The function of your siding is to divert water from above, not to stop water from seeping in from below. Have a look at the article Pressure Washing a House for further details.
Weather Watch
Before painting the outside of a structure, it's important to understand how to maintain a constant check on the weather. Vapour barriers' necessity can be ascertained by inspecting a map of cold-weather regions. Outdoor painting can be put on hold if it starts to rain, but there are other climatic factors to think about as well. As an example, several varieties of caulk and paint have a very specific temperature range in which they can be used. If it is too hot or too cold, the curing process will be slowed down or maybe stop altogether. Read the warning labels to make sure you can use their items safely. And if you made the mistake of keeping paint in your garage during the winter and it froze solid, you may find out if it is still usable by reading the article Using Frozen Paint.
Humidity is another element that can slow down the healing process. Painting in high-humidity conditions requires extra care, so make sure the previous coat is dry before applying the new one. Consider the sun's passage through the sky as you map out your day's activities. As a result, it will take longer for those areas of the house to reach a comfortable temperature that receive little to no direct sunlight. In contrast to other regions, those exposed to direct sunlight will harden and become dry to the touch well before they have fully dried.
Plans For Spills
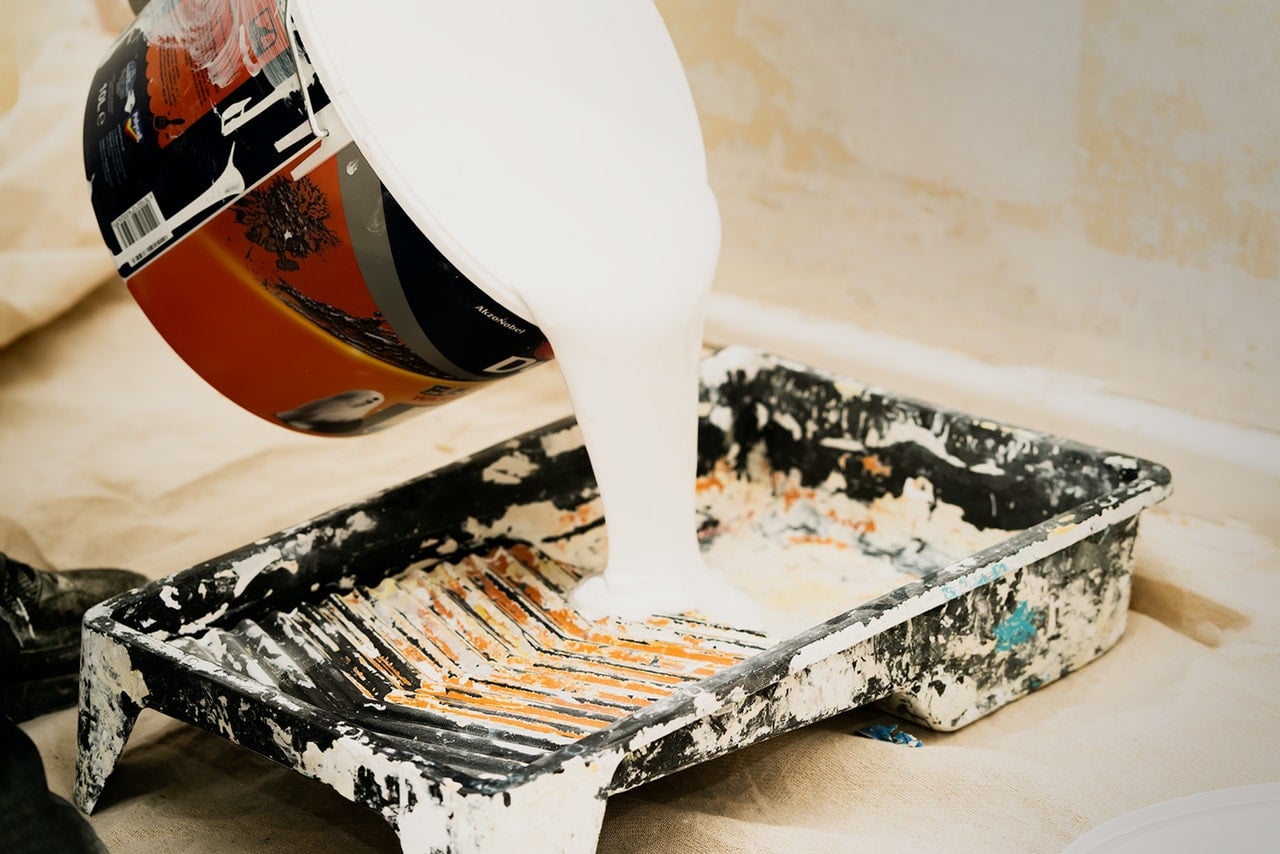
Taking this simple but crucial step before painting the exterior will save you a lot of time and effort. Before you start painting, make sure you have something handy to mop up any accidental drips. Water and some clean rags are all that is required to work with latex paint. If you plan on using enamel or oil paint, you'll need mineral spirits or the thinner advised by the maker. (Refer to the "Directions for Clean Up" portion of the paint can label.)
Keep in mind that "paint thinner" and "mineral spirits" are often used interchangeably; this is helpful information to keep in mind. They are very similar to one another. But because mineral spirits' vapours are less overpowering, they are more commonly employed indoors. Paint thinner has more VOCs, but it's cheaper (Volatile Organic Compounds). The article "Mineral Spirits vs. Paint Thinner" provides a thorough analysis of the various distinctions between these two products. Are you planning any major renovations? Check out HP Constructions Melbourne's extensive range of home renovations.
Final Test Swatch
Before you put in the time and effort to fully prepare the exterior for painting, you should try out a small test patch. Check out our tips for picking the ideal exterior paint, too. Make sure the colour you picked matches what's actually on the product. Making it halfway across the house before realising you've been using the wrong shade of green or a flat finish when you should have been using a semi gloss finish is one of the most aggravating things that can happen to a homeowner during a paint job. Most of the hard work is done at this point, and you can start relaxing and taking in the results. Consider these pointers before you begin your next painting job.
FAQs About Home Painting
It is essential to prime bare exterior wood before painting it because doing so seals the grain, stops bleed-through, and improves the paint's ability to adhere to the surface. Priming other materials such as stucco, metal, and concrete is essential for the same kinds of reasons as it is necessary to prime wood. Although it may appear to be more work, doing so can help you save both time and paint.
Sanding must be done to completely remove any peeling that has occurred. Before painting, areas that are cracking need to have exterior grade filler applied to them and then sanded down. Use wire brushing or sanding to remove any rust from metal surfaces, and then prime those surfaces with Dulux All Metal Primer before applying a top coat.
Two coats is typically all that's needed, if you're painting over a well-prepped, primed surface. This is particularly true if you are painting a dark color over a lighter, existing one, as you're guaranteed to have good coverage.
Begin surface prep for painting by removing any loose, peeling paint with a paint scraper and sandpaper. Sand all edges to smooth the surface and help the new paint adhere. Scrub all surfaces with a mild detergent and a sponge or rag to remove all dirt, grease, oil, etc. Rinse surface well and allow to dry.
An exterior painter will typically add water to the paint bucket in order to "thin" the paint. This action improves the paint's workability while also reducing the rate at which it dries. This is of particular benefit in hot climates, particularly during the summertime.
Conclusion
Exterior painting is laborious. Before painting, the property must be dust-free, dull, and dry. Brushes are almost as crucial as colours. Picking paint colours for a building's exterior can be challenging. Before opening the can of exterior paint, follow these procedures to ensure it looks excellent and lasts for years.
Caulk all gaps before painting. Sometimes a carpenter or handyman is needed. Only take the work if you can replace clapboards, staircases, or overhangs. Exterior painting takes the most time for surface preparation. Protect your flower beds and shrubs with a thin canvas cloth from paint splatter and debris.
A little prep turns an untreated surface into a paintable canvas. New paint over peeling paint may peel too. Wiping or spraying the area removes sanding dust. If the siding gets dusty, scrape it by hand or power wash it. Latex paint works with water and clean rags. Enamel and oil paints require mineral spirits or manufacturer-recommended thinner. Paint thinner has more volatile organic chemicals but is cheaper (Volatile Organic Compounds).
Content Summary
- There are times when painting the exterior of a house can be a very labour-intensive project.
- You may save a lot of time and effort on the project, though, if you prepare for it ahead of time.
- The only things that need painting are the shutters and the trim around the house.
- When picking a paint colour for your home, remember that it should go well with the other houses in the area.
- Whether you choose latex or oil-based paint, you should always invest in the highest quality paint you can afford.
- It's important to get the house ready for painting by making sure the surface is dust-free, dull, and dry.
- Once priming is done, you can move on to painting the trim.
- The semi-gloss paint job looks amazing on the trim.
- Choosing the appropriate brush is nearly as crucial as selecting the appropriate paint.
- For the greatest effects, painting should be done when the temperature is between 75 and 85 degrees Fahrenheit, and the humidity is low.
- Heat blisters can grow on a freshly painted surface if it isn't kept in the shade.
- You can avoid this issue by staying in the shade.
- Close to half of the entire time spent painting a house is spent on preparation.
- Caulk all the cracks and crevices to the point of overflow before you start painting.
- When preparing to paint the exterior of your home, be sure to give it a complete, top-to-bottom cleaning.
- Once the house is completely dry, wipe off the peeling paint.
- Fill all the holes and crevices you can with caulk, and then wipe away the excess using a damp rag or towel.
- Since painting outside your home is no easy task, consider hiring a professional house painter.
- Repair any broken or rotting sections first.
- Sometimes you will require the help of a professional, such as a carpenter or handyman.
- If there are any raw or exposed spots on the exterior of your house, prime them with an oil-based primer made for outdoor usage.
- House painting, like any other home improvement project, should be a long-term investment.
- If you want professional results when painting your home, it's best to take your time and undertake the prep work required.
- Preparing exterior paint for a project often necessitates working on structures of varying heights.
- External uses of a ladder or scaffolding are more challenging to set up than their inside counterparts.
- Alternatively, you may only be able to move the ladder once you are at least ten feet off the ground.
- Preparing the outside of the house to be painted is a big project that requires you to be mindful of the movement of your pets and the plants and bushes in the area.
- Protect your landscaping from paint debris by draping a thin canvas sheet over your flower beds and shrubbery.
- Keep an eye out for fragile plants or flowers while you set up your ladders and drop cloths.
- You can use painter's tape to protect the exterior of your property from accidental paint splatter caused by a few stray things.
- Most of the time spent on exterior paint prep is surface preparation.
- The hardest parts of cleaning up will be sanding and scraping.
- If you paint over peeling paint, the fresh coat will eventually peel too, and if you don't sand first, you'll be left with big, ugly "divot" regions.
- If you paint over peeling paint, the new coat will eventually do the same thing.
- While power sanders can make quick work of a large area, it is important to take care of your health by using a dust mask and avoiding breathing in the dust.
- Read this article on surface preparation before painting for more information on the fundamental steps of sanding and scraping.
- While sanding and scraping loose paint from your walls, you may see patches where the paint has peeled or been damaged.
- When the maintenance is done, you can then clean the area.
- Dust and debris from sanding can be easily cleaned with a quick wipe down or an air spray.
- The function of your siding is to divert water from above, not to stop water from seeping in from below.
- Weather Watch Humidity is another element that can slow down the healing process.
- Painting in high-humidity conditions requires extra care, so ensure the previous coat is dry before applying the new one.
- As a result, it will take longer for those areas of the house to reach a comfortable temperature that receives little to no direct sunlight.
- Before painting, make sure you have something handy to mop up accidental drips.
- Water and some clean rags are all required to work with latex paint.
- If you plan on using enamel or oil paint, you'll need mineral spirits or the thinner advised by the maker.
- Keep in mind that "paint thinner" and "mineral spirits" are often used interchangeably; this is helpful information to keep in mind.
- The article "Mineral Spirits vs. Paint Thinner" thoroughly analyses the various distinctions between these two products.
- Before you put in the time and effort to fully prepare the exterior for painting, you should try out a small test patch.