


Since it seems like each person has a different perspective on the topic, it's hard to say whether or not you should use a paint primer prior putting the colour coat.
Paint makers nearly uniformly recommend applying the primer with a paintbrush, stiff brush, and paint sprayer since doing so helps produce a superior colour layer. Many hourly painters recommend priming before painting. However, painters that charge by the hour may advise against using primer if the supplies are part of the price of the work.
It may seem wasteful to spend money on a layer of primer before painting inside walls, but doing so is nearly always a good idea. Priming new drywall before painting it is a must, and it has many advantages over using high- or semi-gloss paint. No matter how porous the wallpaper is or how well finished the wood panelling is, a primer is required before painting over them. In most cases, a primer is unnecessary when repainting directly over an existing flat wall finish.
Do-it-yourself If at all possible, painters will forego priming in favour of jumping straight into painting. When it comes art paint, the solution is often influenced less by objective than by subjective considerations, such as price, time, as well as a person's degree of patience. Priming could be pointless, after all. Priming is a tedious process that is on par with painting. Everything you do is the same as if you were applying the final colour coat, but in the end it won't show because of the primer.
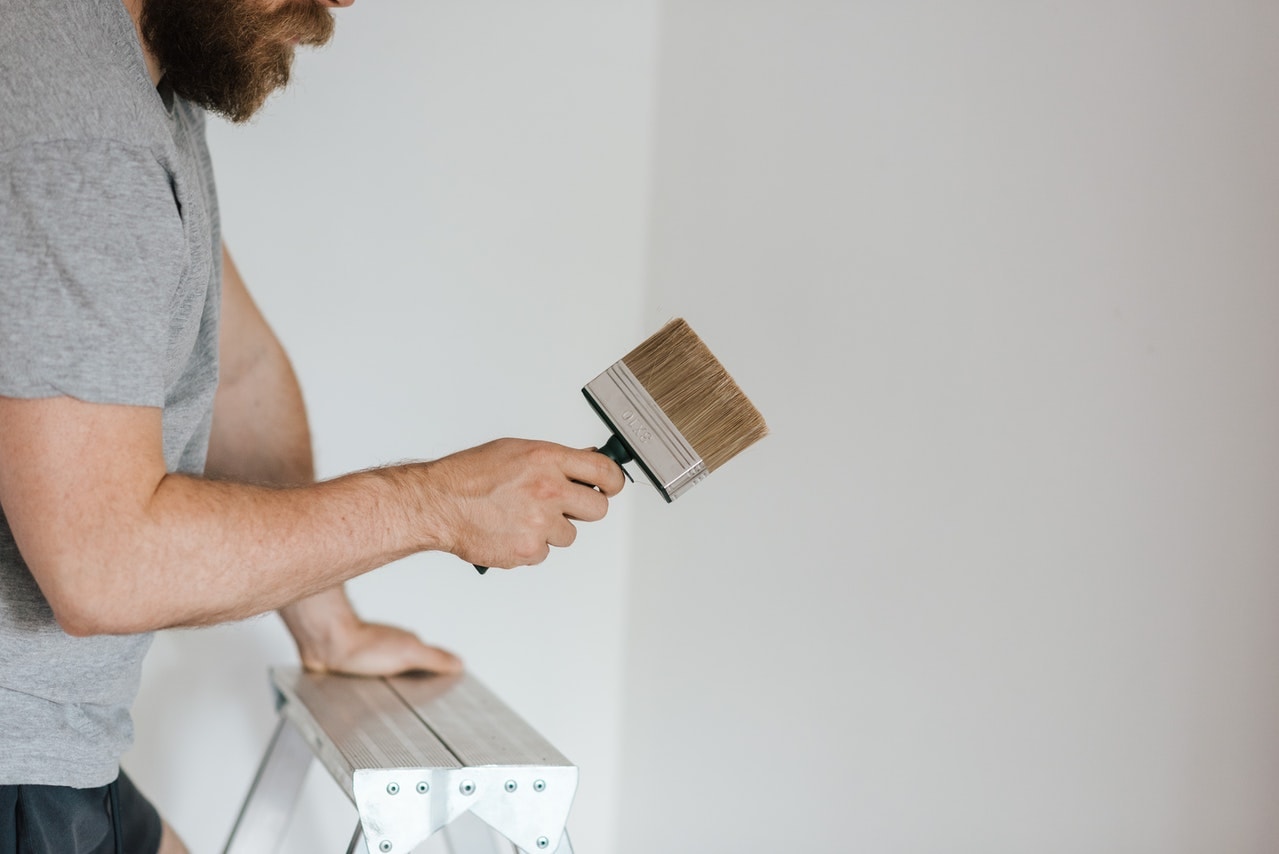
Advantages of Applying a Primer
Priming new surfaces prevents paint from permeating the underlying material, minimising the number of coats of paint that will eventually need to be applied. Primers not only serve to hide the seams in freshly hung drywall, but they also prevent bleed-through of knots as well as other naturally occuring imperfections and colouring in the exposed wood. Primers with stain-blocking characteristics are useful for masking imperfections like mould spots and other discolorations. The last coats of paint won't be able to see the stains now. To ensure a good paint bond, primer must be applied to stone, metal, and so many types of wood. Hitch Property Constructions provides home painting services to help you paint the home of your dreams.
Primers come in a range of colours, but the most common is white. This is done so that the paint's real colours may be seen on a blank canvas. Primers do not need to be coloured, but some stores may do it for you to make them more uniform with the paint you want to use. This method works well when the desired hue will be several shades lighter than that of the surface's original shade.
Primers for Different Paints
Primers that are derived from oil
Primers made from oil are quite flexible because they may be used with either latex or oil paint. Because of this, you may confidently use them for any painting job that calls for oil or latex. They may be used on a broad variety of surfaces and are stain-resistant. Furthermore, using an oil-based primer helps cover these marks so that they not show thru the paint once the project is finished if you are painting more than a surface that has been extensively discoloured.
Pros
Using an oil-based primer is an excellent idea if your final product needs to be weatherproof because it is very resistant to temperature fluctuations. They are also a fantastic option for areas of your home (such walls, cabinets, or doors) that will come into contact with such little hands frequently, as they help avoid stains. In short, a hydrocarbon primer is your best bet for securing existing stains and assisting in preventing new stains from forming if you have small kids living in your home.
Cons
Primers that really are oil-based require a bit more time and attention than their water-based counterparts. This is because it is possible that oil-based primers will perform better upon surfaces that are in constant touch with humans. Priming with this product requires thinning with mineral spirits and drying period of 24 hours. Oil-based priming is more difficult to clean than other types of primer since it cannot be washed off with water and soap. As an added bonus, it's loaded with COV chemicals, which have been under examination for their potential negative health impacts in recent years. Primers that are oil-based must be disposed of in a certain manner, and so must any brushes or even other implements used in the priming process. Do not flush it down the toilet or bury it; instead, wait for it to dry out fully before discarding.
Key Features
Priming masonry shouldn't be done with an oil-based product. These primers are ideal for use on unpainted wood, drywall, and patched walls, along with rough surfaces and surfaces that have recently stained. You should use this primer if you plan on working with unfinished wood because it adheres particularly effectively to porous woods.
Keep in mind the recommended drying period of 24 hours, and allot sufficient time for this step of the process in your schedule. Oil-based primer which has been mixed with a touch of mineral spirits is ready for use. The primer will become watered down as a result. For the best results when painting with a hydrocarbon primer, only use brushes containing natural bristles. You can get help from Hitch Property Constructions in a wide range of service areas with their specialised selection of home renovations.
Latex Primer
Latex primer, being water-based, is a safer option for anyone worried about volatile organic compounds. Primers of this type are ideal used on softwood, bricks, and concrete because of their water-based nature. You can use it as a primer because it helps you apply a smooth and even layer before painting.
Pros
In contrast to oil-based primers, which are limited in the kinds of surfaces they can be used on, latex primer can be applied to a much wider range of substrates. Latex primers are highly effective on a variety of surfaces, including drywall, plaster, wood, metal, and masonry. Moreover, it dries quickly, so you will not have to sit around for long to get things done. While a test area is necessary before painting on almost any surface, only a few days of dry time is required before painting can commence.
Furthermore, it is less brittle and more flexible than oil-based primers, so you will not be concerned over your finished project shattering into pieces or cutting away out of its surface. It's great for indoor use because it gives off almost minimal volatile organic substances (VOCs), and some of it gives off no VOCs at all (especially unfinished drywall). While stains are much more likely to set in on latex primers and paints, the water-based nature of these materials makes it easy to remove such stains that do appear.
Cons
Two of the biggest issues with latex primer are that it discolours and provides insufficient coverage. In comparison to oil-based and shellac paints, primers and paints made with latex are easily discoloured. When compared to other primers, it lacks the thickness and durability necessary for heavily stained regions. While it dries rapidly, it's still a good idea to test it out on a small area to see if it brings out the wood's natural grain. Protecting your wood from of the primer's destructive effects is crucial if you want a good finish, but it will add some time to the project's completion.
Key Features
Any surface can be primed with a latex-based primer, and it only takes three to four hours to dry. It's low in or free of volatile organic compounds, and it's easy to get rid of. Even though it's safer, you still need to make sure the space is well aired and a fan is running at all times in case any gases build up. Wood requires a test patch before the entire application can be made, so be sure to do one of those. The timber will be protected from any damage this way. For best results while applying latex primer, use a synthetic brush.
Shellac Primer
Use this product whenever you're working indoors to help seal surfaces. It has been lauded as a great starting point for education for thousands of years due to its many beneficial aspects and relatively few drawbacks. For this reason, it has received acclaim. Additionally, it is a great option for hiding blemishes.
Pros
While the other primers on the this list take many hours to cure completely, shellac prime dries in just an hour. This makes it simple to complete projects on schedule, and if you change your mind and decide to undertake a test patch, this won't delay things too much. It protects against fingerprints and other stains in much the same way that oil-based primer does, and it makes cleaning a breeze if those stains do occur. Not only that, but it's one of the greatest primers for hiding preexisting stains. As a final benefit, any remaining primer can be used for future projects because to its excellent adherence and ability to stick to a wide range of surfaces.
Cons
There aren't a lot of naysayers when it comes using shellac primers. Even though it has a higher percentage of volatile organic chemicals (VOCs), most people are ready to overlook this negative because of its exceptional and almost unmatched power to give surfaces an smooth, even covering before painting. There is a further process required, called as thinning, but it's not too difficult. An extremely little quantity of denatured alcohol is required before application. It's as simple as mixing the ingredients together and priming. If you're using shellac primer, keep the windows open because it gives off more vapour than latex. Opening windows and using a fan will help achieve this. Some people choose to wear masks as an extra precaution against the toxins and vapours in the air.
Key Features
Shellac primer is most effective when used with oil painting or latex paint. Its versatility lies in the fact that it can be used on so many different materials, such as wood, steel, clay, and plastic. Shellac primer contains volatile organic chemicals (VOCs), thus it's important to dilute this with alcohol and keep your workspace well ventilated at any and all times while you're using it. Shellac priming can be used with either or synthetic bristle paint brushes, however most people prefer to use natural bristle brushes.
Priming Before to Painting Has Many Benefits.
Paint primers are used to prepare surfaces so that following coats of paint will adhere properly. Stains can also be concealed with the use of paint priming.
Offers a Solid Foundation
Applying a paint primer is required nearly always when a surface has pores. Whenever the surface is too porous, a lot of a paint will soak in. More than one layer of paint is needed for it to dry and form a tough, protective coating.
The inverse can be a problem sometimes. When a surface has an excessive level of gloss, adhesion of the colour coat is challenging to obtain because the paint cannot latch onto the surface. Priming a material with paint produces a somewhat porous and slightly rough texture, which is perfect for paint to adhere to.
Hiding Spots
Given its high degree of opacity, paint primer is particularly effective for masking stubborn stains at the base of walls. When the stains are concealed, the colour coat may focus on its primary function—bringing out the beauty of the material.
It is more cost-effective to utilise primers instead of paints for base coats because primers are often less expensive than paints.
Priming is an approach that will never fail you. If you aren't sure what condition the wall was in before painting, priming it first is your best bet.
Is Priming Necessary Prior to Painting?
You don't need every single requirement to be fulfilled before deciding whether or not prime the surface first. Instances where you might normally need primer. At Hitch Property Constructions, we offer a comprehensive selection of home maintenance services.
Holes in the Surface
Priming is usually necessary when working with porous surfaces. Drywall joints are especially vulnerable to moisture intrusion because both the exposed face paper and the cured adhesive compound are not well sealed. Because of this, drywall that has recently been erected is especially at risk of being damaged by water. Priming unfinished wood is a must since it is much more porous than standard wood. Bricks or retaining wall blocks, among other building materials, need to be primed before being painted.
It Is Common Practise to Skim-Coat Drywall.
A skim coat is an extremely thin covering of drywall compound used to cover unfinished drywall. It's not common to come across a skim coat because it's the greatest conceivable finish level. However, similar to raw wood or drywall paper, it requires priming with at least one layer of paint prior to being painted.
The Previous Coat Shines
It's difficult to apply subsequent coats of paint to a glossy base coat. Gentle sanding with sander and one or two layers of primer will help the colour coat adhere better. Even if you don't want to scratch the glossy shine, to use a primer will help future applications cling to the surface. Glossy paints and plastics almost usually require a surface to be coarse texture before painting can begin.
Inverting a Dark Color Into a Light One
Try to avoid the hassle of constantly painting over darker shades with the more expensive paint using lighter colours. The first step in painting over a very dark colour is to apply two coats of white paint as a primer.
Keep in mind that almost all paint stores can shade your primer if you're switching from a light to a dark colour. Because of this, you can use less coats both of the priming and the colour, and the primer's colour will be closer to the wall finish's colour.
Discoloration on the surface.
Surfaces with flaws or stains should be primed with one to two coats of color before being painted. Consider using a heavier primer, such Kilz 2 and Kilz Max, in these conditions.
FAQs About Home Painting
Priming is typically all that is required to get the job done. In contrast, if you are priming knots or stains and they remain visible after the first coat dries, you may need two coats. If you are painting over an existing layer of paint and the colour isn't being altered in a significant way, you can usually get away without using a primer.
You will need to apply two to three coats of primer to the wall in order to ensure a strong bond between the new paint and the wall and also to cover any previous colours, particularly if they are red, orange, or an odd colour that has become out of style. To summarise, you will typically require two coats of primer for the majority of the painting projects you undertake.
The majority of primers can be left on a surface for anywhere from a few hours to thirty days before painting is performed. The amount of time required differs according to the type of paint and primer used, the amount of time it takes for the primer to dry, the surface that is being painted, and environmental factors such as temperature and humidity.
Waterproof primers are increasingly popular for use on the exterior walls of homes in this day and age. This is done for a variety of reasons, including extending the life of the structure and reducing the risk of leaks. A barrier against water and moisture will be created by the coat of primer that is applied to the exterior walls. Your home's walls will not become damp because of this coating layer's protection against it.
If the paint or primer you are using is water-based, you should wait at least three hours before applying a second coat of it. This is a good rule of thumb. It is best to wait twenty-four hours between applying oil-based paint and primer. If you are unsure, the instructions that are printed on the label of the paint can provide you with the most definitive answer.
Conclusion
Spending money on a layer of primer before painting interior walls is almost always a good idea, but it may seem wasteful at first. When compared to using high- or semi-gloss paint, priming new drywall is preferable for a number of reasons. Primers can be found in a variety of colours, though white is the most common. Primers that repel stains are helpful for covering up flaws like mould spots and other discolorations. Priming with oil takes a little more time and effort than water-based primers.
Content Summary
- It seems like each person has a different perspective on the topic, it's hard to say whether or not you should use a paint primer prior to putting on the colour coat.
- Paint makers nearly uniformly recommend applying the primer with a paintbrush, stiff brush, and paint sprayer since doing so helps produce a superior colour layer.
- Many hourly painters recommend priming before painting.
- Painters that charge by the hour may advise against using primer if the supplies are part of the price of the work.
- It may seem wasteful to spend money on a layer of primer before painting inside walls, but doing so is nearly always a good idea.
- Priming new drywall before painting it is a must, and it has many advantages over using high- or semi-gloss paint.
- No matter how porous the wallpaper is or how well finished the wood panelling is, a primer is required before painting over them.
- A primer is unnecessary when repainting directly over an existing flat wall finish.
- If at all possible, painters will forego priming in favour of jumping straight into painting.
- When it comes to art paint, the solution is often influenced less by objective than by subjective considerations, such as price, time, as well as a person's degree of patience.
- Priming is a tedious process that is on par with painting.
- Everything you do is the same as if you were applying the final colour coat, but in the end it won't show because of the primer.
- Priming new surfaces prevents paint from permeating the underlying material, minimising the number of coats of paint that will eventually need to be applied.
- Primers with stain-blocking characteristics are useful for masking imperfections like mould spots and other discolorations.
- To ensure a good paint bond, primer must be applied to stone, metal, and so many types of wood.
- Primers made from oil are quite flexible because they may be used with either latex or oil paint.
- Because of this, you may confidently use them for any painting job that calls for oil or latex.
- They may be used on a broad variety of surfaces and are stain-resistant.
- Furthermore, using an oil-based primer helps cover these marks so that they not show thru the paint once the project is finished if you are painting more than a surface that has been extensively discoloured.
- Using an oil-based primer is an excellent idea if your final product needs to be weatherproof because it is very resistant to temperature fluctuations.
- In short, a hydrocarbon primer is your best bet for securing existing stains and assisting in preventing new stains from forming if you have small kids living in your home.
- Primers that really are oil-based require a bit more time and attention than their water-based counterparts.
